
Creamy, fruity, and impossibly easy, this Strawberry Cheesecake Dump Cake brings together luscious strawberry pie filling, velvety cream cheese, fluffy cake, and a buttery golden topping — all baked together in one pan. If you’ve never made a dump cake before, get ready to fall in love with this sweet shortcut that tastes just as dreamy as a classic cheesecake, but with about ten minutes of prep!
Why You’ll Love This Recipe
- Minimal Fuss, Maximum Flavor: You truly just layer the ingredients and let the oven work its magic — no mixers, no bowls, almost zero cleanup.
- Cheesecake + Strawberry Bliss: Every bite is a little bit creamy, a little bit tart, and perfectly sweet, just like your favorite strawberry cheesecake in a cozy, cakey form.
- Perfect for Parties or Weeknights: Whether it’s a family dinner or a celebratory potluck, this dessert serves a crowd and wows every time.
- Easy to Customize: Change up the pie filling or even the cake mix — the dump cake method is endlessly versatile!
Ingredients You’ll Need
Just a handful of staple ingredients transforms into this decadent treat! Each one brings a unique touch — from the tanginess of the strawberries and richness of cream cheese, to the buttery topping and fluffy cake layers. Here’s a peek at what makes Strawberry Cheesecake Dump Cake so irresistible.
- Strawberry pie filling: The juicy, sweet base provides the classic strawberry pop that melds perfectly with creamy and cakey toppings.
- Yellow cake mix: This shortcut delivers a soft, moist cake layer and a golden, sweet crust with almost no effort.
- Cream cheese, cubed: Nothing says cheesecake like pools of creamy, tangy cream cheese that melt seamlessly into the cake.
- Butter, melted: Pouring butter over the cake mix ensures a crisp, buttery top and prevents any dry spots.
- Whipped cream: A cloud of whipped cream on top takes each serving into dreamy dessert territory.
Variations
The absolute best part about Strawberry Cheesecake Dump Cake? You can make it your own in minutes. Feel free to play with the filling, cake flavor, or even swap out the dairy for a different twist — the possibilities are endless!
- Change up the filling: Try cherry, blueberry, or even mixed berry pie filling for a fun flavor swap that’s every bit as delicious.
- Try a different cake mix: White cake mix makes for a lighter, vanilla-forward flavor, while lemon cake adds a sunny citrus zing.
- Make it gluten-free: Use your favorite gluten-free cake mix — it bakes up beautifully without changing the heart of the recipe.
- Add a crunchy topping: Sprinkle chopped pecans, walnuts, or even crushed graham crackers over the top before baking for extra texture.
- Lighter dairy swap: Light cream cheese or a dairy-free alternative will still give you a luscious, creamy finish.
How to Make Strawberry Cheesecake Dump Cake
Step 1: Prep Your Pan and Preheat
Set your oven to 350°F (175°C) and grab a 13×9-inch baking dish. Give it a quick spray or light greasing—this ensures easy serving and makes cleanup a breeze. Let your cream cheese soften just a little so it’s easier to cube.
Step 2: Layer on the Strawberry Filling
Spoon both cans of strawberry pie filling evenly into the bottom of your prepared dish. Take a minute to spread it out so every scoop of cake gets a burst of that sunshiny strawberry flavor.
Step 3: Sprinkle Cake Mix and Dollop Cream Cheese
Open one package of yellow cake mix and sprinkle it right over the pie filling. Next, dot the surface with cubes of cream cheese — aim for a spot in every serving area, so everyone gets a creamy bite.
Step 4: Add More Cake and Butter
Now, sprinkle the second box of cake mix over the whole pan, covering the cream cheese cubes. Gently drizzle the melted butter all over the surface, making sure as much mix as possible is moistened, to get that gorgeous, golden crust on top.
Step 5: Bake and Serve
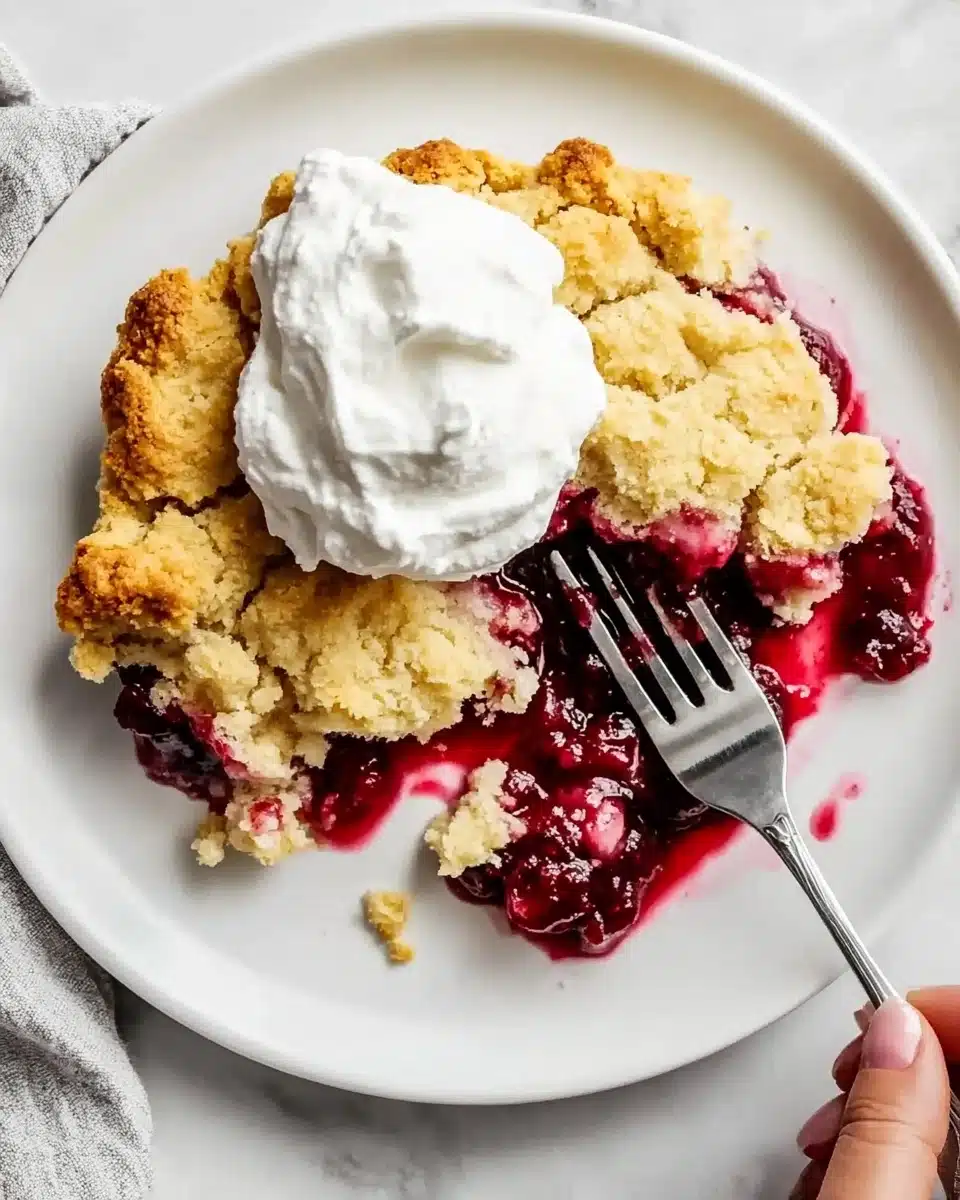
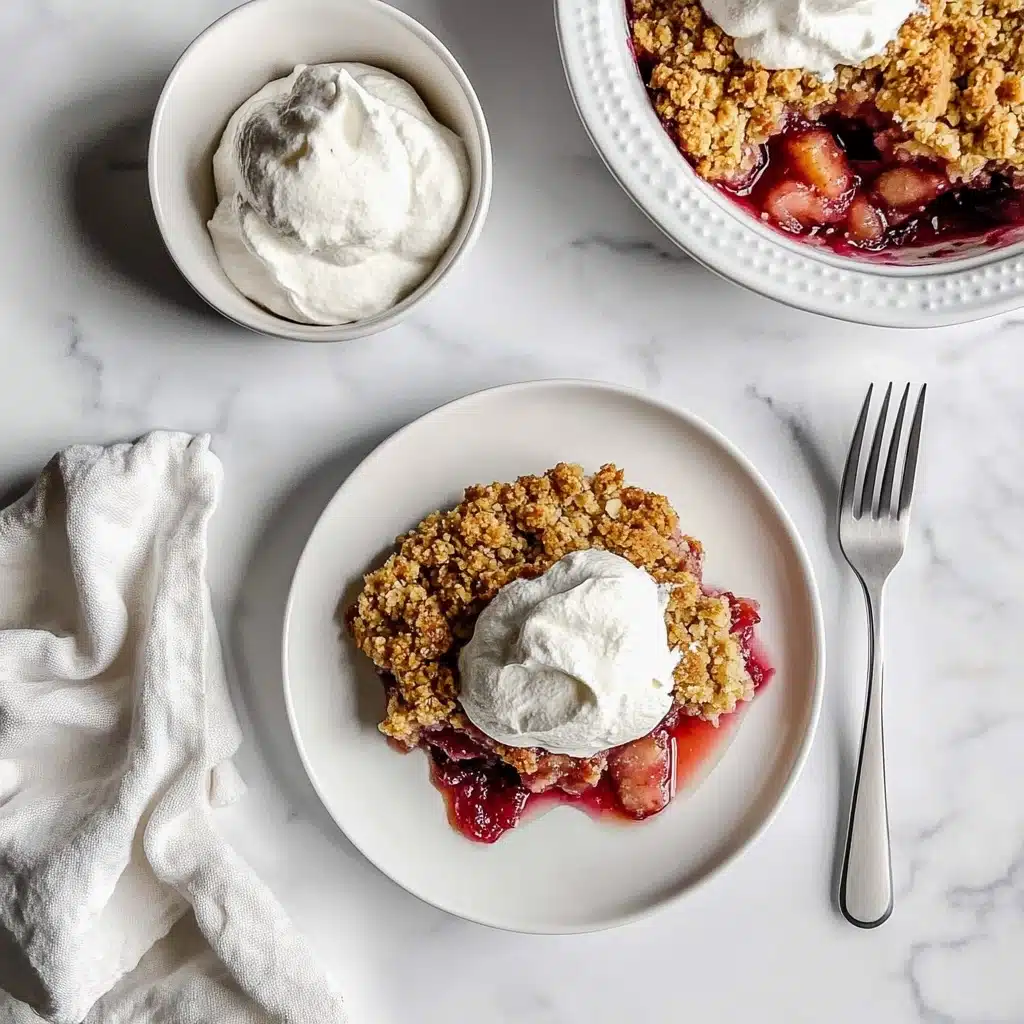
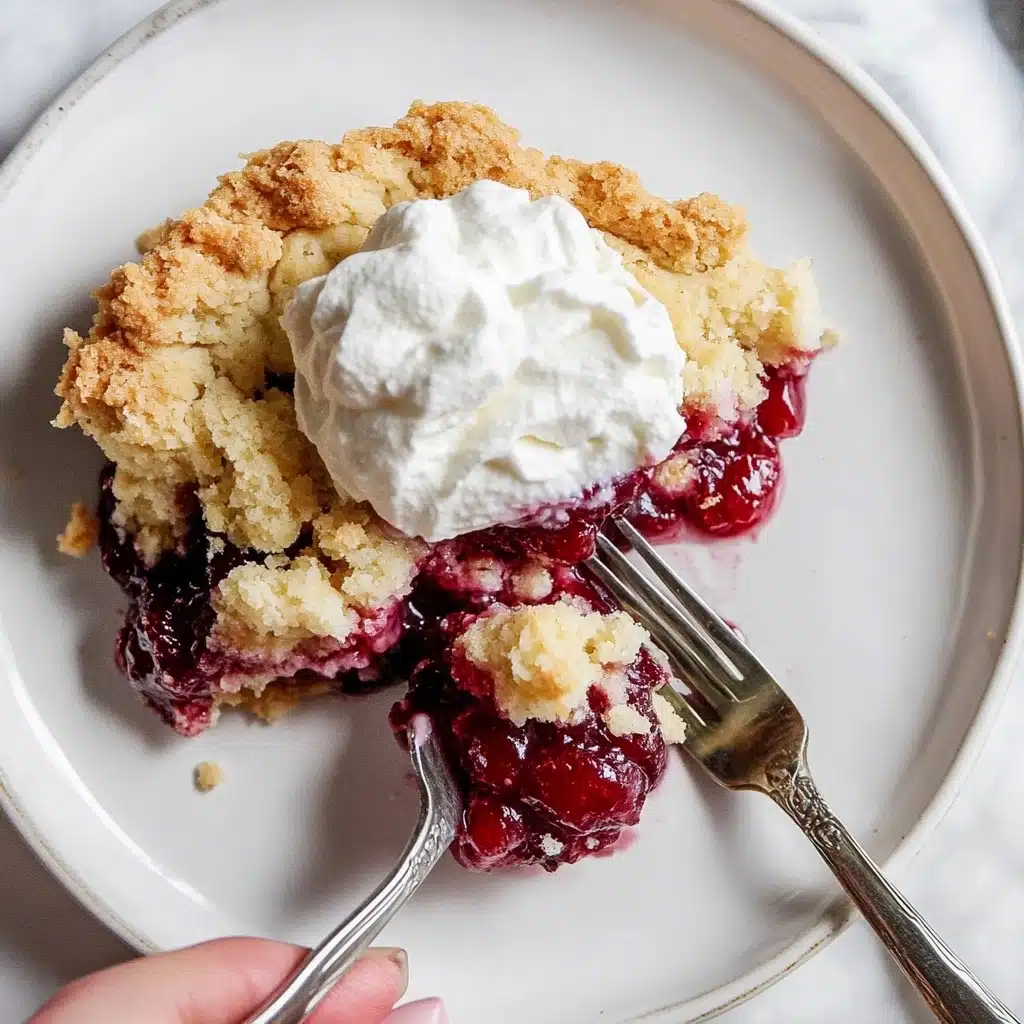
Slide the dish into your preheated oven and bake for 45–50 minutes, until the top is set and the filling bubbles around the edges. Let it cool for at least 10 minutes on a wire rack, then serve generous spoonfuls warm (with clouds of whipped cream, of course!).
Pro Tips for Making Strawberry Cheesecake Dump Cake
- Butter Distribution: For an evenly golden, crunchy top, pour the melted butter slowly and evenly over the cake mix; don’t worry if a few dry patches remain, as they’ll finish cooking in the oven’s heat.
- Cream Cheese Placement: Space out the cream cheese cubes so each serving has a creamy middle—don’t be tempted to mash them down, as they melt into perfect cheesecake pockets all on their own.
- Check for Bubbling: Keep an eye on the sides of your baking dish; the cake is ready once the edges are bubbling and the top is lightly golden in the center.
- Let It Set: Resist the urge to dig right in—letting your Strawberry Cheesecake Dump Cake cool for at least 10 minutes helps the layers hold together when serving.
How to Serve Strawberry Cheesecake Dump Cake
Garnishes
A simple dollop of whipped cream is traditional, but don’t stop there! Try scattering fresh strawberry slices, a sprinkle of powdered sugar, or even a handful of white chocolate shavings for extra flair. A little mint leaf on top adds a fresh pop of color and flavor.
Side Dishes
Pair your Strawberry Cheesecake Dump Cake with a scoop of vanilla ice cream for the ultimate summer treat. For contrast, a hot cup of coffee, bold black tea, or even a refreshing glass of lemonade brings out the cake’s fruity citrus notes — the perfect finish to any meal.
Creative Ways to Present
For parties, try baking the dump cake in individual ramekins for adorable single-serve desserts. If you’re feeling fancy, serve in glass trifle bowls to show off the luscious layers. For a picnic, scoop into mason jars, seal, and chill for a portable, crowd-pleasing sweet treat!
Make Ahead and Storage
Storing Leftovers
If you happen to have leftovers (lucky you!), simply cover the pan tightly or transfer servings to an airtight container and refrigerate. The flavors mingle beautifully overnight, making a chilled slice the next day a hidden treasure.
Freezing
You can absolutely freeze Strawberry Cheesecake Dump Cake for future cravings. Cool the cake completely, wrap well in foil or place in freezer-safe containers, and freeze up to 2 months. Thaw in the refrigerator before serving for best texture.
Reheating
To reheat, scoop your desired portion into a microwave-safe bowl and warm it in 20-30 second bursts until just heated through. Or, place the pan in a low oven (about 300°F) for 10-15 minutes. Don’t forget a fresh swirl of whipped cream—even better than day one!
FAQs
-
Can I use homemade strawberry filling instead of canned?
Definitely! Homemade strawberry filling works wonderfully—just be sure it’s thickened (not runny), and use about the same volume as the canned kind. Let it cool to room temperature before assembling the cake.
-
Does Strawberry Cheesecake Dump Cake need to be refrigerated?
Since this dessert contains cream cheese, it’s best to store leftovers in the fridge. Cover tightly and enjoy within 3-4 days for maximum freshness.
-
Why is it called a dump cake?
The name comes from the friendly technique: you simply “dump” each ingredient—no mixing required—directly into the baking dish! The oven does the rest, creating distinct, delicious layers in every bite.
-
Can I make Strawberry Cheesecake Dump Cake dairy-free?
Yes! Swap in dairy-free cream cheese and use plant-based butter. Just check your cake mix label for any sneaky dairy ingredients, and you’ll still get a fabulous dessert for everyone to enjoy.
Final Thoughts
I truly hope you’ll give this Strawberry Cheesecake Dump Cake a try — it’s the kind of dessert that delivers all the flavor and festivity of homemade cheesecake but with a fraction of the time and fuss. It’s a little bit comfort, a lot of fun, and always a hit with friends and family. Happy baking, and enjoy every gooey, strawberry-kissed bite!
Print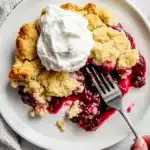
Strawberry Cheesecake Dump Cake Recipe
- Prep Time: 10 min
- Cook Time: 45 min
- Total Time: 55 min
- Yield: 12 servings
- Category: Dessert
- Method: Baking
- Cuisine: American
- Diet: Vegetarian
Description
Indulge in the heavenly combination of strawberries, creamy cheesecake, and buttery cake with this easy Strawberry Cheesecake Dump Cake recipe. This dessert is a delightful treat for any occasion and is sure to impress your guests.
Ingredients
For the Cake:
- 2 cans (21 ounces each) strawberry pie filling
- 2 packages (15-1/4 ounces each) yellow cake mix
- 1 package (8 ounces) cream cheese, cubed
- 1 cup butter, melted
Instructions
- Preheat and Layer: Preheat the oven to 350°. Spread one can of strawberry pie filling in a greased 13×9-in. baking dish. Sprinkle with one box of cake mix.
- Add Cream Cheese: Dot the cake mix with cubed cream cheese.
- Top with Cake Mix: Cover with the remaining box of cake mix.
- Pour Melted Butter: Drizzle the melted butter over the cake mix.
- Bake: Bake for 45-50 minutes until the top is set and the filling is bubbly.
- Cool and Serve: Allow the cake to cool on a wire rack for 10 minutes. Serve warm with whipped cream.
Nutrition
- Serving Size: 1/2 cup
- Calories: 581
- Sugar: 51g
- Sodium: 734mg
- Fat: 24g
- Saturated Fat: 15g
- Unsaturated Fat: 8g
- Trans Fat: 0g
- Carbohydrates: 87g
- Fiber: 1g
- Protein: 3g
- Cholesterol: 60mg


