
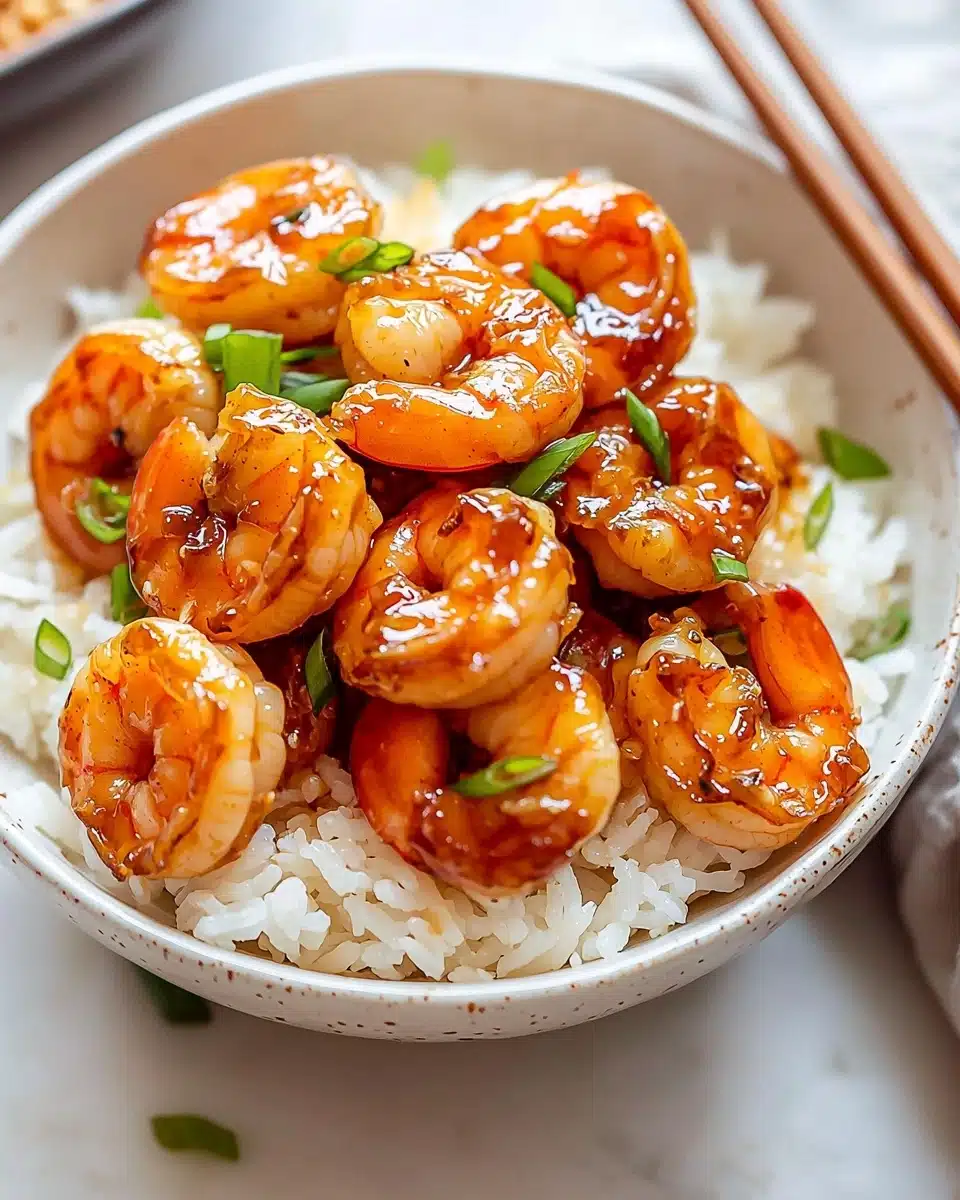
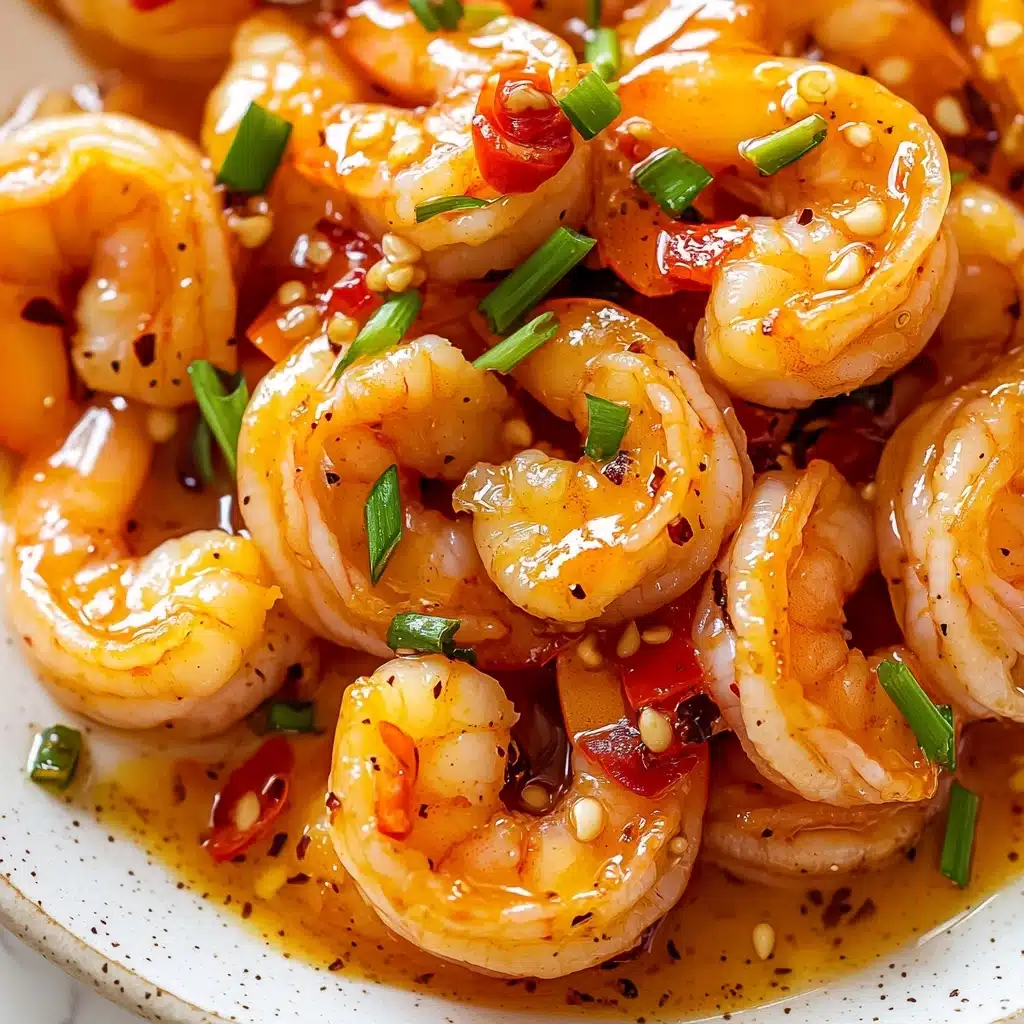
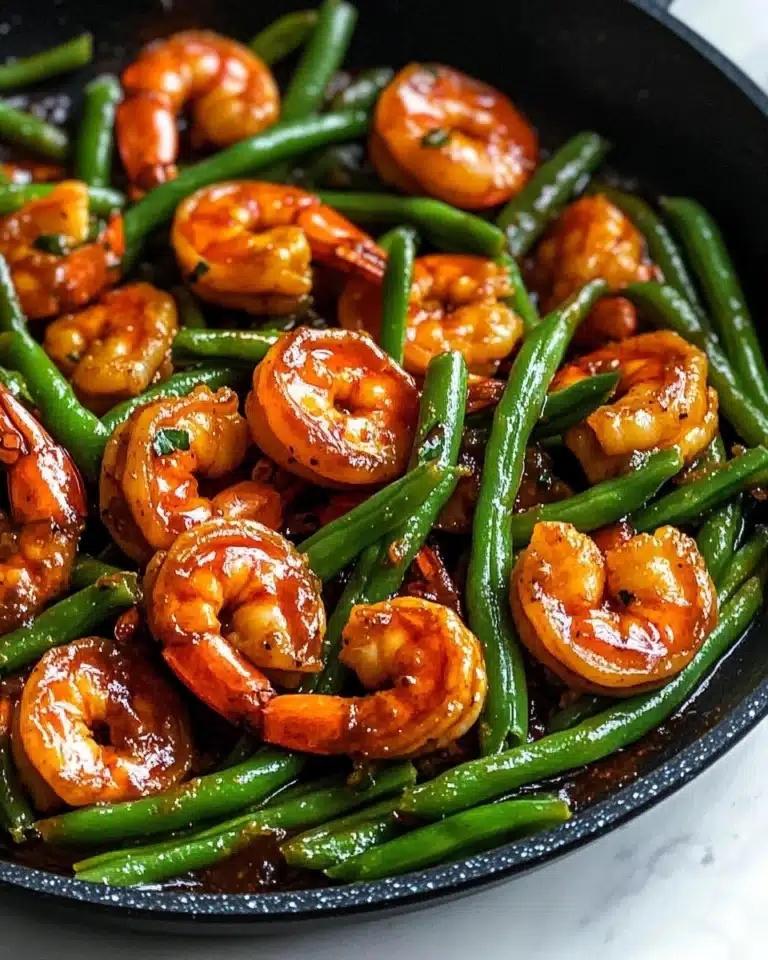
If there was ever a dish worthy of last-minute cravings and tight weeknight schedules, it’s this 10 Minute Honey Garlic Shrimp. Imagine juicy, tender shrimp glistening in a sticky, garlicky honey glaze—with a whisper of ginger warmth and a pop of green onion crunch. Every bite feels like pure, speedy comfort food bliss, bursting with bold Asian-inspired flavors and a hint of heat!
Why You’ll Love This Recipe
- Serious Speed: This shrimp is cooked and glazed to perfection—start to finish—in just 10 minutes!
- Restaurant-Worthy Flavor: Every bite brings that sticky-sweet, garlicky umami you crave from your favorite takeout, all from your own skillet.
- Super Simple Ingredients: All you need are pantry basics—no trips to specialty stores required.
- Versatile and Crowd-Pleasing: Serve as a starter, a rice bowl topping, or a party appetizer—this recipe adapts to every meal and occasion.

Ingredients You’ll Need
Get ready for some kitchen magic using just a handful of everyday ingredients! Each one plays a starring role—giving the 10 Minute Honey Garlic Shrimp its irresistible glaze, plump texture, and colorful, crave-worthy finish.
- Shrimp (450g/1 lb, peeled and deveined): Pick fresh or thawed shrimp for juicy, snappy bites; prepping them ahead makes this dish lightning-fast.
- Light Soy Sauce: Adds savory depth and just the right amount of salt, helping build layers of flavor in the glaze.
- Cornstarch: The secret to “velveting”—it creates a protective coating, so the shrimp stays super tender and the sauce clings beautifully.
- Vegetable Oil: A neutral oil like canola or sunflower works best, creating a glossy sauté without overpowering the shrimp’s taste.
- Fresh Garlic (3–4 cloves): There’s no skimping on bold flavor here! Freshly minced garlic brings that signature aroma and savory punch.
- Ginger Paste or Grated Ginger: Adds bright, lively warmth, balancing the sweetness of honey with a gentle zing.
- Honey: Sweet, sticky, and oh-so-glossy—honey is the backbone of the whole dish, coating each shrimp in shine and flavor.
- Chili Flakes (optional): A whisper of heat if you crave a little kick, but easily left out for milder palates.
- Green Onions: For a fresh pop of color and crunch over the finished shrimp—don’t skip the garnish!
Variations
The 10 Minute Honey Garlic Shrimp is totally customizable—think of it as your culinary canvas! Whether you’re working with dietary needs, what’s in your fridge, or a craving for extra flavor, this recipe welcomes all sorts of delicious twists.
- Spicy Sriracha Shrimp: Replace the chili flakes with a drizzle of sriracha for a bold, spicy kick and an extra layer of tang.
- Sesame Lover’s Version: Stir in a teaspoon of toasted sesame oil with the honey and sprinkle toasted sesame seeds on top for a nutty, aromatic twist.
- Citrus Zing: Add a squeeze of fresh lime or orange juice just before serving for a bright, citrusy lift that balances the sweetness.
- Vegetarian Option: Swap shrimp for extra-firm tofu cubes, following the same steps for a plant-based alternative that soaks up all the flavor.
How to Make 10 Minute Honey Garlic Shrimp
Step 1: Velvet the Shrimp
In a medium bowl, combine the light soy sauce and cornstarch, whisking until smooth. Add your prepared shrimp and toss gently, coating every piece. This classic “velveting” step (borrowed from Chinese cuisine) is the real secret—it locks in moisture and gives the shrimp that signature restaurant-style tenderness.
Step 2: Sauté Garlic and Ginger
Heat your vegetable oil in a large, non-stick pan over medium heat. Add the minced garlic and grated ginger, stirring constantly for just 30 seconds. Keep a close eye—the goal is to release their aroma, not to let them brown or burn. That intoxicating fragrance? It means you’re doing it right!
Step 3: Cook the Shrimp
Add the velveted shrimp straight into the fragrant oil. Arrange them in a single layer and let them sear, undisturbed, for 1–2 minutes per side (depending on their size). Flip as soon as they turn pink and opaque—shrimp cook lightning-fast and you don’t want to overdo it.
Step 4: Glaze and Finish
Pour in the honey (and chili flakes, if using) right over the cooked shrimp. Toss everything together so the sweet, sticky sauce envelops each piece. Shut off the heat as soon as they’re evenly coated—the residual warmth will work its magic. Shower with sliced green onions and, just like that, your 10 Minute Honey Garlic Shrimp is ready to wow!
Pro Tips for Making 10 Minute Honey Garlic Shrimp
- Mastering “Velveting”: Combine soy sauce and cornstarch until lump-free before adding the shrimp—this ensures ultra-silky, never-gummy results.
- Garlic & Ginger Timing: Sauté just until fragrant, not golden. Overcooking them can turn the whole dish bitter, so quick hands are your friend!
- Honey for Glaze: Add the honey just after the shrimp is barely cooked—this crystallizes that gorgeous lacquer without burning or clumping.
- Big-Pan Advantage: Use the largest skillet you own and avoid crowding; this lets the shrimp sear, not steam, giving you perfect texture every single time.
How to Serve 10 Minute Honey Garlic Shrimp
Garnishes
The finishing flourish makes all the difference! Scatter thinly sliced green onions on top of your shrimp right before serving. For an extra pop, try a sprinkle of toasted sesame seeds or a fine dusting of crushed chili flakes. These touches add color, texture, and a little flair—making the dish look as irresistible as it tastes.
Side Dishes
For a complete meal, serve your 10 Minute Honey Garlic Shrimp over fluffy jasmine or basmati rice—let that sticky glaze soak right in! It’s also wonderful with brown rice, quinoa, or even tossed into noodles. If you want veggies, sautéed bok choy, steamed broccoli, or a simple cucumber salad make the perfect crisp, refreshing side.
Creative Ways to Present
Turn your shrimp into stunning party starters by threading them onto skewers for a vibrant appetizer platter, or pile them into lettuce cups for a breezy, low-carb bite. Serving family-style? Arrange the shrimp atop a large platter over greens and garnish generously—the glossy honey glaze gleams under the lights and is always a showstopper.
Make Ahead and Storage
Storing Leftovers
Have extra shrimp on hand? Cool them completely before transferring into an airtight container. Stored in the fridge, your honey garlic shrimp will keep their flavor and texture for up to two days—perfect for quick rice bowls or lunch salads.
Freezing
While you can technically freeze cooked shrimp, this dish really shines fresh. The texture can turn slightly chewy after freezing and thawing, so if you must freeze, do so in a single layer with plenty of the sauce to coat. Thaw overnight in the fridge for best results.
Reheating
To reheat, gently warm the shrimp in a non-stick skillet over low heat, adding a splash of water or extra honey to loosen up the glaze if needed. Avoid microwaving for too long, as shrimp can become rubbery—just a minute or two, and you’re good to go!
FAQs
-
Can I use frozen shrimp for 10 Minute Honey Garlic Shrimp?
Absolutely! Just make sure to thaw the shrimp completely under cold running water and pat them dry with paper towels before starting. This prevents excess water from thinning the sauce and ensures a great sear.
-
Is the cornstarch necessary? What if I don’t have it?
The cornstarch is vital for “velveting”—it gives the shrimp their signature tenderness and lets the sauce cling beautifully. If you’re out, try swapping in potato starch or arrowroot powder. Avoid skipping entirely for best results!
-
How can I make this recipe gluten-free?
It’s super easy to adapt: simply use a certified gluten-free soy sauce or tamari. All other ingredients are naturally gluten-free, so everyone can enjoy a plateful of 10 Minute Honey Garlic Shrimp!
-
Can I double the recipe for meal prep?
Yes! Just make sure to cook the shrimp in batches so you don’t crowd the pan. This keeps each piece perfectly seared, not steamed, and gives you a fridge full of speedy, delicious meals all week long.
Final Thoughts
Give yourself the gift of flavor and ease with this 10 Minute Honey Garlic Shrimp—it’s proof that a handful of ingredients and a hot pan can create absolute magic. I hope it becomes your go-to, too, for busy nights and celebrations alike. Let me know how you love to serve yours!
Print
10 Minute Honey Garlic Shrimp Recipe
- Prep Time: 5 minutes
- Cook Time: 5 minutes
- Total Time: 10 minutes
- Yield: 4 servings
- Category: Stovetop
- Method: Stovetop
Description
This quick and easy recipe for Honey Garlic Shrimp is a flavorful dish that can be whipped up in just 10 minutes. Tender shrimp are coated in a sweet and savory sauce, perfect for serving over rice or as a tasty appetizer.
Ingredients
Ingredients for Honey Garlic Shrimp:
- 450g/1 lb shrimp, peeled and deveined
- 1 tbsp light soy sauce
- 1 tbsp cornstarch
- 2 tbsp vegetable oil
- 3-4 cloves garlic, minced
- 1 tbsp ginger paste or grated ginger
- 4 tbsp honey
- 1/4 tsp chili flakes (optional)
- 2 green onions, sliced for garnish
Instructions
- Prepare Shrimp: In a medium bowl, combine soy sauce and cornstarch. Add shrimp and toss to coat. Set aside.
- Cook Aromatics: Heat oil in a non-stick pan. Cook garlic and ginger for 30 seconds.
- Cook Shrimp: Add shrimp to the pan and cook for 1-2 minutes per side.
- Add Honey: Pour in honey and chili flakes, if using. Toss to coat.
- Finish and Serve: Remove from heat, garnish with green onions, and serve over rice.
Nutrition
- Serving Size: 1 serving
- Calories: 256 kcal
- Sugar: 17g
- Sodium: 1138mg
- Fat: 9g
- Saturated Fat: 6g
- Carbohydrates: 21g
- Fiber: 1g
- Protein: 24g
- Cholesterol: 286mg


