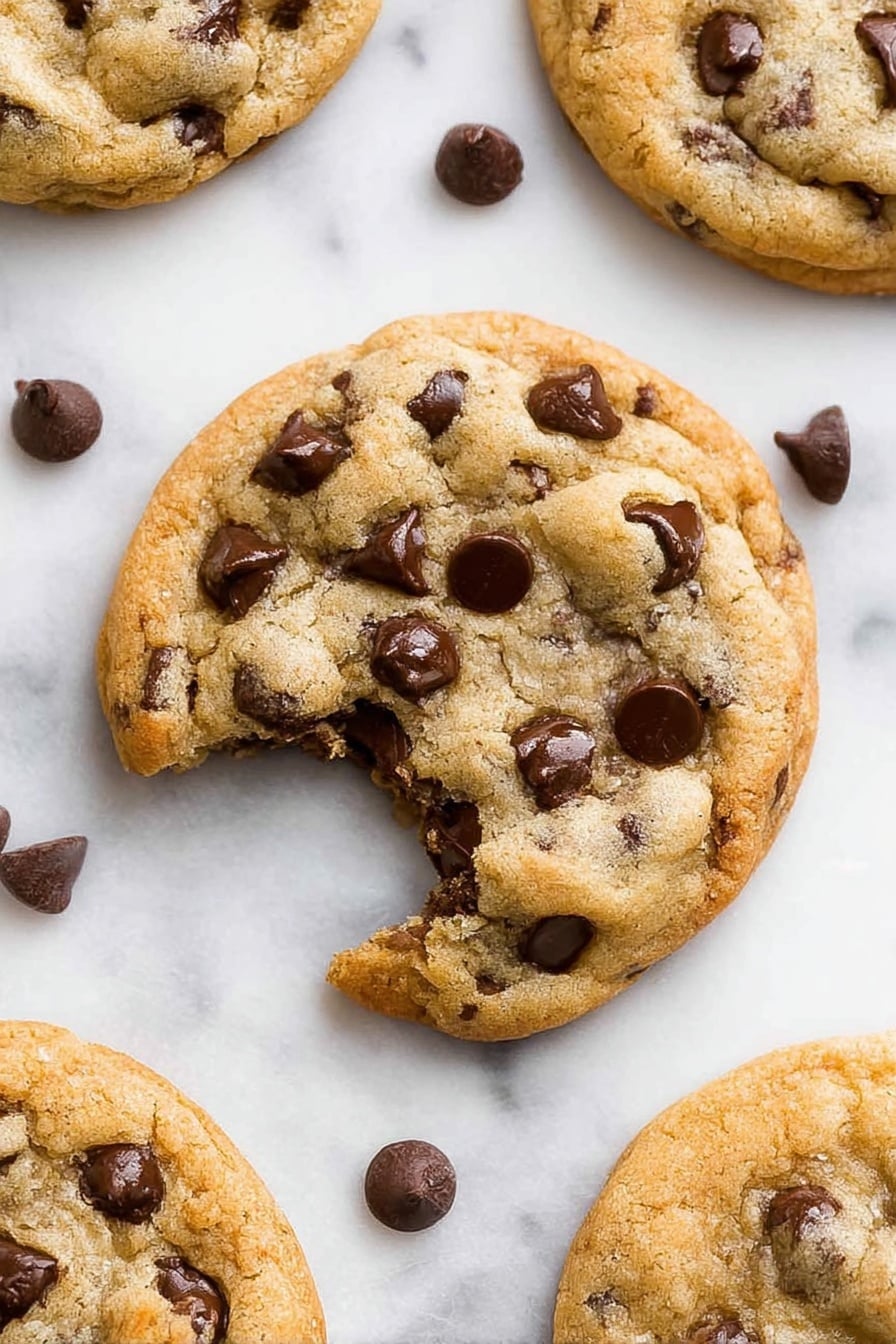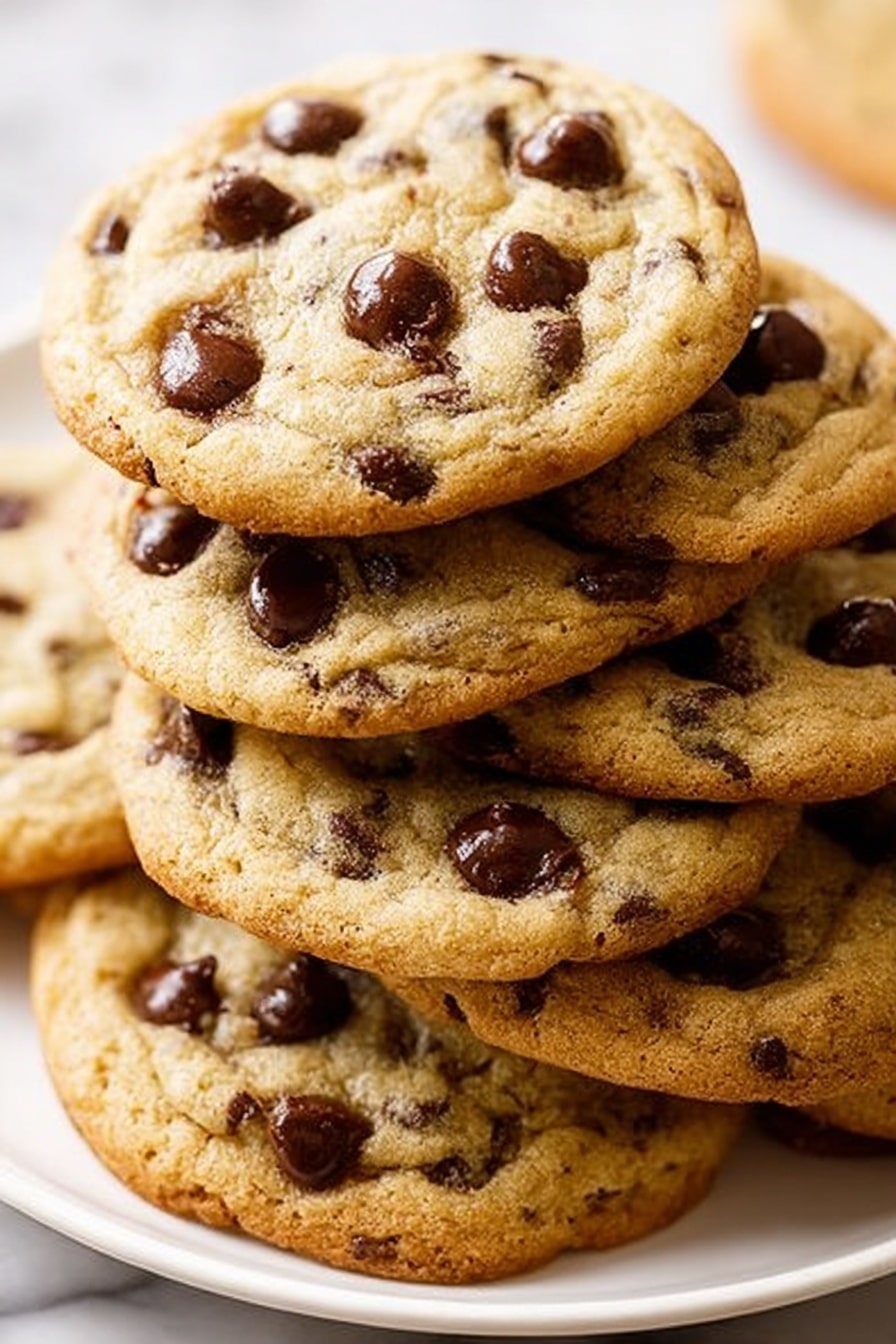
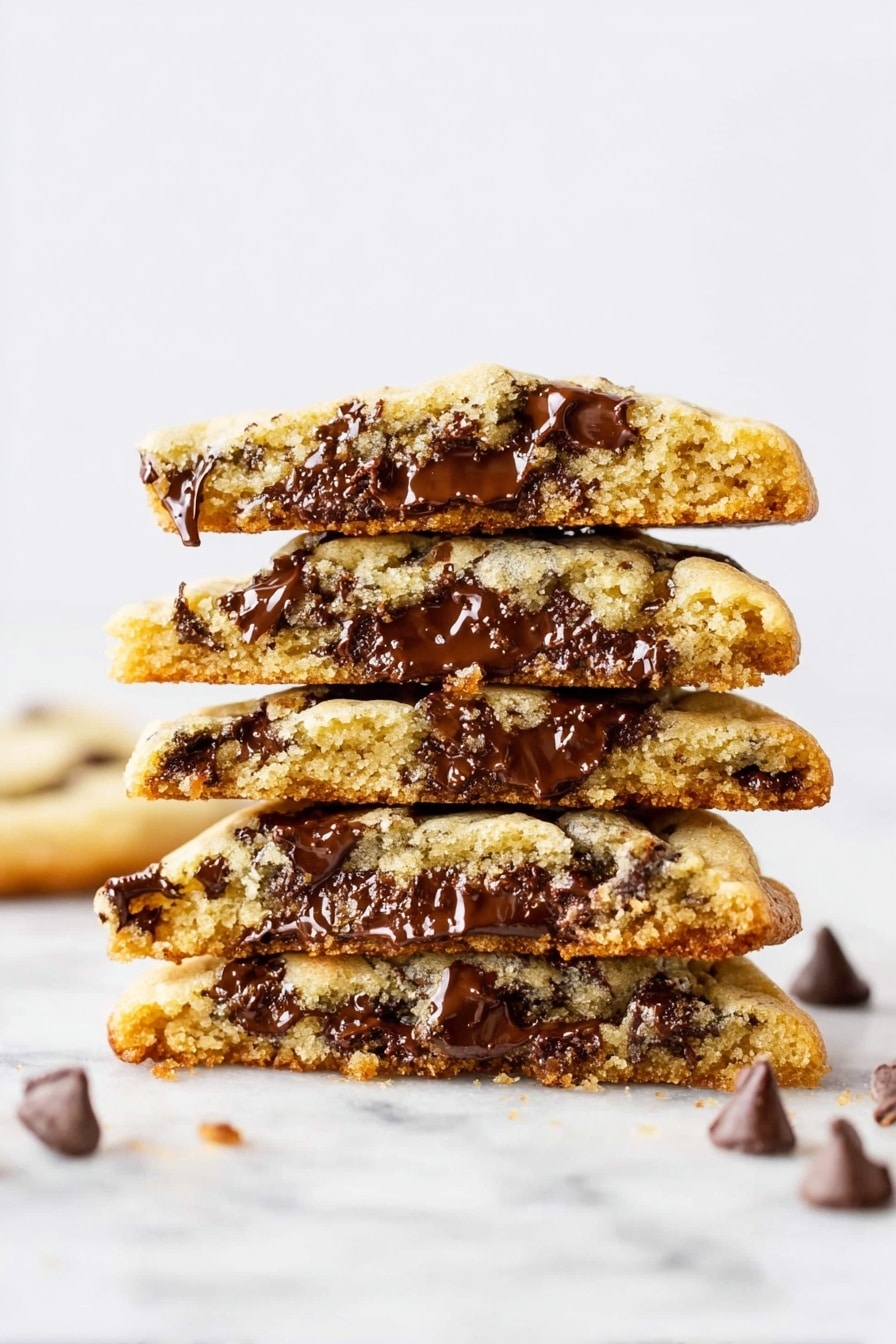
If you’re craving those perfectly thick, soft, and chewy cookies that you’d find at your favorite bakery, you’re absolutely going to love this Bakery Style Chocolate Chip Cookies Recipe. I’ve been obsessed with these cookies ever since I first baked them—they have golden edges and those irresistible ooey, gooey centers that just melt in your mouth. Whether you’re baking for a cozy night in or want to impress friends with homemade treats, this recipe will become your go-to.
Why You’ll Love This Recipe
- Thick & Chewy Texture: Thanks to a little chilling time, these cookies come out perfectly dense and soft in the center.
- Bakery-Quality Flavor: Using room temperature butter and a mix of sugars gives you that authentic, deeply tasty cookie.
- Simple Ingredients: You probably have everything needed in your pantry already—no fancy baking supplies required!
- Crowd-Pleaser: My family literally goes crazy for these, and they’re perfect for gifting or parties.
Ingredients You’ll Need
Getting the right balance of ingredients is key in this Bakery Style Chocolate Chip Cookies Recipe. Each element plays a role in creating those soft centers and crispy edges you’ll adore—plus, it’s all about quality. I always use real unsalted butter at room temperature and fresh vanilla extract to bring out the best flavor.
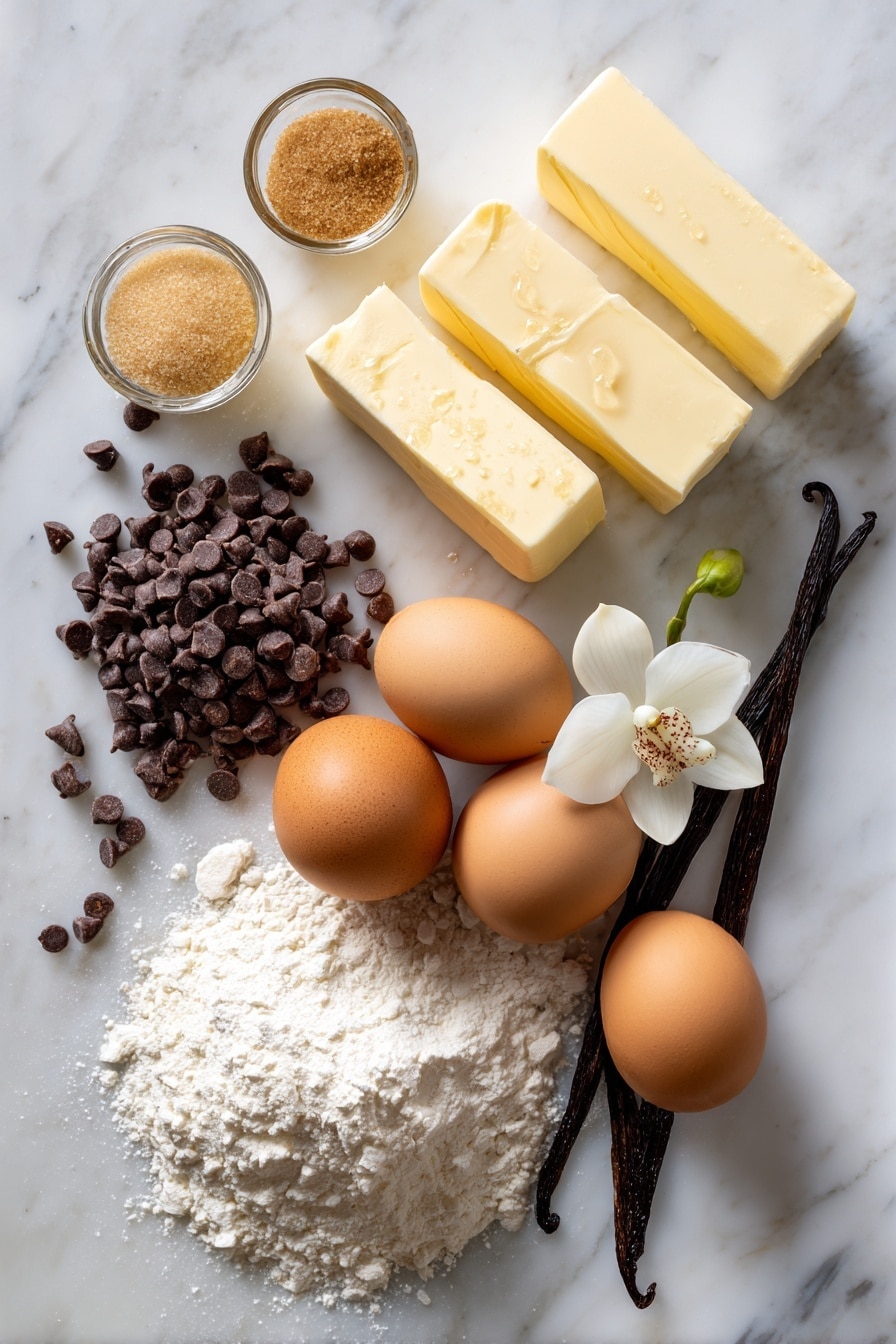
- All-purpose flour: Provides structure but don’t skimp—measuring correctly really affects the texture.
- Baking soda: Helps the cookies rise and spread just right.
- Fine sea salt: Balances sweetness and enhances flavor.
- Unsalted butter: Use at cool room temperature—not melted—to keep dough creamy and pliable.
- Granulated sugar: Adds crispness to the edges.
- Light brown sugar: Packed with moisture and molasses, it’s what makes the cookies chewy and rich.
- Vanilla extract: Pure vanilla is a must for that classic cookie flavor.
- Large eggs: Room temperature eggs blend in better for a smooth dough.
- Semisweet chocolate chips: The star of the show—plenty of chocolate in every bite!
Variations
I love how flexible this Bakery Style Chocolate Chip Cookies Recipe is—you can tweak it easily to suit your mood, dietary needs, or what’s in your pantry. I often switch up the chocolate chips or add nuts, and sometimes I go gluten-free with a blend of flours.
- Milk or dark chocolate chips: I’ve tried both, and dark chocolate adds a richer, deeper flavor that adults really appreciate.
- Chopped nuts: Walnuts or pecans add a nice crunch and complement the chocolate beautifully.
- Gluten-free flour blend: I swapped in my favorite blend for a gluten-free treat that still feels indulgent and chewy.
- Oat flour addition: Replace ½ cup flour with oat flour for a heartier texture and mild nuttiness.
How to Make Bakery Style Chocolate Chip Cookies Recipe
Step 1: Prep and Mix the Dry Ingredients
Start by preheating your oven to 350ºF. Line your baking sheets with parchment paper to prevent sticking and make cleanup easy. In a medium bowl, whisk together the all-purpose flour, baking soda, and fine sea salt. Mixing these dry ingredients ensures even distribution later in the dough, so you don’t end up with salty or soda-heavy spots. Set this aside.
Step 2: Cream the Butter and Sugars
Now, in the bowl of your electric mixer, beat the cool room temperature unsalted butter with the granulated sugar and light brown sugar. I like to beat this for about 2 minutes until it becomes creamy and slightly fluffy. This step is crucial for that bakery-style texture, as it incorporates air and blends sweetness evenly. Make sure to scrape down the sides and bottom of your bowl once or twice to ensure everything combines well.
Step 3: Add Vanilla and Eggs
Add in the vanilla extract and eggs, beating everything together until it’s smooth and combined. The room temperature eggs mix better and keep the dough from getting too stiff—trust me, I learned that the hard way when my dough was a struggle to scoop!
Step 4: Incorporate Dry Ingredients and Chocolate Chips
Gradually beat in the flour mixture until just combined—you don’t want to overmix here because that can make the cookies tough. Once your dough looks uniform, fold in the semisweet chocolate chips with a spatula. More chocolate = more happiness, in my opinion.
Step 5: Chill the Dough for Best Results
Here’s a little secret: if you have time, wrap your dough tightly in plastic wrap and refrigerate it for at least 24 hours (but no more than 72). This “marinating” time is a game changer—it allows the flour to hydrate and deepens the flavor, making your cookies thicker, chewier, and way more flavorful. When you’re ready to bake, let the dough sit at room temperature for a few minutes so it’s easy to scoop but not sticky.
Step 6: Shape and Bake
Using a large cookie scoop (about 3 tablespoons in size), form your dough into balls and space them generously on the parchment-lined baking sheets. These cookies spread just enough, so giving them room prevents them from merging together. Bake for 11 to 13 minutes, or until the edges turn a gorgeous golden brown but the centers still look slightly underdone—this is key for that soft, gooey interior.
Step 7: Cool and Enjoy
Allow the cookies to cool on the baking sheet for about 5 minutes before transferring to wire racks to cool completely. I know it’s tempting to dive right in, and honestly, warm cookies fresh from the oven are incredible, but letting them cool a bit helps them finish setting and makes handling easier.
Pro Tips for Making Bakery Style Chocolate Chip Cookies Recipe
- Butter Temperature: Too warm means greasy dough; cool room temp is perfect for creamy mixing without melting.
- Don’t Skip Chilling: The overnight rest is what really transforms these cookies—plan ahead if you can!
- Use a Large Scoop: This helps your cookies come out uniform and bakery-style thick every time.
- Watch Your Oven: Baking times vary, so keep an eye to avoid overbaking that dries them out.
How to Serve Bakery Style Chocolate Chip Cookies Recipe
Garnishes
I usually serve these cookies plain because the chocolate chips themselves are the highlight, but sometimes I’ll sprinkle a tiny pinch of flaky sea salt on top right after baking to bring out the sweetness even more. It’s such a simple step that adds another layer of flavor. For a fun twist, a light drizzle of melted chocolate or a dusting of cocoa powder can be impressive for guests.
Side Dishes
Pair these cookies with a cold glass of milk—classic for a reason! I also like to serve them alongside coffee or a nice scoop of vanilla ice cream for an indulgent dessert that’ll wow the kids and adults alike.
Creative Ways to Present
For birthdays or holiday parties, I stack the cookies with parchment sheets in between and tie them with a pretty ribbon to give as edible gifts. You can also crumble them over ice cream sundaes or package a few in a decorative jar with a handwritten recipe card for a homemade gift everyone loves.
Make Ahead and Storage
Storing Leftovers
I store leftover cookies in an airtight container at room temperature, layering parchment paper between them to prevent sticking. They stay fresh and soft for up to 3 days, but honestly, they rarely last that long in my house!
Freezing
If you want to keep the magic longer, you can freeze the dough balls on a baking sheet, then transfer them to a freezer bag. When you’re ready to bake, just pop them straight onto your baking sheet without thawing—add a couple minutes to the baking time, and voila, freshly baked cookies anytime.
Reheating
To warm up leftover cookies, I pop them in a preheated oven at 300ºF for about 5 minutes or microwave them for 10-15 seconds. This quickly revives that gooey, just-baked sensation without drying them out.
FAQs
-
Can I make these cookies without chilling the dough?
Yes, you can bake the dough immediately, but I highly recommend chilling for at least a few hours if possible. Chilling allows the flour to absorb moisture, which results in thicker, chewier cookies with better flavor depth. Without it, cookies may spread more and have a slightly less satisfying texture.
-
What’s the best way to measure flour for this recipe?
Spoon the flour into your measuring cup lightly and level it off with a knife—avoid scooping directly with the cup since that packs the flour and can lead to dense, dry cookies. For best accuracy, I use a kitchen scale whenever I can.
-
Can I use salted butter instead of unsalted?
I prefer unsalted butter so I can control the salt level exactly, but if you only have salted butter, reduce or omit the additional sea salt in the recipe. Just keep an eye on your dough taste and adjust to your preference.
-
How do I know when the cookies are done?
Look for golden brown edges with centers that still look soft and slightly underbaked—that’s the sweet spot. They will continue to firm up as they cool, giving you that perfect chewy texture with melt-in-your-mouth middles.
Final Thoughts
This Bakery Style Chocolate Chip Cookies Recipe has seriously become one of my all-time favorites. I love how reliably it delivers that bakery-quality cookie experience, even if you’re baking casually at home. It’s the kind of recipe I’m always excited to share because it hits all the right notes—soft, thick, chewy, and loaded with chocolate. Give it a try, and I bet it’ll become a staple in your baking routine like it did in mine.
Print
Bakery Style Chocolate Chip Cookies Recipe
- Prep Time: 15 minutes
- Cook Time: 13 minutes
- Total Time: 28 minutes
- Yield: 26 cookies
- Category: Dessert
- Method: Baking
- Cuisine: American
Description
Enjoy bakery-style chocolate chip cookies with golden brown edges and ooey, gooey centers. This easy-to-make recipe yields thick, chewy cookies that can be enhanced by refrigerating the dough for a richer flavor and texture. Perfect for homemade treats that taste like they came straight from your favorite bakery.
Ingredients
Dry Ingredients
- 3 cups (380 grams) all-purpose flour
- 1 teaspoon baking soda
- 1 teaspoon fine sea salt
Wet Ingredients
- 2 sticks (227 grams) unsalted butter, at cool room temperature (67°F)
- 1/2 cup (100 grams) granulated sugar
- 1 1/4 cups (247 grams) lightly packed light brown sugar
- 2 teaspoons vanilla extract
- 2 large eggs, at room temperature
Add-ins
- 2 cups (340 grams) semisweet chocolate chips
Instructions
- Preheat oven and prepare baking sheets: Preheat your oven to 350ºF (175ºC). Line baking sheets with parchment paper to prevent sticking and for easy cleanup.
- Mix dry ingredients: In a medium bowl, whisk together the all-purpose flour, baking soda, and fine sea salt until well combined.
- Cream butter and sugars: In the bowl of an electric mixer, beat the unsalted butter, granulated sugar, and light brown sugar together until creamy and smooth, approximately two minutes. Be sure to scrape down the sides and bottom of the bowl to ensure even mixing.
- Add vanilla and eggs: Add the vanilla extract and eggs to the creamed butter and sugar mixture. Beat until everything is fully combined, scraping down the bowl as needed.
- Incorporate flour mixture: Gradually add the dry ingredients to the wet ingredients, mixing until just combined to avoid overworking the dough.
- Stir in chocolate chips: Fold in the semisweet chocolate chips evenly throughout the dough with a spatula.
- Optional chilling: If you have time, wrap the dough in plastic wrap and refrigerate it for at least 24 hours and up to 72 hours. This resting time allows the dough to marinate, resulting in thicker, chewier, and more flavorful cookies. Before baking, let the dough sit at room temperature just until soft enough to scoop.
- Portion dough: Using a large cookie scoop, divide the dough into 3-tablespoon-sized balls and place them evenly spaced on the prepared baking sheets.
- Bake cookies: Bake in the preheated oven for 11 to 13 minutes or until the cookies are golden brown around the edges. They might look slightly soft in the center but will firm up as they cool.
- Cool: Allow the cookies to cool on the baking sheets for 5 minutes before transferring them to wire racks to cool completely.
- Storage: While these cookies are best eaten fresh, they can be stored in an airtight container at room temperature for up to 3 days. Refer to storage tips for maintaining freshness.
Notes
- These cookies feature ultra-thick textures with golden brown edges and gooey centers, reminiscent of bakery-style treats.
- Refrigerating the dough for 24 to 72 hours improves texture and flavor significantly but is optional.
- Use room temperature butter and eggs for the best mixing results.
- For chewy cookies with edges that crisp slightly, watch baking times closely to avoid overbaking.
- Store cookies in an airtight container to preserve freshness up to 3 days.
Nutrition
- Serving Size: 1 cookie
- Calories: 210 kcal
- Sugar: 15 g
- Sodium: 160 mg
- Fat: 11 g
- Saturated Fat: 7 g
- Unsaturated Fat: 3.5 g
- Trans Fat: 0.1 g
- Carbohydrates: 27 g
- Fiber: 1.5 g
- Protein: 2.5 g
- Cholesterol: 40 mg

