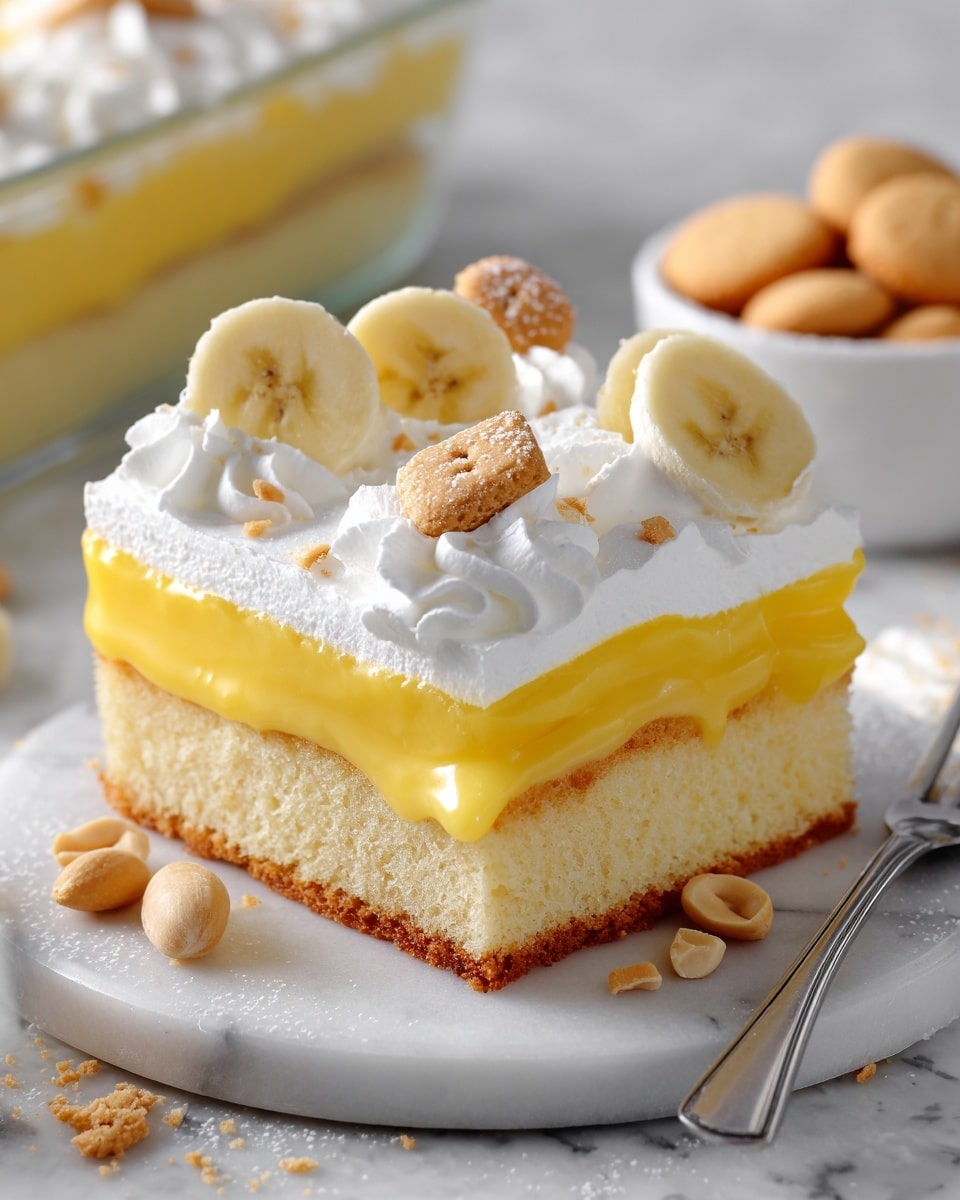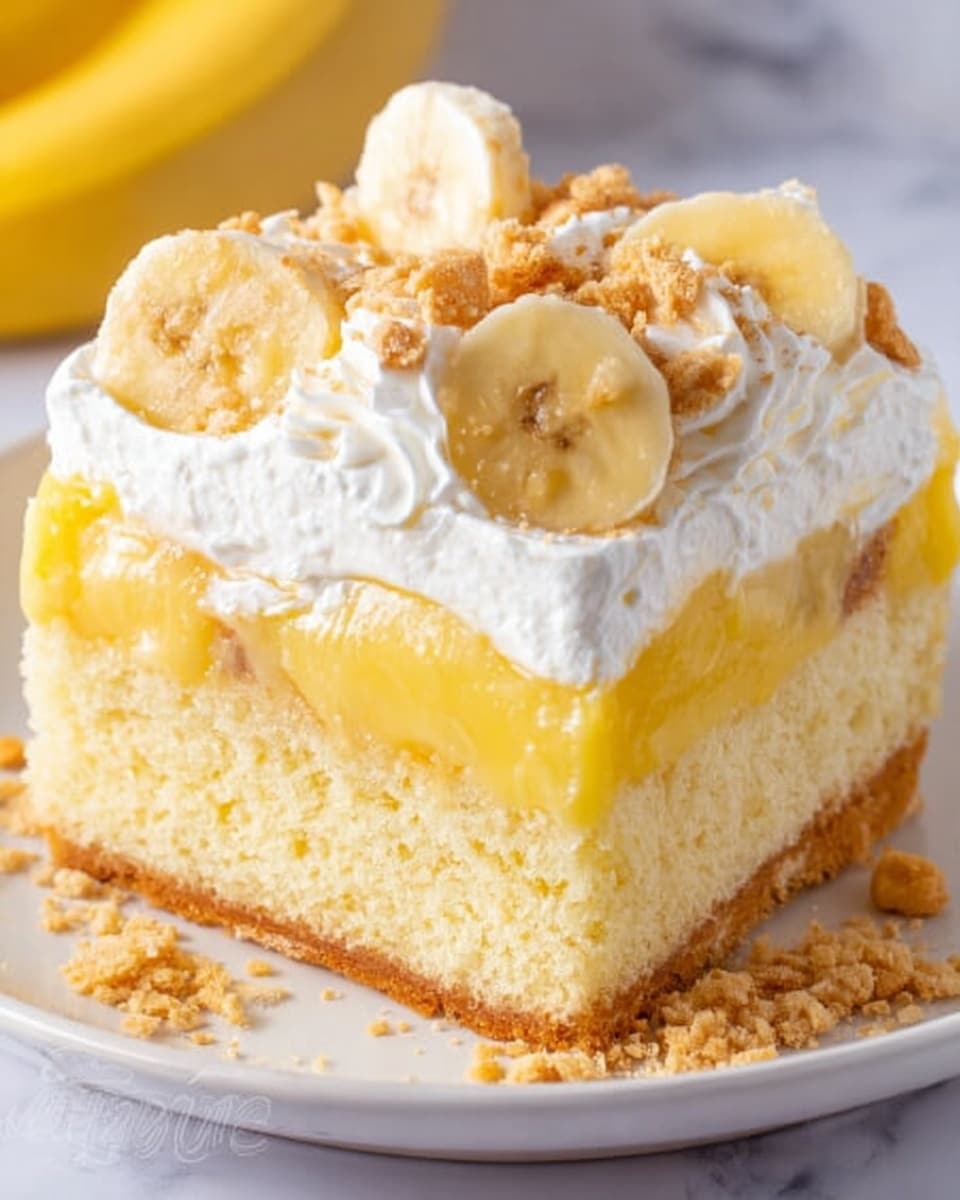
This Banana Pudding Poke Cake Recipe is one of those desserts that just feels like a warm hug on a plate. I absolutely love how the pudding seeps into the cake’s holes, giving every bite this perfect creamy twist that’s both nostalgic and refreshingly simple. If you’re looking for a crowd-pleaser for summer parties or a family dessert that’s quick to put together, this recipe hits all the right notes.
When I first tried this Banana Pudding Poke Cake Recipe, I was amazed at how easy it was to elevate a boxed cake mix with just a few fun additions. You’ll find that it’s not only a breeze to prepare but also flexible enough for last-minute tweaks. Trust me, once you nail the pudding soak-in and the whipped topping spread, it’s guaranteed to become a favorite on your dessert rotation.
Why You’ll Love This Recipe
- Effortless Yet Impressive: This poke cake uses a boxed mix, but the final result tastes like you spent hours on it.
- Perfect Texture: The pudding soaks into the cake holes, creating a moist, creamy dessert that’s far from dry.
- Family Favorite: Kids and adults alike go crazy for the combination of bananas, vanilla wafers, and whipped topping.
- Great for Any Occasion: It’s ideal for potlucks, picnics, or a simple weeknight treat that feels special.
Ingredients You’ll Need
Each ingredient in this Banana Pudding Poke Cake Recipe is chosen for its role in layering flavors and textures. You’ll want to pick ripe bananas and a quality pudding mix to make this recipe shine.
- Yellow cake mix: Boxed mixes are great for convenience – pick your favorite brand, and you’ll have a solid cake base that’s easy to prepare.
- Banana instant pudding mix: The key to that lovely banana flavor; two small boxes ensure the pudding layer is rich and tasty.
- Cold milk: Makes the pudding smooth and creamy – make sure it’s cold to help the pudding set properly.
- Frozen whipped topping or homemade whipped cream: Either works beautifully – whipped cream adds a fresh touch if you have time.
- Bananas: Fresh bananas are sliced just before serving to keep them from browning and add that signature flavor.
- Nilla wafers: Crumbled on top for crunch – these are classic with banana pudding and bring a nostalgic note.
Variations
I love making this Banana Pudding Poke Cake Recipe my own by switching up some ingredients or adding little extras. It invites you to experiment, so don’t hesitate to play around with your favorite add-ins.
- Make it gluten-free: I’ve swapped the cake mix for a gluten-free version, and it’s just as moist and delicious.
- Add cinnamon or nutmeg: A pinch of warm spices in the pudding layer gives it a cozy twist that my whole family raves about.
- Use fresh whipped cream: Homemade whipped cream makes it feel extra special, and you’ll notice the flavor difference immediately.
- Top with toasted pecans: For an added crunch and nutty flavor, sprinkle some toasted pecans alongside the Nilla wafers.
How to Make Banana Pudding Poke Cake Recipe
Step 1: Bake Your Cake Base
Preheat your oven according to the directions on the cake mix box, then prepare the batter just like it says. Pour it into a 13×9-inch pan and bake as directed. When it’s done, let it cool in the pan for at least 5 minutes before moving on. Keeping it in the pan helps it cool evenly and prevents crumbs from breaking off when you poke the holes.
Step 2: Poke and Prepare for Pudding
Using the handle of a wooden spoon, poke holes evenly spaced about ½ to 1 inch apart, almost all the way down to the bottom of the cake. I discovered that wiping the spoon handle between pokes helps stop it from dragging cake bits out, which keeps your holes clean and consistent. This is where the magic happens – the pudding will seep into these holes for that signature moist texture.
Step 3: Mix and Pour Banana Pudding
Combine your banana instant pudding mix with cold milk, stirring until smooth. The pudding thickens quickly, so work efficiently. Once your cake is completely cooled, pour the pudding over the cake and gently spread it so it seeps into every hole and covers the surface. Pop the cake in the fridge for about an hour—this sets the pudding just right and makes it easier to add the whipped topping.
Step 4: Spread Whipped Topping and Add Final Touches
After the pudding layer has set, evenly spread your whipped topping or whipped cream over the cake. You want this layer smooth and generous—it adds a light, creamy finish that balances the banana flavor. Just before serving, sprinkle crumbled Nilla wafers and fresh banana slices on top. I’ve learned that adding bananas too early leads to browning, so slice them last minute for the best presentation.
Pro Tips for Making Banana Pudding Poke Cake Recipe
- Cool Completely Before Pudding: I used to pour pudding on warm cake, but cooling fully avoids the pudding melting and ensures perfect soaking.
- Poke Holes with Care: Wiping your spoon handle between pokes prevents cake from tearing and keeps holes neat.
- Chill Before Adding Whipped Topping: Setting the pudding layer in the fridge for an hour makes spreading the whipped topping easier and cleaner.
- Add Bananas Last Minute: Slicing bananas just before serving keeps them fresh and prevents them from turning brown.
How to Serve Banana Pudding Poke Cake Recipe
Garnishes
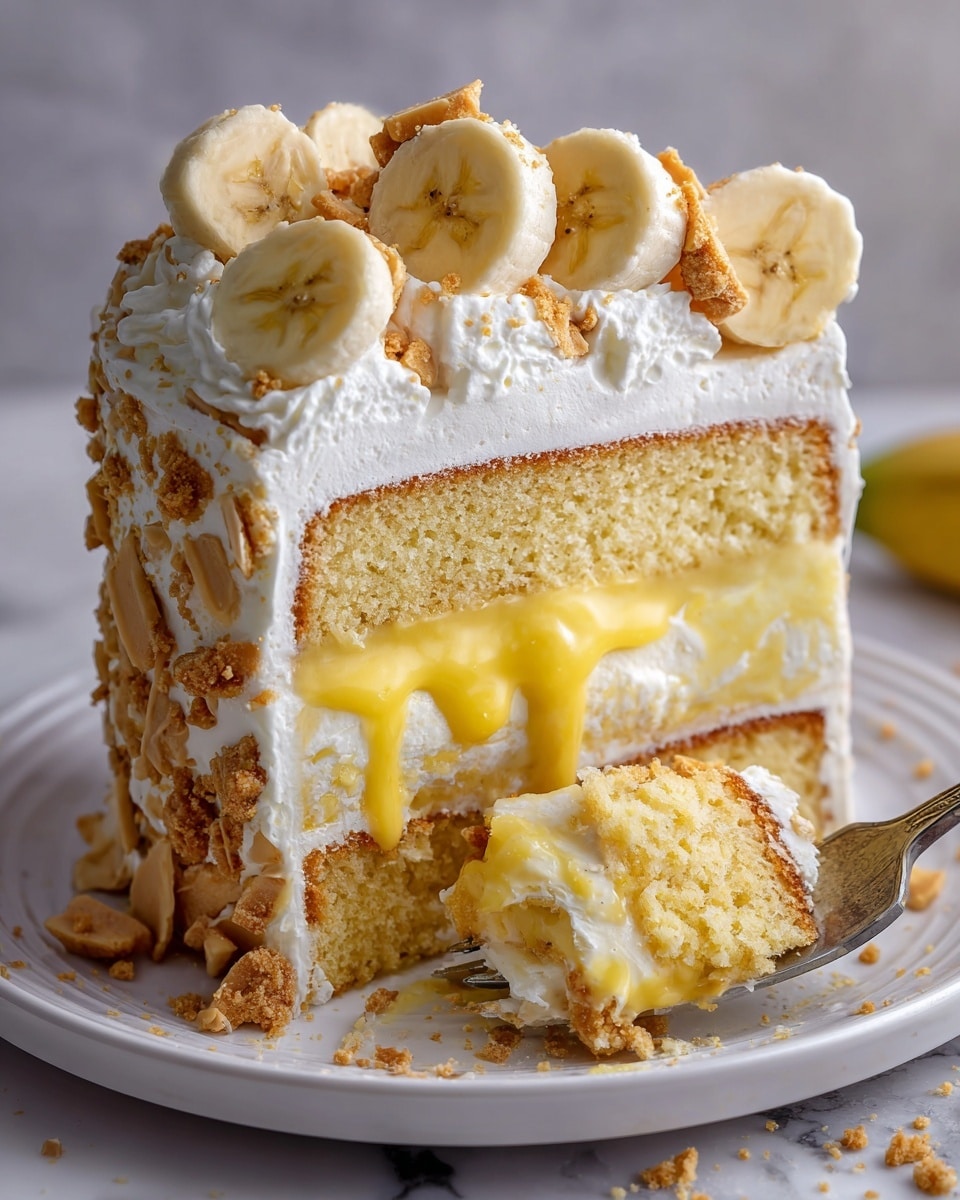
I love topping my Banana Pudding Poke Cake Recipe with extra crumbled Nilla wafers and just a few more fresh banana slices for a little flourish. Sometimes, I add a light dusting of cinnamon or drizzle of caramel to make it feel extra indulgent. It’s those little touches that make serving it even more fun!
Side Dishes
This dessert stands out on its own, but if you want to pair it, I’d suggest a simple cup of coffee or a tall glass of cold milk to balance the sweetness. For summer gatherings, fresh fruit salads or light lemon bars complement it beautifully too.
Creative Ways to Present
For birthdays, I sometimes layer this Banana Pudding Poke Cake Recipe in individual mason jars instead of a big pan—people love the portion control and it looks adorable on the table. Another idea is to pipe whipped cream rosettes on top instead of spreading it, giving it a bakery-style finish that impresses every time.
Make Ahead and Storage
Storing Leftovers
I keep leftover Banana Pudding Poke Cake Recipe covered tightly with plastic wrap or foil in the fridge for up to 3 days. The cake continues to absorb flavors, becoming even more yummy—just remember to add fresh banana slices each time before serving to keep things looking fresh.
Freezing
Freezing this poke cake isn’t my first choice because fresh bananas don’t freeze well. However, you can freeze the cake after baking (before adding pudding and topping) wrapped tightly, then thaw it fully before completing the recipe. This way, you get a fresh dessert vibe without the time crunch.
Reheating
This dessert is best served cold or at room temperature, so reheating isn’t really necessary. If you prefer, you can let a chilled slice sit out for 15 minutes so the flavors soften — it tastes just as amazing this way and avoids melting the whipped topping.
FAQs
-
Can I make Banana Pudding Poke Cake Recipe from scratch?
Absolutely! While I use a boxed cake mix for simplicity, you can bake your own vanilla or yellow cake from scratch. Just make sure it’s fully cooled before poking holes and adding the pudding to prevent mixing issues.
-
What kind of pudding mix should I use?
Banana instant pudding mix is ideal here as it gives that authentic banana flavor and quick setting properties. You want instant pudding, not cook-and-serve, for the best texture and ease.
-
Can I substitute fresh bananas with another fruit?
You can try sliced strawberries or peaches for a different fruit twist. Just keep in mind that bananas complement the pudding flavor best, and other fruits may alter the classic taste you’re aiming for.
-
How do I prevent bananas from browning on the cake?
Slice the bananas right before serving and add them to the top of the cake at the last minute. If needed, you can lightly brush the slices with lemon juice to keep them fresh longer.
Final Thoughts
This Banana Pudding Poke Cake Recipe has become one of my absolute go-to desserts because it’s simple enough for a busy weeknight, but special enough to wow guests. I love sharing it because it brings back that classic Southern comfort with a fun, easy twist that anyone can master. Give it a try—I promise you’ll enjoy how effortless, delicious, and homey it feels every time.
Print
Banana Pudding Poke Cake Recipe
- Prep Time: 10 minutes
- Cook Time: 30 minutes
- Total Time: 1 hour 40 minutes
- Yield: 12 servings
- Category: Desserts
- Method: Baking
- Cuisine: American
Description
A delightful Banana Pudding Poke Cake featuring moist yellow cake infused with creamy banana pudding, topped with fluffy whipped cream, fresh bananas, and crunchy Nilla wafers. Perfect for a quick and easy dessert with classic Southern flavors.
Ingredients
Cake
- 15 oz box yellow cake mix, prepared as directed
Pudding Layer
- 6.4 oz banana instant pudding mix (2 small boxes)
- 3 cups cold milk
Toppings
- 8 oz container frozen whipped topping or homemade whipped cream
- 2 large bananas, sliced
- 5 Nilla wafers, crumbled
Instructions
- Preheat Oven: Preheat your oven to the temperature specified on the yellow cake mix box to ensure proper baking.
- Prepare and Bake Cake: Prepare the yellow cake mix according to the package instructions and bake in a 13×9-inch pan as directed until done.
- Cool Cake Slightly: Remove the cake from the oven and allow it to cool in the pan for at least 5 minutes before proceeding.
- Make Poke Holes: Using the handle of a wooden spoon, poke evenly spaced holes about 1/2 to 1 inch apart all over the cake, making sure holes reach close to the bottom. Wipe the spoon handle between pokes to avoid pulling lumps of cake.
- Prepare Pudding: In a bowl, whisk together the banana instant pudding mix and cold milk according to the pudding packet directions until smooth.
- Pour Pudding Over Cake: When the cake is fully cooled, pour the prepared pudding mixture evenly over the cake, ensuring it seeps into the poke holes and covers the surface. Refrigerate for 1 hour to allow the pudding to set firmly.
- Add Whipped Topping: Once the pudding layer is set, spread the frozen whipped topping or homemade whipped cream evenly over the pudding layer.
- Add Final Toppings: Just before serving, sprinkle the crumbled Nilla wafers and arrange the sliced bananas on top carefully to prevent browning.
Notes
- Chilling the cake with the pudding mixture for about an hour helps the pudding set well, making it easier to spread the whipped topping.
- Keep the cake refrigerated after adding whipped topping to maintain freshness until serving.
- Add the sliced bananas just before serving to avoid browning and maintain a fresh appearance.
Nutrition
- Serving Size: 1 slice
- Calories: 212
- Sugar: 27g
- Sodium: 303mg
- Fat: 3g
- Saturated Fat: 2g
- Unsaturated Fat: 1g
- Trans Fat: 0g
- Carbohydrates: 43g
- Fiber: 1g
- Protein: 3g
- Cholesterol: 7mg

