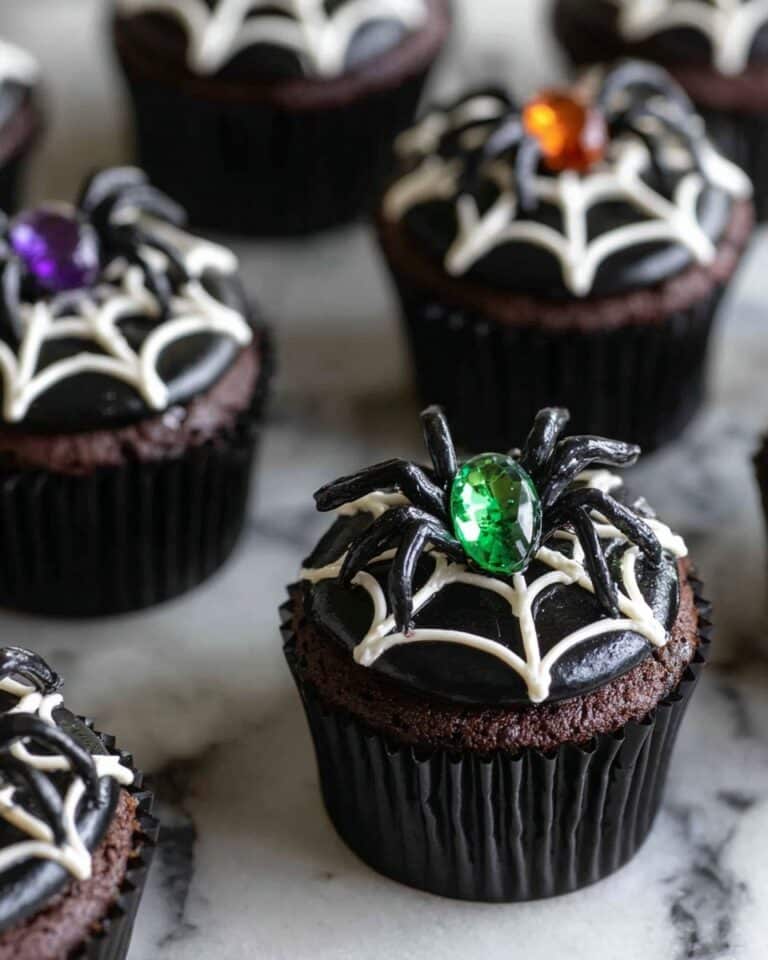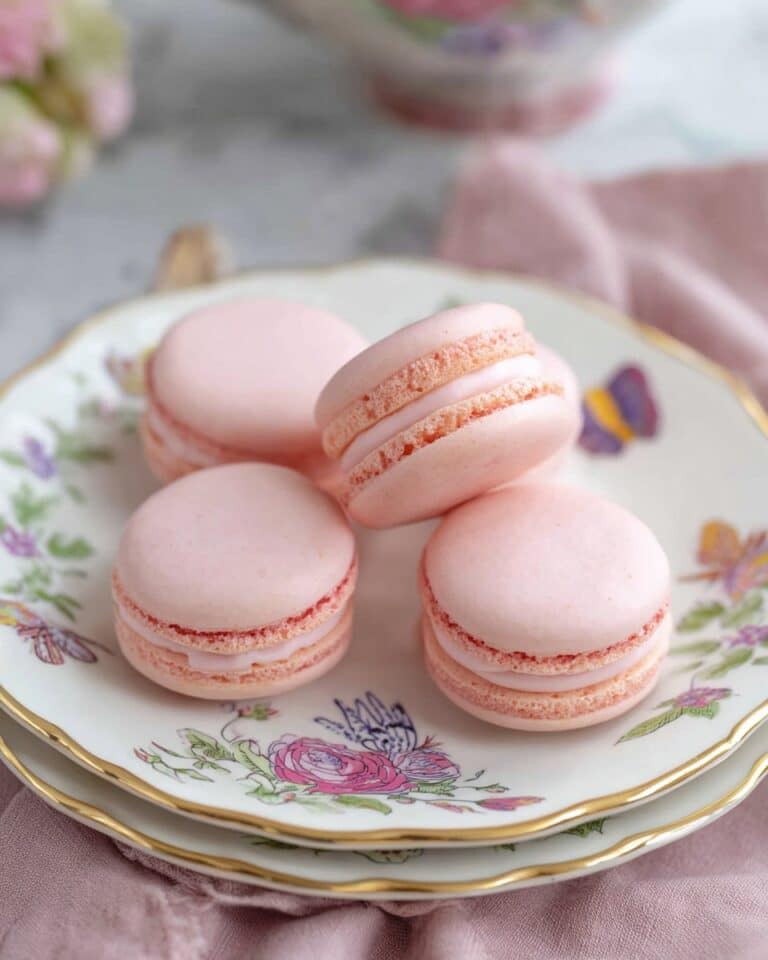
If you’re looking to wow your friends and family this Easter with something both delicious and adorably festive, you’re going to love this Chocolate Bunny Cake with Rich Cocoa Frosting and Easter Toppings Recipe. It’s rich, it’s chocolatey, and it always gets oohs and ahhs at every celebration. Plus, it’s not as tricky as it looks—I’ll walk you through every step so your cake turns out just perfect and picture-ready!
Why You’ll Love This Recipe
- Incredibly Moist Chocolate Cake: The secret blend of cocoa and buttermilk creates the most tender crumb you’ll ever taste in a bunny-shaped cake.
- Decadent Cocoa Frosting: Rich, creamy, and perfectly smooth, it complements the cake without overpowering it.
- Fun and Festive Easter Toppings: From pastel sprinkles to edible flowers, it’s a kit that brings any Easter table to life.
- Beginner-Friendly Instructions: Even if you’re new to baking or cake decorating, this recipe makes sure you succeed.
Ingredients You’ll Need
For a cake this special, you want ingredients that bring the best flavors and texture. I always recommend checking freshness, especially with your cocoa powder and vanilla—it really makes a difference for that deep chocolate taste.
- All-purpose flour: Gives the cake structure; make sure to measure by spooning and leveling for accuracy.
- Cocoa powder (unsweetened): Use good-quality cocoa for intense chocolate flavor.
- Baking powder and baking soda: Both are essential to help the cake rise perfectly and stay fluffy.
- Salt: Just a pinch enhances all the chocolate notes beautifully.
- Sugar (granulated): Sweetly balances the bitterness of cocoa.
- Butter: Softened to room temperature to blend seamlessly into the batter.
- Eggs: They bind everything and add richness; fresh is best.
- Buttermilk: Adds moistness and a slight tang that cuts through the sweetness.
- Vanilla extract: Just a splash lifts all the flavors.
- Sour cream (optional): For extra moistness, I like adding this, especially in warmer weather.
- Powdered sugar: Essential for the silky frosting texture.
- Cocoa powder for frosting: Matches the cake and gives a beautifully rich finish.
- Heavy cream or milk: To adjust frosting consistency—start small and add as needed.
- Easter toppings (sprinkles, edible flowers, mini chocolate eggs): Pick your favorites to make it your own festive masterpiece!
Variations
I love encouraging friends to make this recipe their own! Whether it’s swapping toppings or trying out alternative milks and flours, a little twist here and there makes it fresh every time. Don’t be afraid to get creative!
- Gluten-Free Version: I swapped in a gluten-free flour blend once, and it worked great—just make sure your blend contains xanthan gum for structure.
- Dairy-Free Twist: Using coconut or almond milk with dairy-free butter worked wonderfully when I hosted a vegan friend.
- Nutty Addition: Adding chopped toasted almonds or hazelnuts to the batter gives a lovely crunch that my family adores.
- Flavor Infusions: Try adding a teaspoon of espresso powder to the batter for a mocha hint or a dash of cinnamon for warmth.
How to Make Chocolate Bunny Cake with Rich Cocoa Frosting and Easter Toppings Recipe
Step 1: Prep Your Bunny Cake Pan and Ingredients
Before you dive into mixing, make sure your bunny-shaped cake pan is greased and lightly dusted with cocoa powder to prevent sticking. Also, I always like to have all my ingredients at room temperature before starting—this helps them blend better and results in a smoother batter.
Step 2: Mix the Dry and Wet Ingredients Separately
Whisk together your flour, cocoa powder, baking powder, baking soda, and salt in a large bowl. In a separate bowl, beat your softened butter and sugar until light and fluffy—a good 3-4 minutes with a hand mixer does the trick. Then add eggs one at a time along with vanilla extract. I learned that beating well here really helps give the cake a tender crumb.
Step 3: Combine and Add Buttermilk
Alternate adding your dry ingredients and buttermilk to the butter mixture, starting and ending with the dry. Mix gently—over-mixing is the arch-nemesis of a tender cake. If you decide to add sour cream, fold it in here for extra moistness.
Step 4: Bake and Cool Your Cake
Pour your batter into the prepared bunny pan and smooth the top. Pop it in the oven preheated to 350°F (175°C) for about 40-45 minutes. I always start checking at 35 minutes by inserting a toothpick into the thickest part; when it comes out clean or with a few moist crumbs, it’s done! Let the cake cool in the pan for 15 minutes before turning it out onto a wire rack to cool completely.
Step 5: Whip Up That Rich Cocoa Frosting
This is where the magic happens. Beat softened butter until creamy, then gradually add sifted powdered sugar and cocoa powder. Add a splash of heavy cream or milk to reach that perfect spreading consistency. I always scrape the bowl down a few times to get every bit incorporated for a silky finish.
Step 6: Frost and Decorate Your Bunny
Spread your frosting evenly over the cooled cake. Don’t worry about perfection—there’s charm in a hand-crafted look! Now, here’s the fun part: gently press on your Easter toppings—mini chocolate eggs, pastel sprinkles, or even edible flowers. When I made this for my niece’s party, she loved picking which little decorations to place herself.
Pro Tips for Making Chocolate Bunny Cake with Rich Cocoa Frosting and Easter Toppings Recipe
- Prep Your Pan Carefully: I once skipped the cocoa dusting step and my cake stuck—don’t make this mistake! It really helps get that perfect bunny shape out.
- Room Temperature Ingredients: Mixing cold eggs or butter leads to a lumpy batter—let them sit out for at least 30 minutes.
- Frosting Consistency: Start with less cream and add a teaspoon at a time to avoid a runny frosting that slides off.
- Cooling is Key: Frost only when the cake is completely cool, or your frosting will melt and slide off.
How to Serve Chocolate Bunny Cake with Rich Cocoa Frosting and Easter Toppings Recipe
Garnishes
I usually add a few pastel-colored mini chocolate eggs around the bunny’s base and top it off with some fresh edible flowers for a delicate touch. It’s cute, colorful, and so Instagram-worthy! Using shredded coconut dyed green makes it look like the bunny is sitting in a crunchy grass bed—my kids always get a kick out of that.
Side Dishes
Keep things light and fresh alongside this rich treat. A simple mixed berry salad or a citrusy fruit platter balances sweetness beautifully. Or maybe a scoop of vanilla ice cream if you’re feeling indulgent—trust me, it’s a combo that never disappoints.
Creative Ways to Present
One Easter, I arranged the cake on a big platter surrounded by little “bunny footprints” made from cocoa powder dusted through a stencil. It added a playful narrative to the dessert table that guests loved! You can also place your bunny cake on a bed of green-tinted shredded coconut and scatter pastel jellybeans for an adorable effect.
Make Ahead and Storage
Storing Leftovers
I usually cover leftover cake tightly with plastic wrap and keep it refrigerated. It stays moist and fresh for up to 3 days. Just remember to bring it back to room temperature before serving so the frosting softens and the flavors shine through.
Freezing
If you want to make it ahead for Easter, freeze the un-frosted cake layers wrapped well in plastic wrap and aluminum foil—they freeze beautifully for up to 2 months. Thaw overnight in the fridge before frosting and decorating. I’ve done this many times for last-minute celebrations and it works like a charm.
Reheating
Since it’s a cake, you don’t really reheat it, but if your frosting gets a little too firm from the fridge, just let the cake sit out for 20-30 minutes before serving. That little wait really brings back the creamy texture and rich flavor.
FAQs
-
Can I make this Chocolate Bunny Cake ahead of Easter?
Absolutely! You can bake the cake layers up to two days in advance and store them wrapped tightly in the fridge. The frosting and decorating are best done the day you plan to serve, but layering the cake with simple frosting and wrapping it overnight works well.
-
What kind of cake pan do I need?
You’ll want a bunny-shaped cake pan, which is widely available online or at cake specialty stores around Easter. If you don’t have one, you can try carving a round cake into a bunny shape, though the dedicated pan definitely simplifies things.
-
How do I prevent the cake from sticking to the bunny pan?
Grease the pan thoroughly with softened butter or non-stick spray, then dust with cocoa powder (not flour, since that might alter the color). This double approach gave me zero sticking issues every time.
-
Can I substitute butter for oil in this recipe?
Butter adds flavor and richness that oil can’t quite match here. If you must use oil, expect a slightly different texture and flavor, but it’ll still be delicious!
-
What toppings work best on the cake?
Mini chocolate eggs, pastel-colored sprinkles, edible flowers, and even fresh berries make fantastic toppings. Choose ones that appeal to your family and fit the festive mood!
Final Thoughts
This Chocolate Bunny Cake with Rich Cocoa Frosting and Easter Toppings Recipe has become my go-to Easter showstopper, and I just know it’ll become yours too. It’s the perfect mix of fun, flavor, and tradition, plus it’s easy enough that you don’t have to be a baking pro to nail it. I honestly can’t wait for you to try it—the smiles and “wow”s you’ll get are absolutely worth every minute spent crafting it!
Print
Chocolate Bunny Cake with Rich Cocoa Frosting and Easter Toppings Recipe
- Prep Time: 20 minutes
- Cook Time: 0 minutes
- Total Time: 20 minutes
- Yield: 12 strawberries
- Category: Dessert
- Method: No-Cook
- Cuisine: American
- Diet: Vegetarian
Description
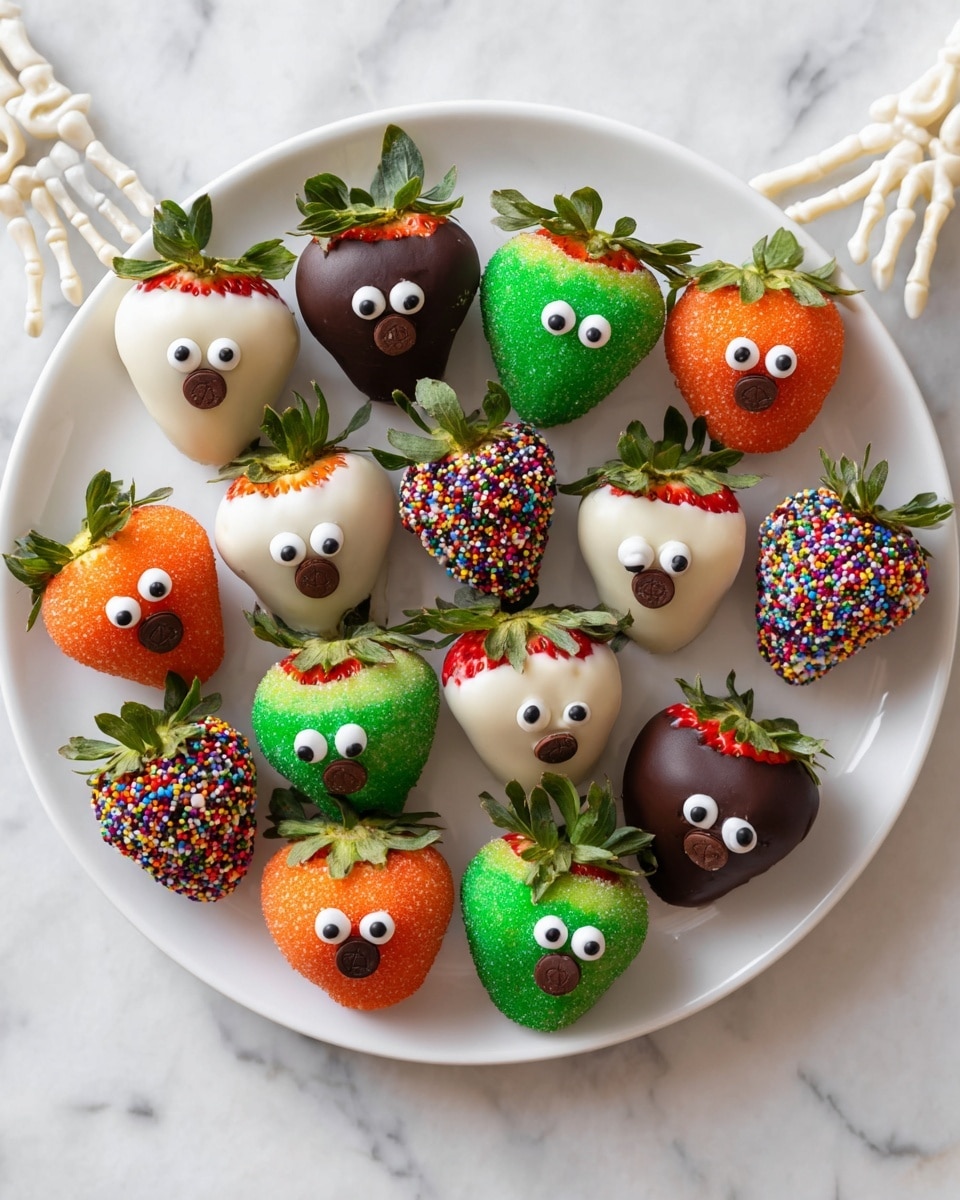
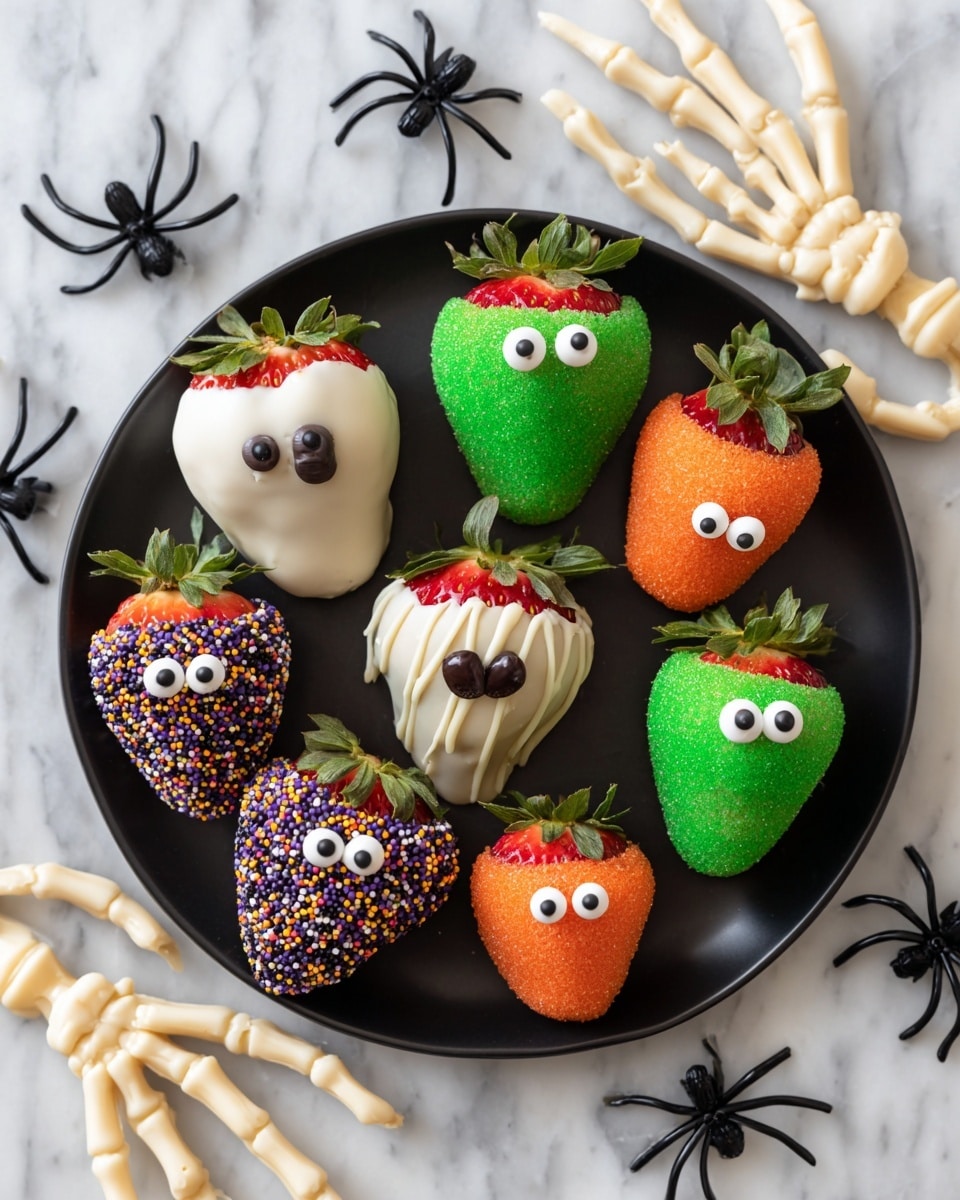
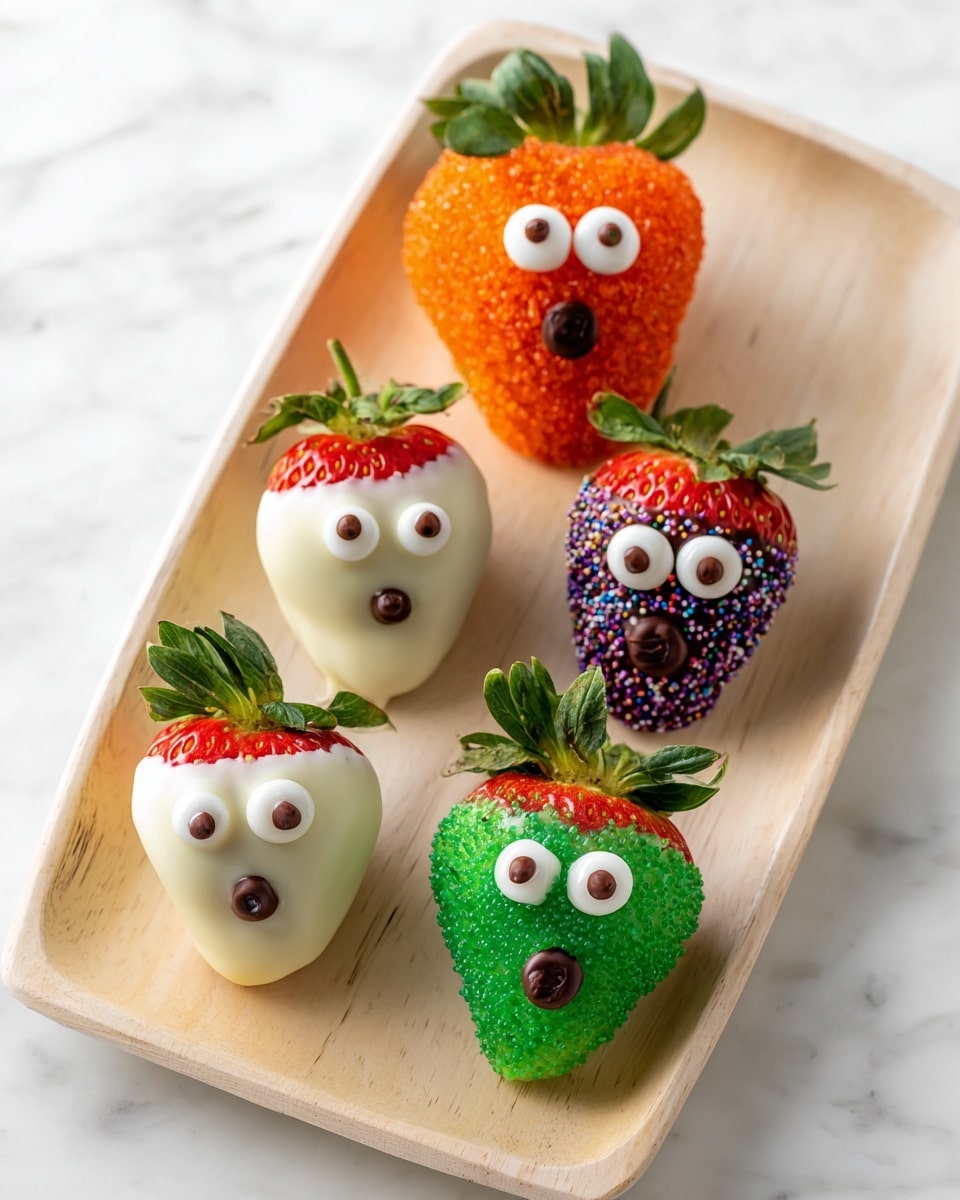
Delightfully spooky and festive, these Easy Halloween Chocolate Covered Strawberries are perfect for a fun Halloween treat. Featuring strawberries dipped in smooth melted chocolate and decorated with candy eyeballs and colorful sprinkles, this no-bake dessert is simple to prepare and sure to impress guests of all ages during Halloween celebrations.
Ingredients
Basic Chocolate Coating
- 6 ounces (170 g) white chocolate, chopped into small pieces or baking chips
- 6 ounces (170 g) chocolate (dark, milk, semi-sweet or white), chopped into small pieces or baking chips
Strawberries
- 12 medium to large strawberries
Decorations
- 24 candy eyeballs
- 12 chocolate chips or chocolate callets
- Halloween sprinkles
- Green sanding sugar sprinkles
- Orange sanding sugar or sparkling sugar sprinkles
Optional
- Extra candy eyeballs and chocolate chips for decoration
Instructions
- Prepare Strawberries: Wash and dry the strawberries thoroughly with paper towels, ensuring they are completely dry to help the chocolate adhere properly.
- Melt Chocolate: Set aside a small handful of the chopped chocolate. Place the remaining chocolate in a heat-proof bowl over a saucepan with 1 inch of barely simmering water, making sure the water does not touch the bowl’s bottom. Stir constantly until the chocolate is melted and smooth. Remove from heat and stir in the reserved chocolate pieces until fully melted and the mixture is shiny and smooth.
- Dip Strawberries: Hold a strawberry by the leaves as a handle, dip it into the melted chocolate, allowing excess chocolate to drip back into the bowl. Gently scrape the bottom of the strawberry on the bowl’s rim to remove drips.
- Decorate Strawberries: Place dipped strawberries on a parchment-lined baking sheet. Decorate immediately with candy eyeballs, chocolate chips, and a variety of sprinkles, depending on the Halloween theme desired. Repeat this process for all strawberries.
- Set Chocolate: Allow the dipped and decorated strawberries to sit at room temperature or in the refrigerator until the chocolate is fully set before serving.
Notes
- Make sure strawberries are completely dry before dipping to ensure the chocolate sticks well.
- Use high-quality chocolate for best flavor and texture.
- Customize decorations with different types and colors of sprinkles to create spooky or festive variations.
- Store strawberries in a cool place and consume within 1-2 days for optimal freshness.
- These treats are perfect for Halloween parties, classroom treats, or festive dessert tables.
Nutrition
- Serving Size: 1 strawberry
- Calories: 120
- Sugar: 15g
- Sodium: 5mg
- Fat: 7g
- Saturated Fat: 4g
- Unsaturated Fat: 2.5g
- Trans Fat: 0g
- Carbohydrates: 15g
- Fiber: 1g
- Protein: 1g
- Cholesterol: 0mg

