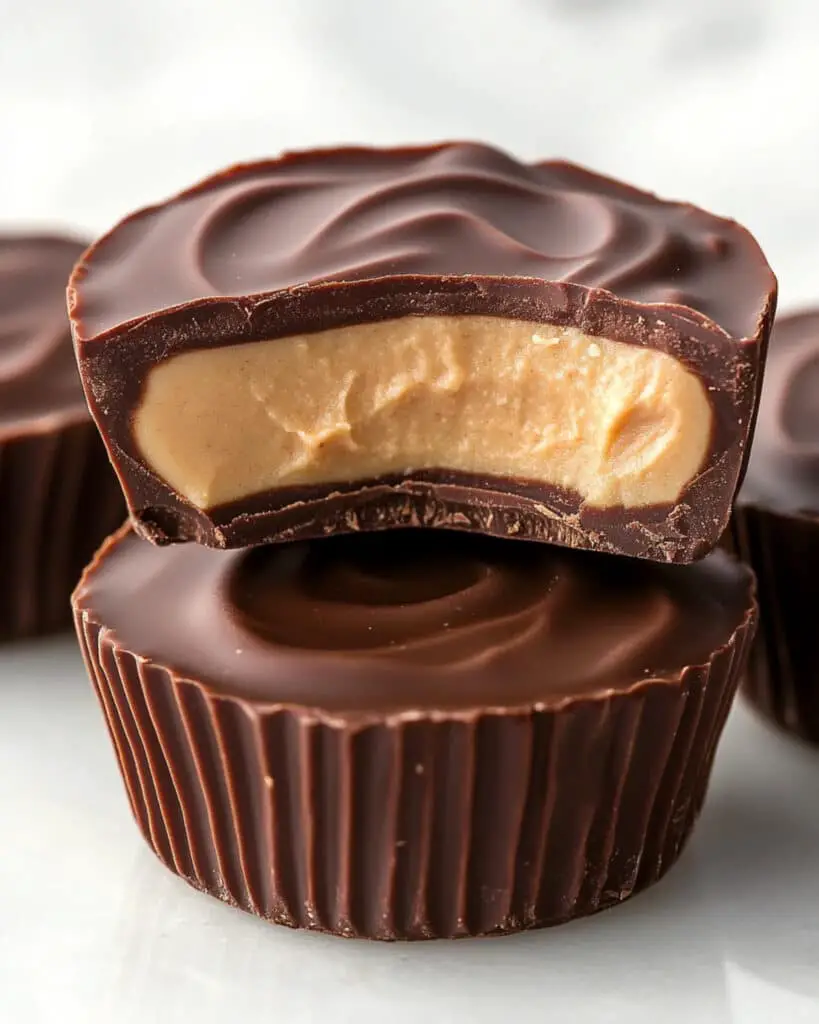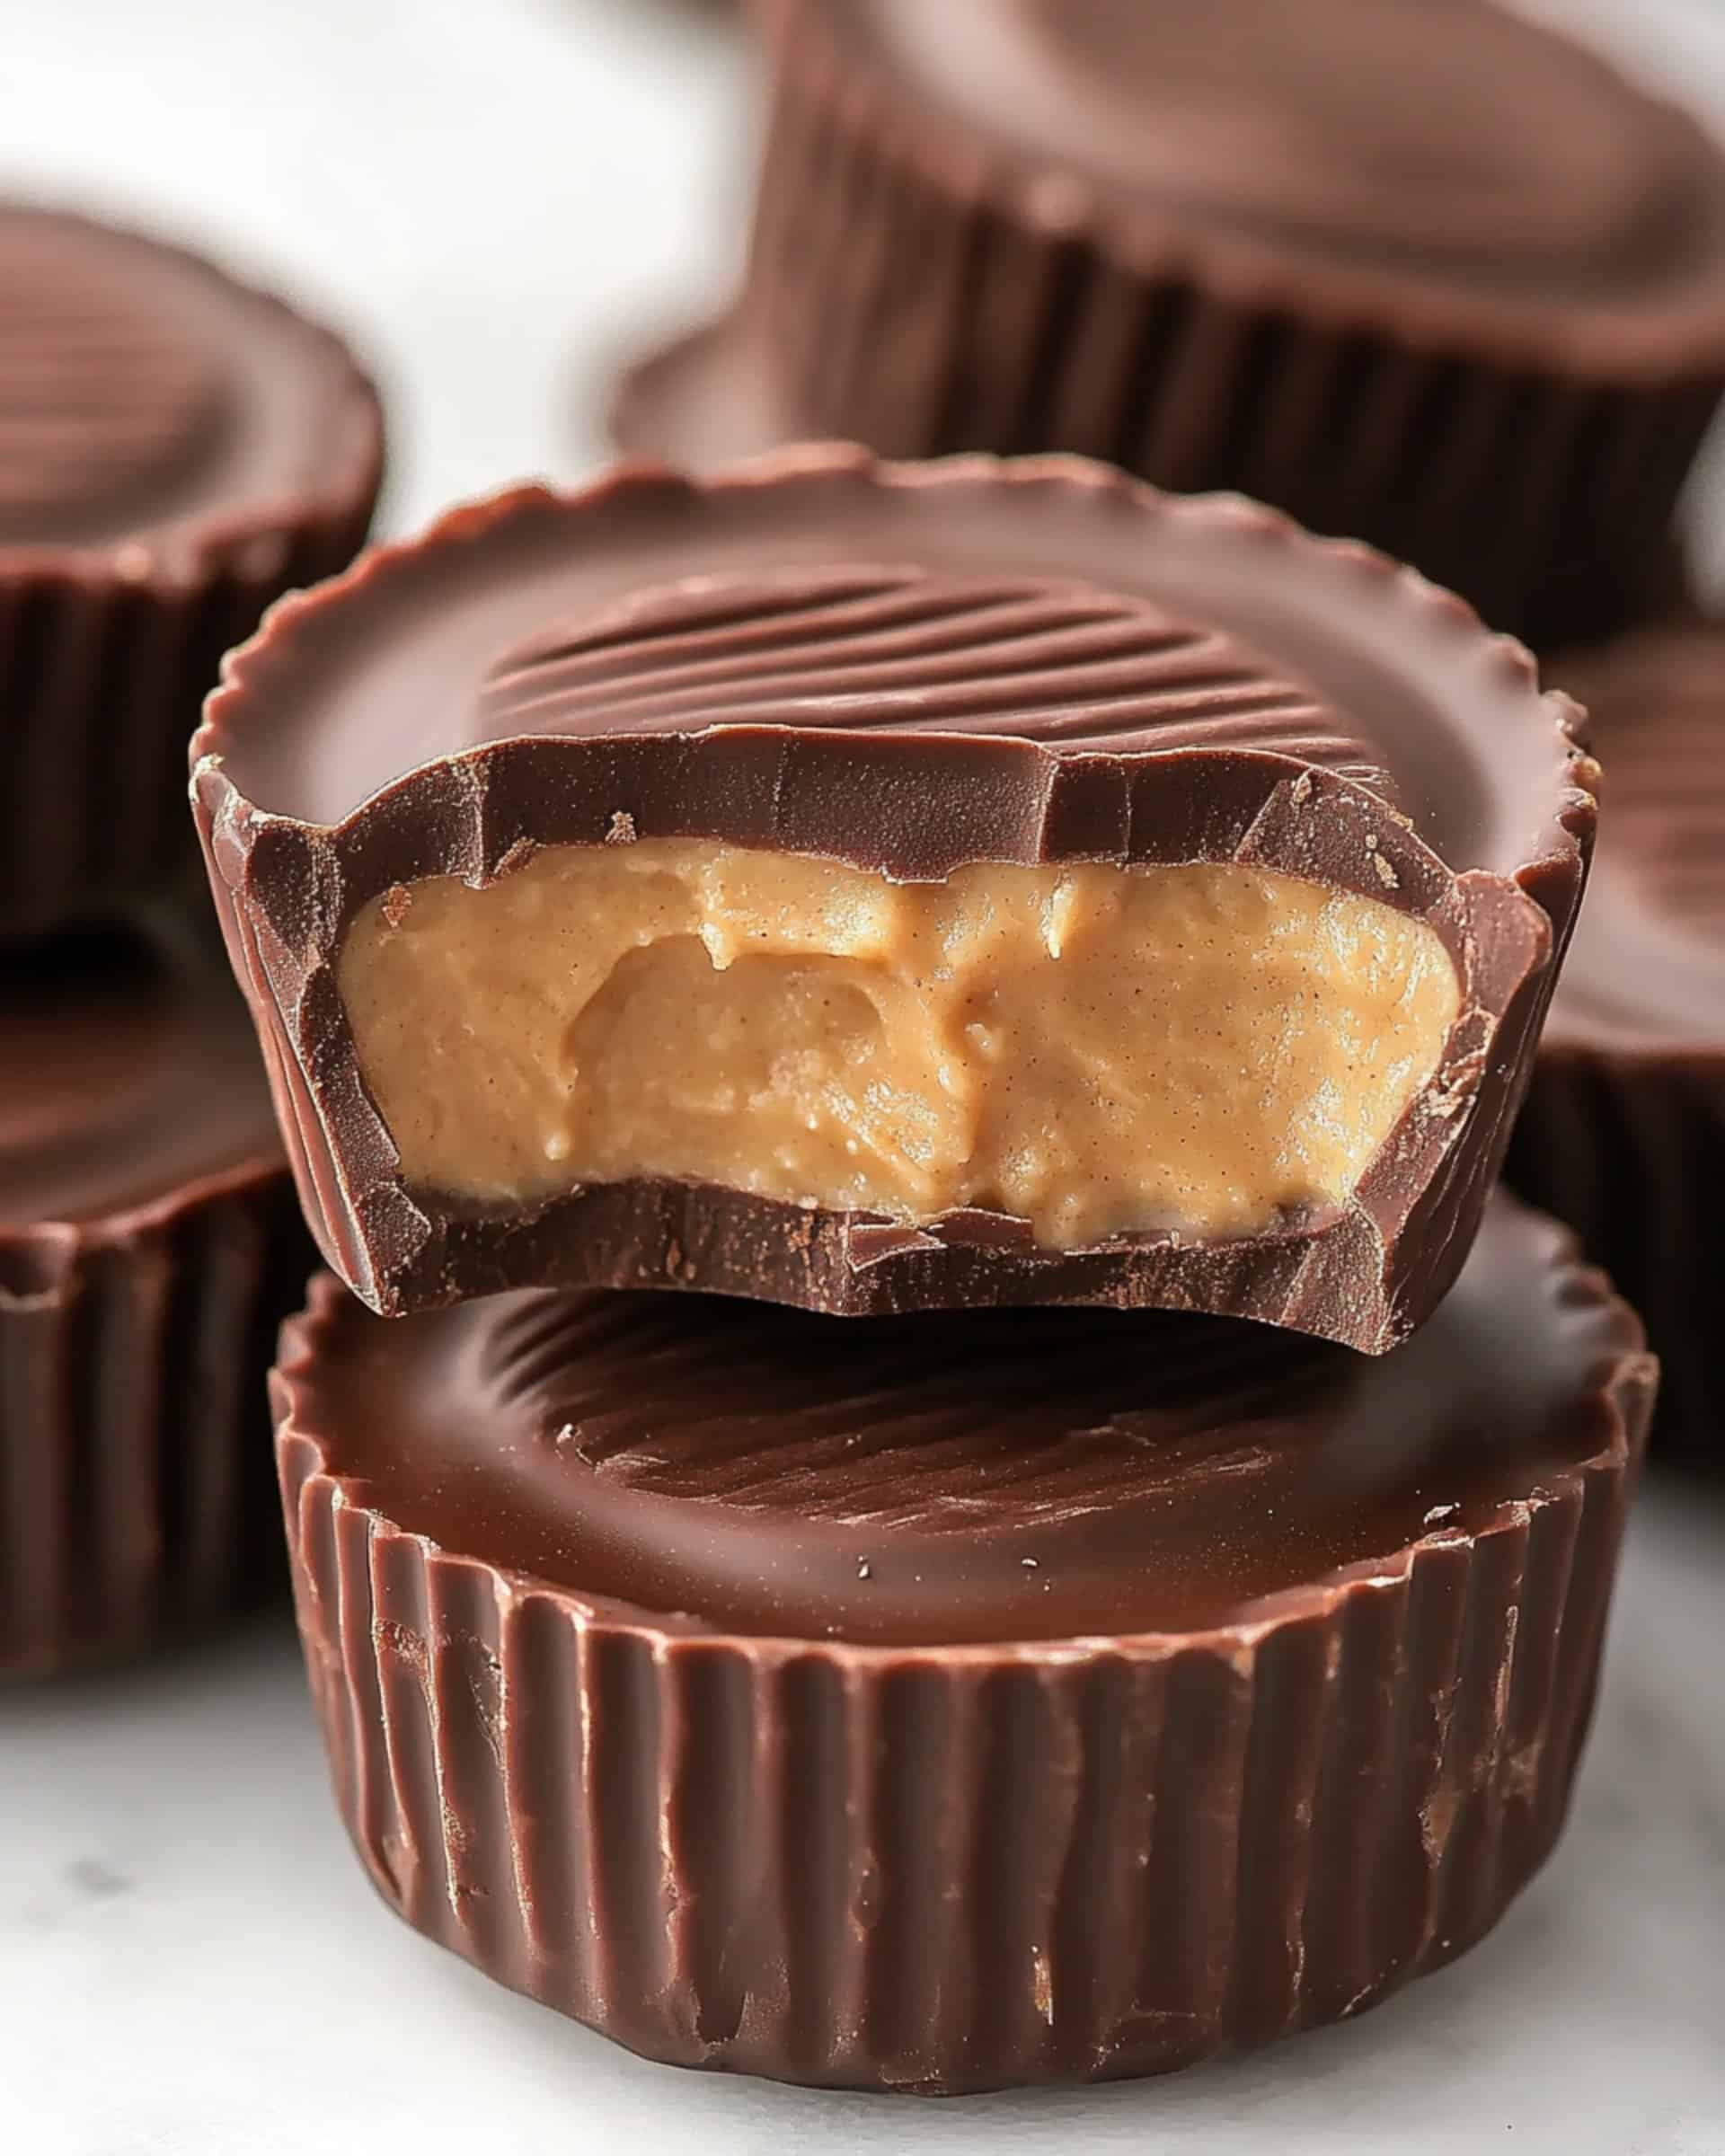
This homemade Chocolate Peanut Butter Cups recipe transforms simple ingredients into an irresistible treat that rivals any store-bought version. The perfect balance of creamy peanut butter filling encased in rich chocolate creates a decadent dessert that’s surprisingly easy to make in your own kitchen. No fancy equipment needed—just a muffin tin, a microwave, and about 40 minutes from start to finish!
Why You’ll Love This Recipe
- No Baking Required: These chocolate peanut butter cups come together without ever turning on your oven—perfect for hot summer days or when you don’t want to heat up the kitchen.
- Better Than Store-Bought: Once you taste these homemade cups with their perfect chocolate-to-peanut butter ratio, you’ll have a hard time going back to commercial versions.
- Customizable: Easily adjust the sweetness, chocolate type, or peanut butter consistency to match your exact preferences.
- Impressive Yet Simple: These look like they took hours to make, but the process is surprisingly straightforward—perfect for impressing guests or gifting to friends.
Ingredients You’ll Need
- Creamy Peanut Butter: The star of the show, providing that classic nutty flavor. Using a quality brand makes a noticeable difference in the final taste.
- Unsalted Butter: Adds richness to the peanut butter filling and helps achieve that perfect creamy texture.
- Powdered Sugar: Sweetens the peanut butter filling and creates that signature smooth, firm center that contrasts beautifully with the chocolate exterior.
- Salt: Enhances all the flavors and balances the sweetness—don’t skip this even if using salted peanut butter.
- Chocolate Chips: Provides the base chocolate flavor. Semi-sweet offers the perfect balance, but milk chocolate creates a sweeter treat if that’s your preference.
- Milk Chocolate Candy Bars: Adding these to the chocolate mixture creates a smoother, creamier chocolate shell than using chips alone.
- Cupcake Liners: While not an ingredient, these are essential for shaping your cups and making them easy to remove.
Note: You’ll find the complete list of ingredients, along with their exact measurements, in the printable recipe card at the bottom of this post.
Variations
Want to customize your chocolate peanut butter cups? Here are some delicious twists:
- Crunchy Version: Use crunchy peanut butter or add chopped peanuts to the filling for texture.
- Dark Chocolate Lovers: Substitute dark chocolate chips and bars for a less sweet, more intense chocolate flavor.
- White Chocolate Coating: Create a stunning visual by using white chocolate for the outer shell.
- Flavored Cups: Add a drop of mint extract to the chocolate for a refreshing twist, or mix in orange zest for a chocolate-orange variation.
- Miniature Cups: Use a mini muffin tin for bite-sized treats perfect for parties.
How to Make Chocolate Peanut Butter Cups
Step 1: Prepare Your Muffin Tin
Line a standard muffin tin with paper liners. This recipe will make approximately 18 cups, so you might need to work in batches.
Step 2: Create the Filling
In a medium bowl, mix ½ cup of peanut butter, softened butter, powdered sugar, and salt until completely smooth. The mixture should be thick enough to hold its shape but still pliable.
Step 3: Prepare the Chocolate Mixture
Combine chocolate chips, chopped chocolate bars, and the remaining peanut butter in a microwave-safe bowl. Heat for 1 minute, then stir thoroughly. Continue heating in short 10-20 second intervals, stirring after each until the chocolate is almost melted. Remove and continue stirring until completely smooth.
Step 4: Assemble the Cups
Using a cookie scoop, add a layer of chocolate mixture to the bottom of each paper liner. Then add about 1 teaspoon of the peanut butter mixture on top of each chocolate layer. Finally, cover with the remaining chocolate mixture.
Step 5: Set and Store
Place the muffin tin in the refrigerator until the cups are completely set, about 30 minutes. Once firm, transfer to an airtight container and keep refrigerated until ready to serve.
Pro Tips for Making the Recipe
- Room Temperature Ingredients: Make sure your butter is properly softened for the smoothest peanut butter filling.
- Don’t Overheat the Chocolate: The secret to silky-smooth chocolate is to stop microwaving just before it’s completely melted and let the residual heat finish the job.
- Flatten the Peanut Butter: Whether you roll the filling into discs or dollop it with a spoon, try to keep it centered and not touching the sides of the liner for that classic cup appearance.
- Tap to Remove Air Bubbles: Gently tap the muffin tin on the counter after adding each layer of chocolate to eliminate air pockets.
- Chill Between Layers: For picture-perfect cups, refrigerate for a few minutes after the first chocolate layer before adding the peanut butter filling.
How to Serve
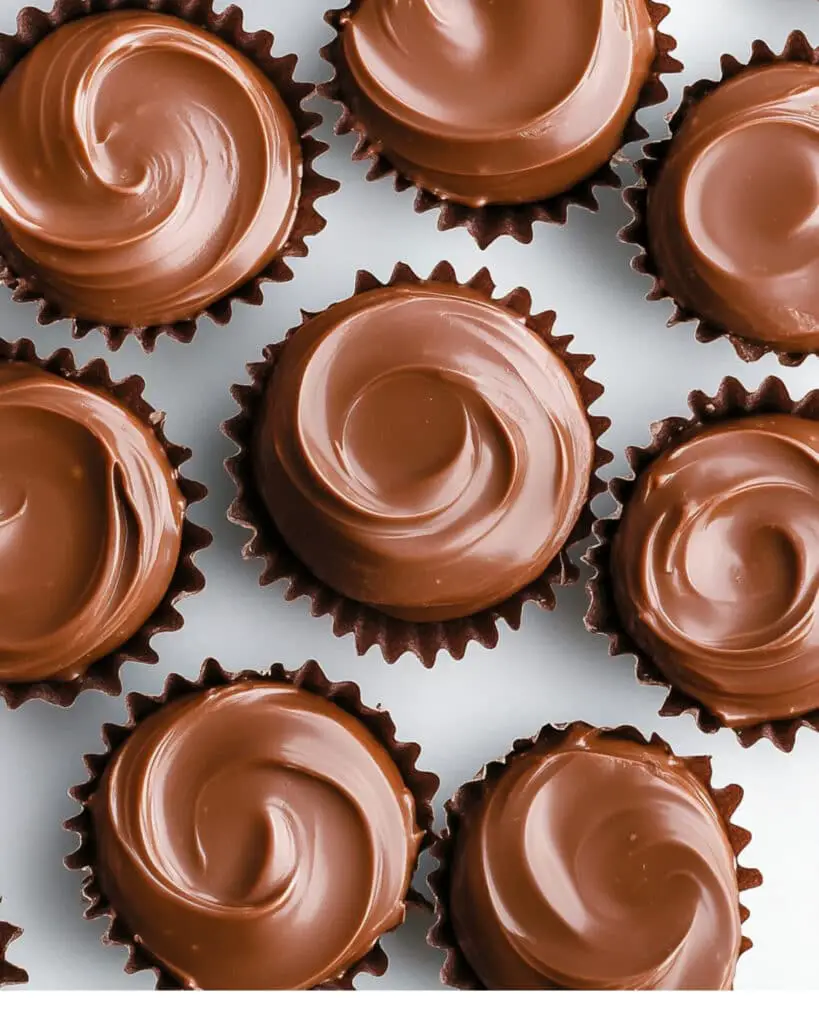
These homemade chocolate peanut butter cups are versatile treats that can be enjoyed in multiple ways:
Simple Serving
Serve them straight from the refrigerator for a firm, classic experience, or let them sit at room temperature for 5-10 minutes for a slightly softer texture.
Dessert Platter
Create an impressive dessert board by arranging these cups alongside fresh berries, small cookies, and other bite-sized treats.
Ice Cream Topping
Chop a cup into pieces and sprinkle over vanilla ice cream for an elevated sundae experience.
Gift Giving
Stack a few cups in a cellophane bag tied with ribbon for a thoughtful homemade gift that anyone would appreciate.
Make Ahead and Storage
Storing Leftovers
Store your peanut butter cups in an airtight container in the refrigerator for up to 2 weeks. The cool temperature keeps the chocolate firm and prevents melting.
Freezing
These cups freeze beautifully! Place them in a single layer in a freezer-safe container with parchment between layers and freeze for up to 3 months. They’re delicious eaten slightly frozen too!
Room Temperature
While best kept refrigerated for storage, these cups can sit at room temperature for several hours during a party or gathering without issue—though they will soften somewhat.
FAQs
-
Can I use natural peanut butter for this recipe?
Natural peanut butter tends to be more oily and less stable at room temperature. While you can use it, the filling may be softer and less consistent. If using natural peanut butter, you might need to add extra powdered sugar to achieve the right consistency, and keep the cups refrigerated until serving.
-
What if I don’t have chocolate bars, can I just use all chocolate chips?
Absolutely! The recipe will still work perfectly with just chocolate chips. The candy bars add an extra creaminess to the chocolate coating, but using all chips will still give you delicious results. Consider adding a tablespoon of shortening or coconut oil to your chocolate to help it melt more smoothly.
-
My peanut butter filling is too sticky to work with. What should I do?
If your filling is too sticky, refrigerate it for 15-20 minutes before handling. You can also add a bit more powdered sugar, a tablespoon at a time, until it reaches a consistency that’s easier to work with. Using lightly dampened fingers or a spoon coated with a thin layer of oil can also help prevent sticking.
-
How do I prevent the chocolate from blooming (getting that white discoloration)?
Chocolate bloom occurs when chocolate is exposed to temperature fluctuations. To prevent this, make sure your cups are completely set before removing them from the refrigerator, and store them at a consistent temperature. Also, avoid moving them directly from the refrigerator to a warm room—let them gradually come to room temperature.
Final Thoughts
These Chocolate Peanut Butter Cups are more than just a homemade version of a classic treat—they’re a chance to create something truly special with simple ingredients and minimal effort. The combination of smooth peanut butter filling and rich chocolate coating creates pure magic that will have everyone asking for your secret recipe. Whether you’re making them for yourself as a well-deserved treat or sharing them with loved ones, these cups are guaranteed to bring smiles all around. Give them a try today, and discover how satisfying it is to create something this delicious in your own kitchen!
Print
Chocolate Peanut Butter Cups Recipe
- Prep Time: 10 minutes
- Cook Time: 30 minutes
- Total Time: 40 minutes
- Yield: 18 cups
- Category: Desserts
- Method: No-cook
- Cuisine: American
Description
These Chocolate Peanut Butter Cups are a delectable blend of creamy peanut butter and rich chocolate, perfect for satisfying your sweet tooth. Made with just a few simple ingredients, they’re easy to prepare and perfect for snacking, dessert, or gifting. Impress your friends and family with these homemade treats that rival any store-bought version.
Ingredients
For the Peanut Butter Mixture:
- 1 cup creamy peanut butter, divided
- 1 1/2 tablespoons unsalted butter, softened
- 1/2 cup powdered sugar
- 1/2 teaspoon salt
For the Chocolate Base:
- 1 bag (11.5 oz) chocolate chips, semi-sweet or milk
- 4 (1.55 oz each) milk chocolate candy bars, coarsely chopped
Instructions
- Prepare the Liners
Line a muffin tin with cupcake liners and set it aside. This will ensure your peanut butter cups hold their shape while setting. - Make the Peanut Butter Mixture
In a medium-sized bowl, combine ½ cup of peanut butter, softened butter, powdered sugar, and salt. Mix until smooth and uniformly blended. Set this mixture aside for later use. - Melt the Chocolate
In a microwave-safe bowl, add the chocolate chips, chopped chocolate bars, and the remaining ½ cup of peanut butter.
Heat the mixture in the microwave for 1 minute, then stir well. Continue heating in 10-20 second increments, stirring in between, until the chocolate is almost completely melted. Stir until the residual heat melts the remaining chocolate and the mixture is fully smooth. - Layer the Chocolate and Peanut Butter
Using a cookie dough scoop, add a layer of melted chocolate to the base of each paper liner in the muffin tin. Tap the tin gently to smooth it out. - Add the Peanut Butter Mixture
Take about 1 teaspoon of the prepared peanut butter mixture and place it on top of the chocolate in each liner. (See notes below for an optional tip on how to shape the peanut butter mixture.) - Finish with Chocolate
Spoon another layer of the melted chocolate over the peanut butter mixture, ensuring it is fully covered. - Set and Store
Place the muffin tin in the refrigerator to chill until the chocolate is fully set. Once hardened, transfer the cups to an airtight container and keep them refrigerated until ready to serve.
Notes
- To make the peanut butter layer neater, you can shape the peanut butter mixture into small balls and flatten them slightly before placing them on top of the chocolate. Alternatively, you can just drop it in with a spoon.
- These cups can also be frozen for up to a month. Just thaw in the refrigerator before serving!
Nutrition
- Serving Size: 1 cup
- Calories: 210
- Sugar: 15
- Sodium: 80mg
- Fat: 12g
- Saturated Fat: 6g
- Unsaturated Fat: 6g
- Trans Fat: 0g
- Carbohydrates: 22g
- Fiber: 2g
- Protein: 3g
- Cholesterol: 5mg

