If you’re looking to impress your friends and family this Halloween with something that’s just as adorable as it is delicious, you’ve got to try this Easy Decorated Halloween Cupcakes Recipe. I absolutely love how this turns out every time — the cupcakes are moist, the decorations are playful, and best of all, you don’t have to be a pro baker to nail the look. Trust me, once you try this, you’ll be whipping these up for every spooky occasion!
Why You’ll Love This Recipe
- Simple Decoration: You don’t need fancy tools—just some basic supplies and a little creativity.
- Perfectly Moist Cupcakes: The texture is always just right—soft, not dry, making every bite a treat.
- Kid-Friendly Fun: This is a fantastic recipe to make with kids, sparking their creativity and excitement for Halloween.
- Customizable Flavors: You can easily tweak the frosting and decorations to match your own flavor preferences or party theme.
Ingredients You’ll Need
This recipe uses ingredients that you probably already have on hand because it’s based on classic vanilla cupcakes paired with fun, festive decorations. When shopping, grab quality ingredients like real vanilla extract and fresh butter for the best flavor.
- All-purpose flour: This gives your cupcakes structure without weighing them down.
- Baking powder: Makes sure your cupcakes rise perfectly fluffy every time.
- Salt: Just a pinch to balance and enhance the other flavors.
- Unsalted butter: Use room temperature for easier mixing and a creamier batter.
- Sugar: Granulated sugar sweetens without overpowering the delicate cupcake flavor.
- Eggs: Bind everything together and add richness — always use fresh eggs.
- Vanilla extract: This is key to that warm, comforting cupcake flavor.
- Milk: Keeps the batter moist and easy to work with.
- Buttercream frosting: You can make your own or buy a good-quality pre-made option to save time.
- Food coloring: Orange, black, green, purple—anything you want to make your Halloween theme pop!
- Halloween-themed sprinkles or candy: For that final festive touch.
Variations
One of the things I love most about this Easy Decorated Halloween Cupcakes Recipe is how flexible it is. I’ve played around with several fun variations, and you can easily make it your own depending on the vibe you want.
- Flavor swaps: Try adding a touch of pumpkin spice or apple cinnamon into the batter for a seasonal twist—my family went crazy for the pumpkin spice version last year!
- Frosting fun: Swap out traditional buttercream for cream cheese frosting for a tangy flair, or even chocolate ganache if you’re feeling decadent.
- Dietary options: I’ve made a gluten-free batch using a cup-for-cup flour blend and they turned out just as yummy—if you have dietary needs, this recipe adapts beautifully.
- Spooky themes: Decorate with gummy worms, candy eyeballs, or edible glitter for an extra eerie effect that always sparks conversation.
How to Make Easy Decorated Halloween Cupcakes Recipe
Step 1: Prep Your Batter Like a Pro
Start by preheating your oven and lining a muffin tin with cupcake liners—trust me, skipping this step is a recipe for sticky mess! Then, cream together the softened butter and sugar until light and fluffy; this is what makes your cupcakes tender and soft. Adding eggs one at a time helps the batter emulsify, which means no giant egg clumps. When you add your vanilla and milk, alternate with the dry ingredients to keep the batter smooth and avoid over-mixing. You’ll get a silky, pourable consistency that’s easy to divide into your cupcake liners.
Step 2: Bake and Cool Your Cupcakes Perfectly
Bake the cupcakes until a toothpick inserted in the middle comes out clean—usually around 18-22 minutes. Here’s what I learned: ovens vary wildly, so start checking at 16 minutes so they don’t overbake! Once out, let them cool in the pan for a few minutes before transferring to a wire rack; cooling completely is key so your frosting doesn’t melt.
Step 3: Decorate Your Cupcakes with Spooky Flair
Here’s the fun part—the decorations! I like to tint my frosting with gel food coloring since it’s vibrant and won’t water down your frosting. Use piping bags with simple round or star tips to create swirls, spider webs, or ghost shapes. You don’t have to be perfect; sometimes a messy, playful look adds character. Finally, sprinkle on candy eyes, edible glitter, or mini chocolate chips to bring each cupcake to life. My nieces could hardly wait to dive right in!
Pro Tips for Making Easy Decorated Halloween Cupcakes Recipe
- Room Temperature Ingredients: Always use room temp eggs and butter — this makes mixing easier and gives you a fluffier cupcake.
- Don’t Overmix Batter: Stir just until ingredients come together to avoid dense cupcakes.
- Use Gel Food Coloring: For bright, vivid frosting colors without altering texture.
- Decorate Once Cool: Frosting melts quickly on warm cupcakes, so patience pays off.
How to Serve Easy Decorated Halloween Cupcakes Recipe
Garnishes
I like to add simple but delightful garnishes like candy eyeballs, mini gummy spiders, or even edible gold dust for a little sparkle. These finishing touches make the cupcakes pop without any fuss. Plus, the kids love cherry-picked decorations—they become mini cupcake artists themselves!
Side Dishes
Pair your cupcakes with spooky snacks like caramel popcorn, apple slices with cinnamon, or even a fresh fruit platter shaped like a pumpkin. These sides balance out the sweet treats and keep your Halloween snack table interesting and inviting.
Creative Ways to Present
For my Halloween parties, I love arranging the cupcakes on a tiered stand decorated with cobwebs and fake spiders—it’s a showstopper. Another time, I put them in mini cauldrons for a “witch’s brew” table theme, which was a massive hit. Presentation makes all the difference, so don’t hesitate to think outside the cupcake box!
Make Ahead and Storage
Storing Leftovers
If you have leftovers (lucky you!), store them in an airtight container at room temperature for up to 2 days—no fridge needed if your kitchen isn’t too warm. I learned that keeping them covered keeps the cupcakes soft and the frosting fresh.
Freezing
Want to make these ahead of time? You can freeze baked, unfrosted cupcakes for up to 3 months. Let them cool completely, wrap individually in plastic wrap, then place in freezer bags. When ready to use, thaw overnight in the fridge and frost as usual. This trick saved me on one last-minute Halloween party!
Reheating
Reheat leftover cupcakes (without frosting) in the microwave for about 10 seconds to bring back that fresh-from-the-oven warmth. Be careful with frosting though—heated frosting can melt, so plan to frost just before serving.
FAQs
-
Can I make these cupcakes vegan or dairy-free?
Absolutely! You can substitute plant-based butter and milk alternatives like almond or oat milk, and use a flax egg or commercial egg replacer. For frosting, try a vegan buttercream or coconut whipped cream.
-
How do I keep the frosting from melting during decorating?
Make sure your cupcakes are completely cooled before frosting. If your kitchen is warm, chill the frosting briefly for a firmer consistency that’s easier to work with.
-
What’s the best way to get really bright colors for the decorations?
Use gel or paste food coloring instead of liquid—it won’t thin out your frosting and gives you those vivid colors that stand out perfectly on Halloween cupcakes.
-
Can I prepare the frosting a day ahead?
Yes! Make the frosting a day ahead and keep it airtight in the fridge. Before frosting, let it come to room temperature and re-whip if necessary to bring back that fluffy texture.
Final Thoughts
This Easy Decorated Halloween Cupcakes Recipe has become my go-to party treat because it’s fun, forgiving, and simply delicious. Every time I’ve made it, I’ve seen wide smiles and those little eyes light up at the spooky decorations. Whether you’re an experienced baker or just starting out, this recipe welcomes you into the world of festive baking with open arms. You should definitely give it a try—your Halloween celebrations will be all the better for it!
Print
Easy Decorated Halloween Cupcakes Recipe
- Prep Time: 20 minutes
- Cook Time: 10 minutes
- Total Time: 60 minutes
- Yield: Approximately 225 cookies
- Category: Dessert
- Method: Baking
- Cuisine: American
Description
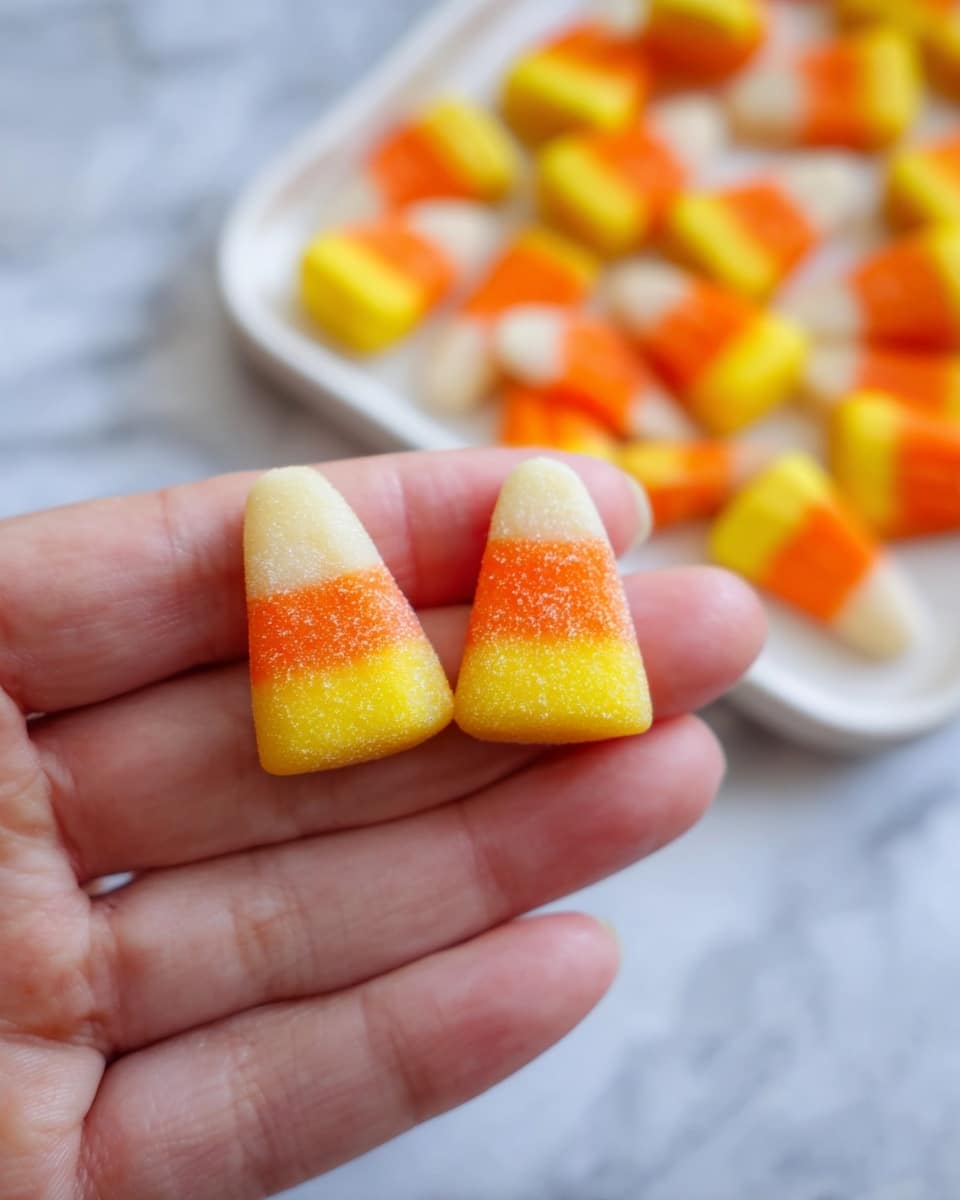
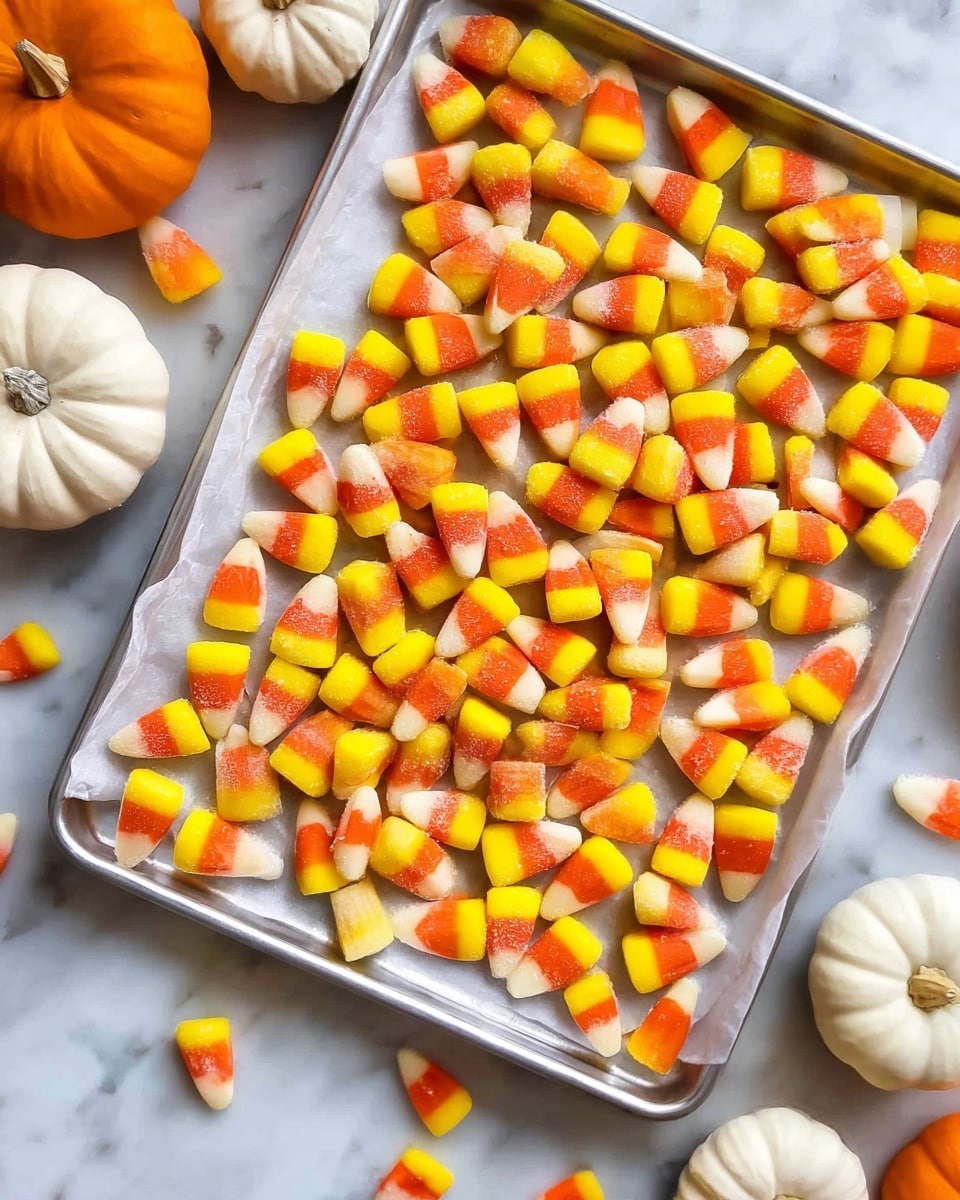
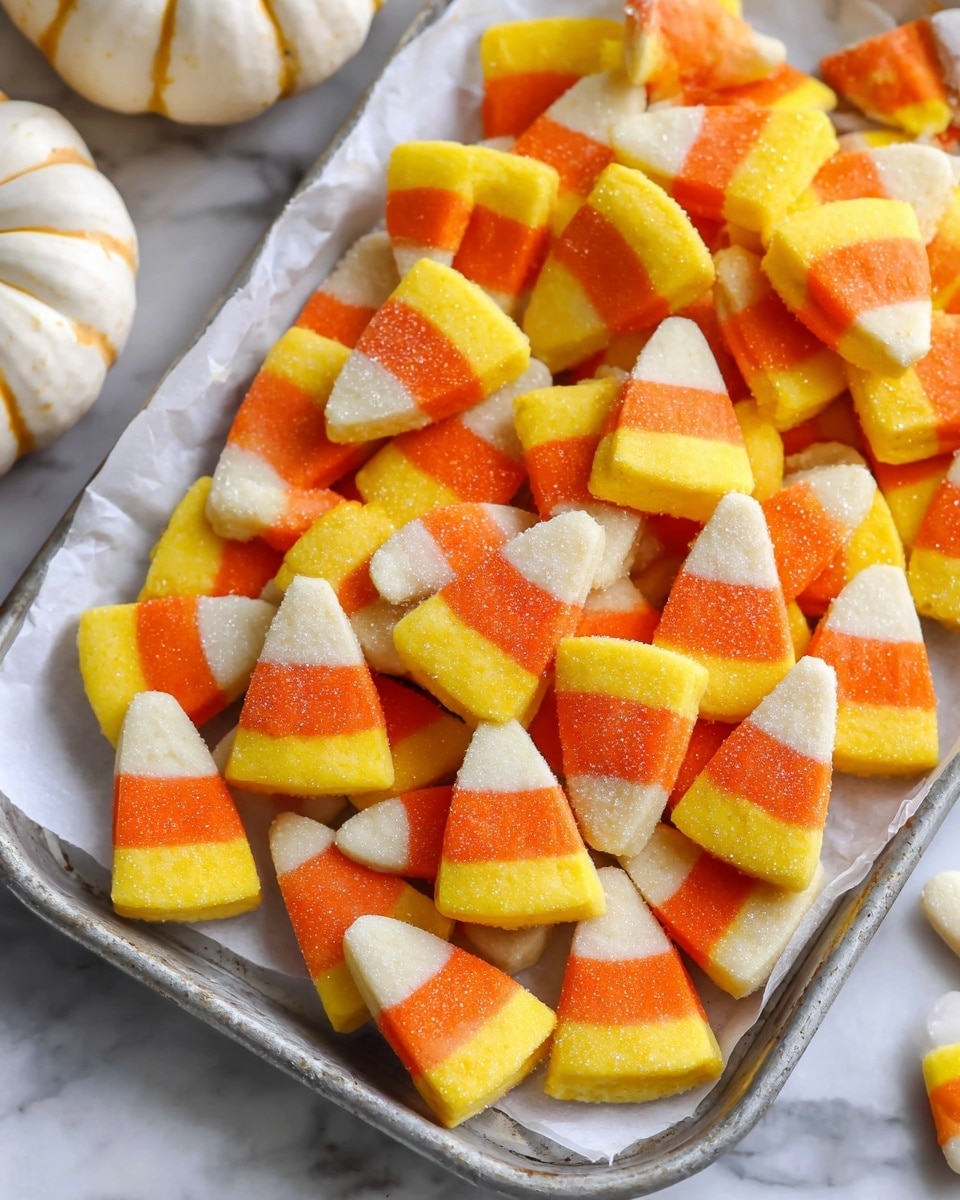
Delightfully festive Candy Corn Cookies that mimic the iconic candy corn layers with soft, chewy texture and a hint of sweetness. These cookies combine rich butter and cream cheese with subtle vanilla and almond accents, perfect for Halloween treats or any seasonal celebration.
Ingredients
Wet Ingredients
- 1/2 cup (1 stick) unsalted butter, room temperature (113g)
- 1/4 cup (2 oz) full fat cream cheese, room temperature (56g)
- 1 cup granulated sugar (200g)
- 1 large egg yolk (20g)
- 1 tsp vanilla extract or vanilla bean paste (5g)
- 1 tsp almond extract, optional (5g)
Dry Ingredients
- 2 cups all-purpose flour (260g)
- 2 tsp cornstarch (5g)
- 1/2 tsp fine salt
- 1/4 tsp baking powder
Additional
- Yellow and orange gel food coloring
Instructions
- Prepare the Dough: In a mixing bowl, cream together the room temperature unsalted butter and full fat cream cheese until smooth and fluffy. Gradually add the granulated sugar, beating until the mixture is light and creamy. Incorporate the egg yolk, vanilla extract, and optional almond extract, blending thoroughly to combine all wet ingredients.
- Combine Dry Ingredients: In a separate bowl, whisk together the all-purpose flour, cornstarch, fine salt, and baking powder. Slowly add the dry ingredients to the wet mixture, mixing just until a soft dough forms without overworking.
- Divide and Color the Dough: Split the dough into three equal portions. Leave one portion plain (white layer), and tint one portion with yellow gel food coloring, and the third with orange gel food coloring, kneading each portion gently to distribute the colors uniformly.
- Shape the Candy Corn Layers: Roll each colored dough into a long cylinder with a tapered end, about 1/2 inch in diameter. Layer the orange cylinder on a flat surface, then the yellow on top of the orange, and finally the white on top, pressing gently so they stick but maintaining the candy corn shape.
- Slice into Cookies: Using a sharp knife, slice the layered dough into approximately 1/4-inch thick rounds. Arrange the cookies on a parchment-lined baking sheet, spacing them about 1 inch apart.
- Optional Sugar Coating: For extra sweetness and texture, lightly dip or sprinkle the cookies with granulated sugar before baking.
- Bake: Preheat the oven to 350°F (175°C). Bake the cookies for 8 to 10 minutes, or until the edges are set but the centers remain soft. Avoid overbaking to keep the chewy texture.
- Cool: Remove the baking sheet from the oven and allow the cookies to cool on the sheet for 5 minutes before transferring to a wire rack to cool completely.
Notes
- These cookies are layered to resemble traditional candy corn, perfect for themed parties or fall celebrations.
- Baking just until set ensures a soft, chewy texture rather than a crunchy cookie.
- If almond extract is unavailable, omit it for a more classic vanilla flavor.
- Dipping the cookies in sugar before baking adds a delicate sweetness and crunch.
- Store cookies in an airtight container for up to 5 days to maintain freshness.
Nutrition
- Serving Size: 1 cookie (approx. 10g)
- Calories: 13 kcal
- Sugar: 1 g
- Sodium: 7 mg
- Fat: 1 g
- Saturated Fat: 0.5 g
- Unsaturated Fat: 0.5 g
- Trans Fat: 0 g
- Carbohydrates: 2 g
- Fiber: 0 g
- Protein: 0.2 g
- Cholesterol: 3 mg

