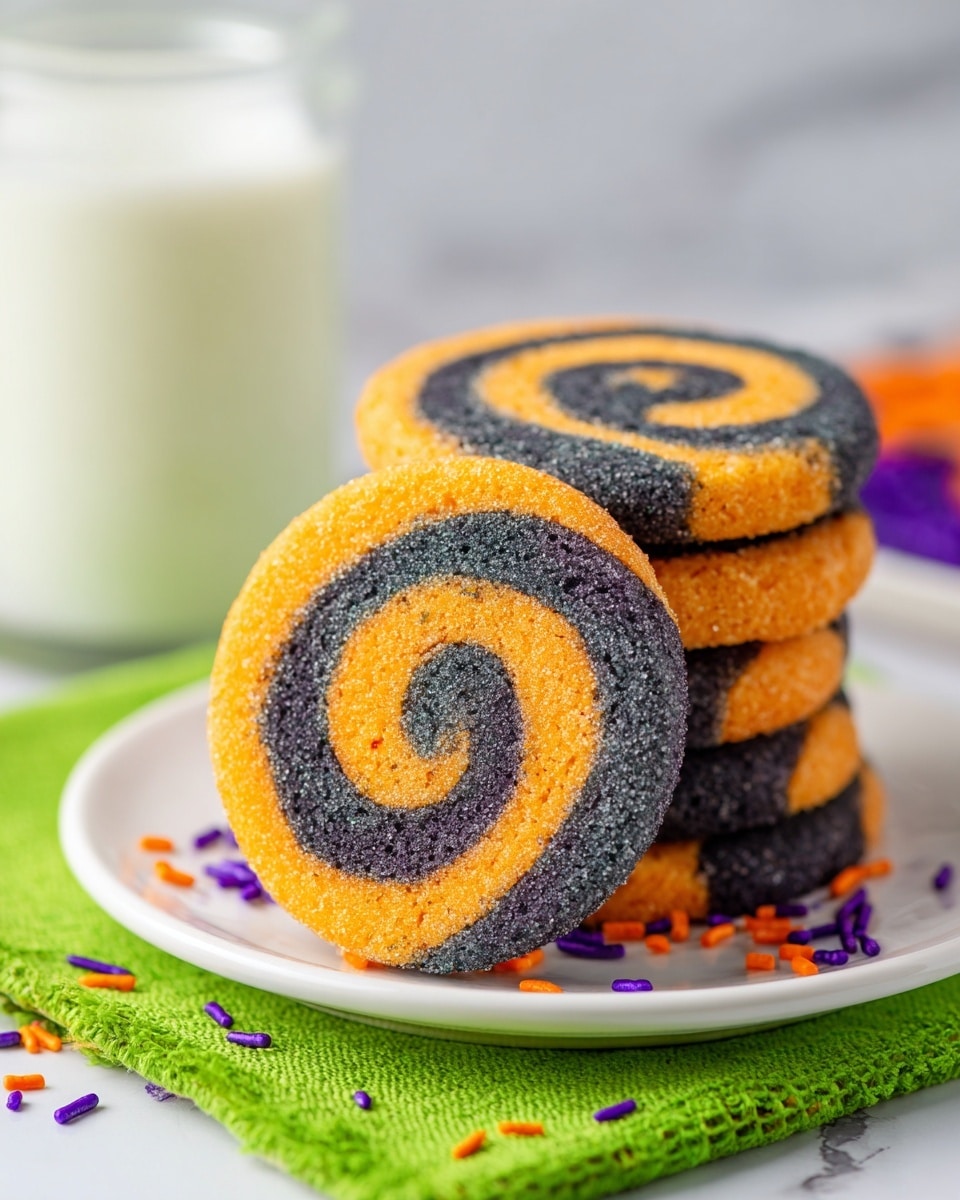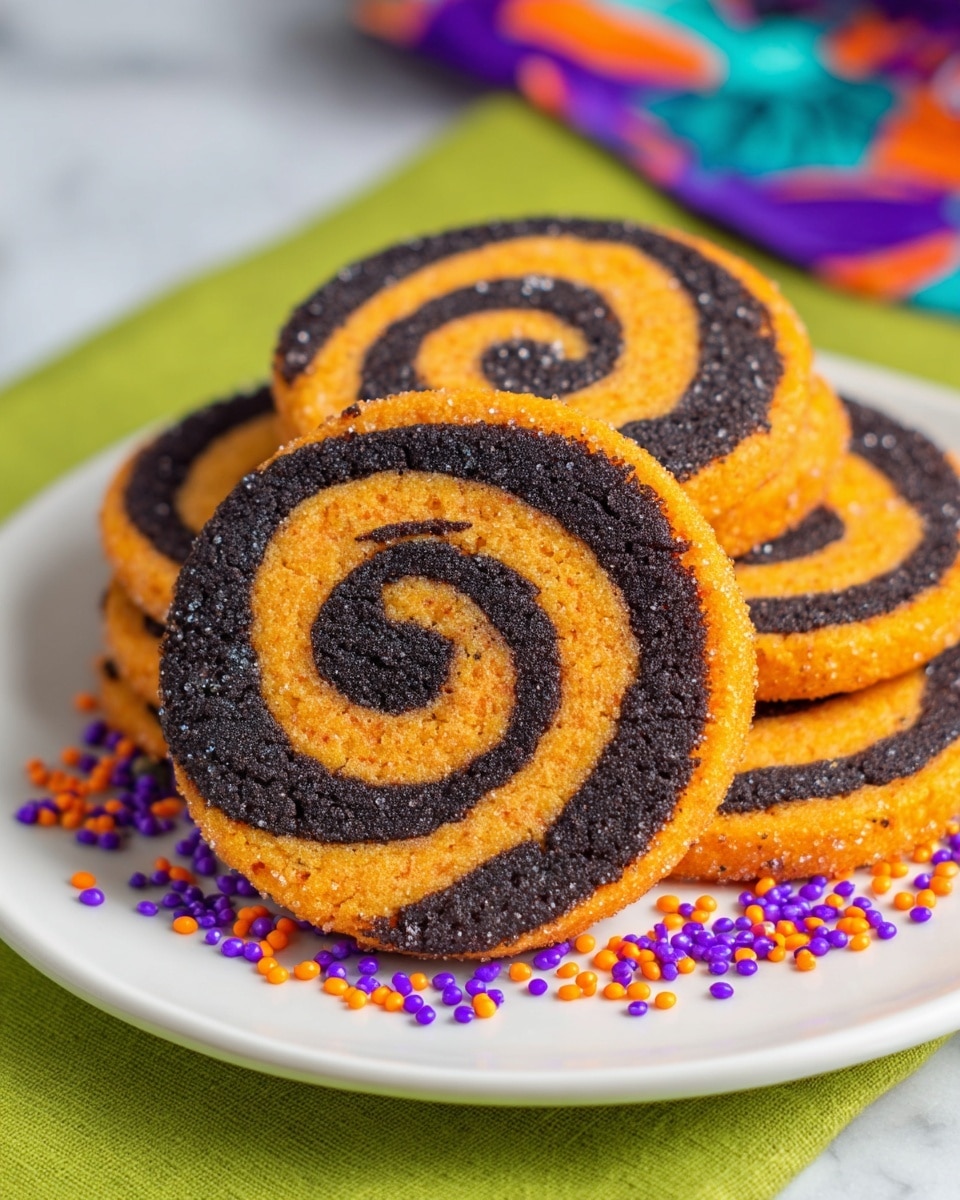
If you’re on the hunt for a fun, festive treat that’s as eye-catching as it is delicious, you’re in the right place! This Halloween Pinwheel Cookies Recipe is one of my absolute favorites to make around spooky season. These cookies aren’t just cute — they’re buttery, tender, and have that perfect pop of Halloween colors that’ll make kids and adults alike go crazy. I love how they’re basically a slice-and-bake cookie, so you get a little break from rolling and cutting out shapes.
Stick with me, and I’ll walk you through every step so your batch turns out absolutely perfect.
Why You’ll Love This Recipe
- Super Simple Slice and Bake: No fancy cutters needed, just roll, chill, slice, and bake.
- Vibrant Halloween Colors: The black and orange dough layers create a spooky, swirly pattern that’s perfect for fall.
- Buttery and Tender Texture: These cookies stay soft with just a slight crisp on the edge.
- Kid-Friendly Fun: It’s a fun baking activity and a hit treat to share with family or friends.
Ingredients You’ll Need
The ingredients for this Halloween Pinwheel Cookies Recipe come together beautifully to give you a classic sugar cookie base with festive pops of color. I recommend using pure vanilla extract — it makes a real difference in the flavor here.
- All-purpose flour: Sift it first for a lighter, smoother dough and better texture.
- Baking powder: Just a pinch to give your cookies a gentle lift without puffing them up too much.
- Salt: Balances the sweetness and enhances flavor.
- Unsalted butter: Room temperature is key — soft but not melted helps achieve a creamy mix.
- Granulated sugar: For that sweet, classic cookie taste and slight crunch.
- Eggs: Room temperature eggs blend in better, keeping the dough tender.
- Pure vanilla extract: Brings warmth and depth to every bite.
- Orange gel food coloring: Gel colors are best to keep your dough from getting soggy.
- Black gel food coloring: For that dramatic Halloween swirl effect.
Variations
One of the things I adore about this Halloween Pinwheel Cookies Recipe is how easy it is to make your own tweaks. Feel free to play around with colors or flavors — it’s always exciting to experiment!
- Spiced Variation: I’ve added a pinch of cinnamon and nutmeg to the dry ingredients once, and it brought autumn vibes that my family loved.
- Flavor Swaps: Instead of vanilla, try almond or pumpkin spice extract for a different twist.
- Chocolate Twist: Use cocoa powder in place of some flour to create a chocolate swirl with the orange dough; trust me, it’s a crowd-pleaser.
- Dairy-Free Option: Swap butter for a plant-based margarine, but keep it cold to maintain that firm dough consistency.
How to Make Halloween Pinwheel Cookies Recipe
Step 1: Mix Your Dry Ingredients
Start by whisking together the sifted flour, baking powder, and salt in a medium bowl. I like to do this first because it ensures even distribution before it hits the wet ingredients. Set this aside — it’s your cookie base.
Step 2: Cream Butter and Sugar
Using a mixer, beat the softened butter and granulated sugar until the mixture becomes smooth and creamy. This step sets the texture, so don’t rush it — two to three minutes should do. Then add your eggs and vanilla, mixing again until everything is incorporated and fluffy.
Step 3: Combine Wet and Dry Ingredients
Slowly add your dry ingredients to the wet mix. I usually fold it in at low speed, just until the flour disappears and the dough looks uniform — less is more here. Overmixing can make the dough tough.
Step 4: Divide and Color Your Dough
Split the dough in half. Add about ¼ teaspoon of orange gel food coloring to one half and ¼ teaspoon of black gel food coloring to the other. Knead each section gently but thoroughly until the colors are fully blended with no streaks. This is one of my favorite bits because the dough practically looks like Halloween magic already.
Step 5: Roll Out and Layer the Dough
Roll the black dough out on parchment paper into a neat 9×15 inch rectangle — I find parchment makes the transfer so much easier. Carefully set this on a baking sheet, then roll the orange dough to the same size on a separate parchment sheet. Place the orange dough (with the parchment still attached) on top of the black dough, aligning the edges carefully.
Step 6: Chill and Roll into a Log
Pop the layered dough into the fridge for 20 minutes so it firms up. When chilled, peel away the top parchment from the orange dough and then trim the edges for a clean rectangle. Roll the dough tightly starting from the shorter side, applying gentle pressure so the layers stay together. Wrap the log in wax paper and refrigerate for at least 2 hours — this step is crucial for slicing perfect cookies later.
Step 7: Slice and Bake
Preheat your oven to 350°F (or 160°C fan). Unwrap the dough log and slice into ¼ inch thick rounds using a sharp knife — I find letting the knife get warm by dipping it in hot water beforehand helps with cleaner cuts. Place the slices on a parchment-lined baking sheet and bake for about 10 minutes, until the edges are just set. Let cool on the baking sheet a minute or two, then transfer to a wire rack to cool completely.
Pro Tips for Making Halloween Pinwheel Cookies Recipe
- Keep Your Butter Soft But Cool: If butter’s too warm, your dough gets sticky; too cold and it won’t cream properly. I let mine sit out about an hour before starting.
- Use Gel Food Coloring: Liquid colors can make dough too wet and sticky. Gel colors give you vivid shades without messing with dough texture.
- Chill Twice: Chilling the layered dough and then the rolled log makes slicing easier and cookies hold their shape better.
- Sharp Knife is Essential: I learned the hard way that a dull knife smushes the edges—warm your knife under hot water and wipe dry before slicing for clean cuts.
How to Serve Halloween Pinwheel Cookies Recipe
Garnishes
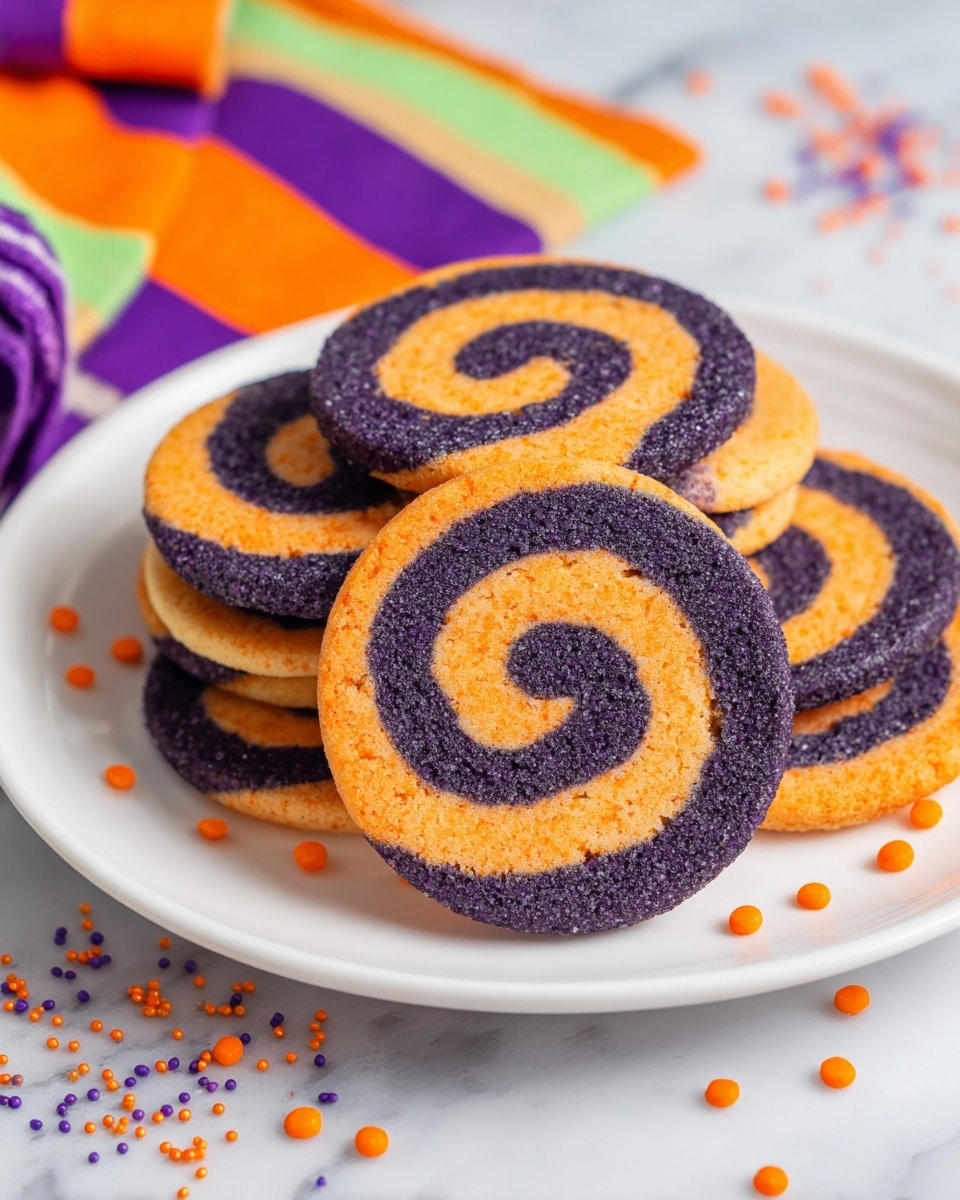
I usually keep these cookies simple to let the pinwheel pattern shine, but adding a little edible glitter or a tiny drizzle of white chocolate on top can really amp up the festive factor. Sometimes, I sprinkle a few festive orange and black sprinkles right after baking while the cookies are still warm—just for that extra Halloween charm.
Side Dishes
These cookies pair perfectly with a warm cup of spiced apple cider or a creamy pumpkin latte. I’ve even served them alongside a cheese platter for an unexpected but delightful sweet touch at Halloween parties.
Creative Ways to Present
One Halloween, I arranged these pinwheel cookies standing upright in a tall glass jar with candy corn layered in between—it looked like a pinwheel bouquet! Another time, I laid them out on a black slate tray with mini candy pumpkins and themed napkins. Presentation is half the fun, and these cookies are so pretty they do a lot of the work for you.
Make Ahead and Storage
Storing Leftovers
I keep leftover Halloween Pinwheel Cookies in an airtight container at room temperature, where they stay fresh for up to a week. If you live somewhere humid, popping a piece of bread in the container helps keep them soft—a trick that actually works!
Freezing
If I’m making a big batch in advance, I slice the dough log but freeze the unbaked cookie slices on a tray, then transfer them to a freezer bag. This way, you can bake fresh cookies whenever you want. They freeze beautifully for up to 3 months!
Reheating
To freshen up cookies that have been stored or frozen, I pop them in a warm oven at 300°F (about 150°C) for 3-5 minutes. It revives the crisp edges and soft centers wonderfully, almost like they’re freshly baked.
FAQs
-
Can I make the dough ahead of time?
Absolutely! The dough can be made and colored a day ahead. Just wrap each colored portion tightly in plastic and refrigerate. When you’re ready, proceed with rolling, layering, and chilling before slicing and baking.
-
What if I don’t have black gel food coloring?
If you don’t have black gel coloring, you can try mixing a bit of blue, green, and purple gel colors to approximate black, but it might not be as deep or bold. Alternatively, using dark cocoa powder in the dough can give a dark brown swirl that’s still festive.
-
Why do I need to chill the dough log for 2 hours?
Chilling firms the dough, making the cookies easier to slice without losing their shape. It also helps the flavors meld and prevents spreading during baking. Trust me, this step really makes a difference in how neat the pinwheel looks!
-
Can I double this Halloween Pinwheel Cookies Recipe?
Yes, you can double the ingredients easily — just be sure you have enough fridge space to chill the dough logs and more baking sheets for cookies. The times and method stay the same, so no extra hassle.
Final Thoughts
This Halloween Pinwheel Cookies Recipe holds a special place in my heart because it’s one of those rare treats that’s simple but feels special. Whenever I bake these, the swirling colors and the buttery, tender bites always bring a smile—not to mention the delight they bring to every Halloween gathering. You’ll find that once you try these, they become a festive staple you look forward to each year. So grab your apron, pull out that butter, and let’s make some magic happen in your kitchen!
Print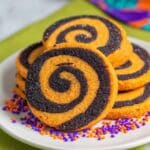
Halloween Pinwheel Cookies Recipe
- Prep Time: 40 minutes
- Cook Time: 10 minutes
- Total Time: 170 minutes
- Yield: 24 cookies
- Category: Dessert
- Method: Baking
- Cuisine: American
Description
These Halloween Pinwheel Cookies are delightful, festive sugar cookies perfect for any Halloween party. Featuring vibrant orange and black swirls created with gel food coloring, these slice-and-bake cookies are both visually striking and deliciously buttery with a hint of vanilla. Easy to prepare and fun to serve, they’ll be a spooky treat your guests will love.
Ingredients
Dry Ingredients
- 3 cups all-purpose flour (sifted)
- ½ teaspoon baking powder
- ¼ teaspoon salt
Wet Ingredients
- 1 cup unsalted butter (softened to room temperature)
- 1 cup granulated sugar
- 2 large eggs (at room temperature)
- 2 teaspoons pure vanilla extract
Food Coloring
- Orange gel food coloring (¼ teaspoon)
- Black gel food coloring (¼ teaspoon)
Instructions
- Mix Dry Ingredients: In a medium bowl, whisk together the sifted flour, baking powder, and salt until well combined; then set aside.
- Cream Butter and Sugar: In a large bowl, use a mixer to beat the softened butter and granulated sugar until the mixture is smooth, creamy, and light in texture. Add the eggs and vanilla extract, continuing to beat until fully incorporated.
- Combine Wet and Dry: Gradually add the dry ingredient mixture to the wet ingredients, mixing gently just until no streaks of flour remain to avoid overworking the dough.
- Divide and Color Dough: Divide the dough evenly into two halves. Add ¼ teaspoon of orange gel food coloring to one half and knead until the color is evenly distributed. Repeat with ¼ teaspoon of black gel food coloring on the other half.
- Roll Black Dough: Roll out the black-colored dough on parchment paper into a 9 by 15-inch rectangle. Carefully transfer this to a baking sheet and set aside.
- Roll Orange Dough: On a separate sheet of parchment paper, roll out the orange-colored dough into a matching 9 by 15-inch rectangle.
- Layer Doughs and Chill: Place the parchment paper with the orange dough directly on top of the black dough, aligning edges as closely as possible. Chill the layered dough in the refrigerator for 20 minutes to firm up.
- Prepare for Rolling: Remove chilled dough from the fridge. Peel off the top parchment from the orange dough and gently lay the orange dough layer over the black dough layer, trimming edges to form a clean rectangle.
- Form the Pinwheel Log: Starting from a shorter side, carefully roll the dough tightly into a log shape, applying gentle pressure to ensure the layers adhere well together.
- Chill the Dough Log: Wrap the rolled dough log tightly in wax paper and refrigerate for at least 2 hours to firm up, making slicing easier.
- Preheat Oven and Prepare Baking Sheet: Preheat your oven to 350°F (180°C) or 160°C if using a fan oven. Line a baking sheet with parchment paper.
- Slice the Cookies: Unwrap the chilled dough log and place it on a cutting board. Using a sharp knife, slice log into ¼ inch thick cookie rounds carefully.
- Bake Cookies: Arrange the cookie slices on the prepared baking sheet, spacing them evenly. Bake in the preheated oven for about 10 minutes or until the edges just begin to set.
- Cool Cookies: Remove cookies from the oven and let them cool on the baking sheet for 1-2 minutes to firm slightly, then transfer to a wire rack to cool completely before serving.
Notes
- These cookies are a festive and visually impressive treat, ideal for Halloween celebrations.
- The slice-and-bake technique makes it easy to prepare ahead of time and bake fresh whenever desired.
- Ensure dough is well chilled before slicing to maintain the pinwheel shape during baking.
- Use gel food coloring for vibrant colors without altering dough consistency.
- Store baked cookies in an airtight container at room temperature for up to one week.
Nutrition
- Serving Size: 1 cookie
- Calories: 101 kcal
- Sugar: 9 g
- Sodium: 49 mg
- Fat: 1 g
- Saturated Fat: 0.3 g
- Unsaturated Fat: 0.4 g
- Trans Fat: 0.001 g
- Carbohydrates: 21 g
- Fiber: 0.4 g
- Protein: 2 g
- Cholesterol: 15 mg

