
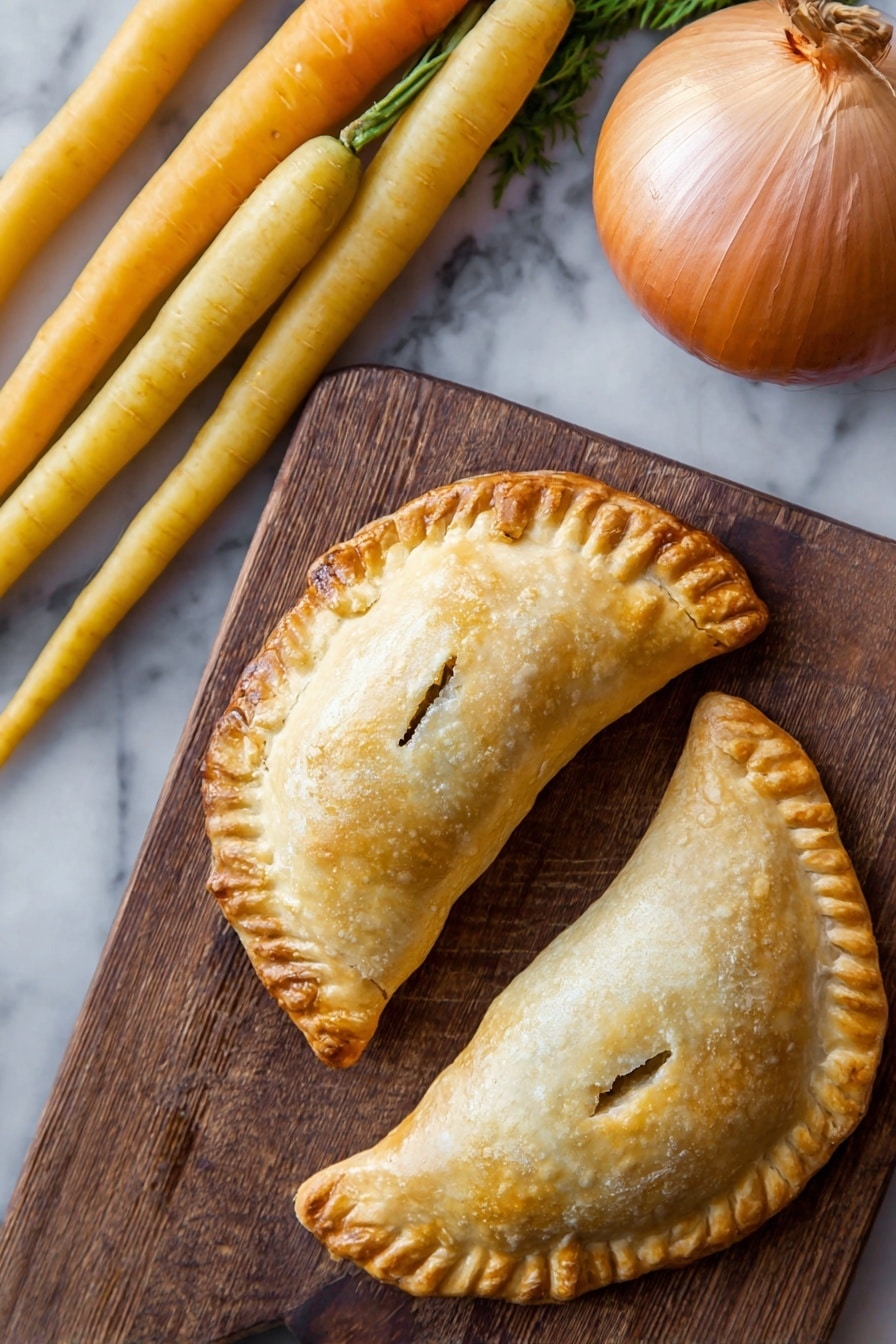
If you’ve ever wanted all the comforting goodness of a classic chicken pot pie but in a super convenient, on-the-go form, then this Handheld Chicken Pot Pie Recipe is exactly what you need. I absolutely love how these little pockets turn out — buttery flaky crust packed with creamy, flavorful chicken and veggie filling that’s perfect for lunch, dinner, or even a cozy picnic snack. Trust me, once you try this recipe, you’ll find yourself making them on repeat!
Why You’ll Love This Recipe
- All-in-One Convenience: These handheld pies make it easy to enjoy classic comfort food without the fuss of a fork or plate.
- Flaky, Buttery Crust: I’m obsessed with the crust—it’s irresistibly tender and crisp, making every bite a textural delight.
- Versatile Filling: The filling balances hearty chicken, fresh veggies, and herbs for a comforting flavor that never gets old.
- Perfect for Meal Prep: Make a batch, freeze extras, and pull them out whenever you need a quick delicious meal.

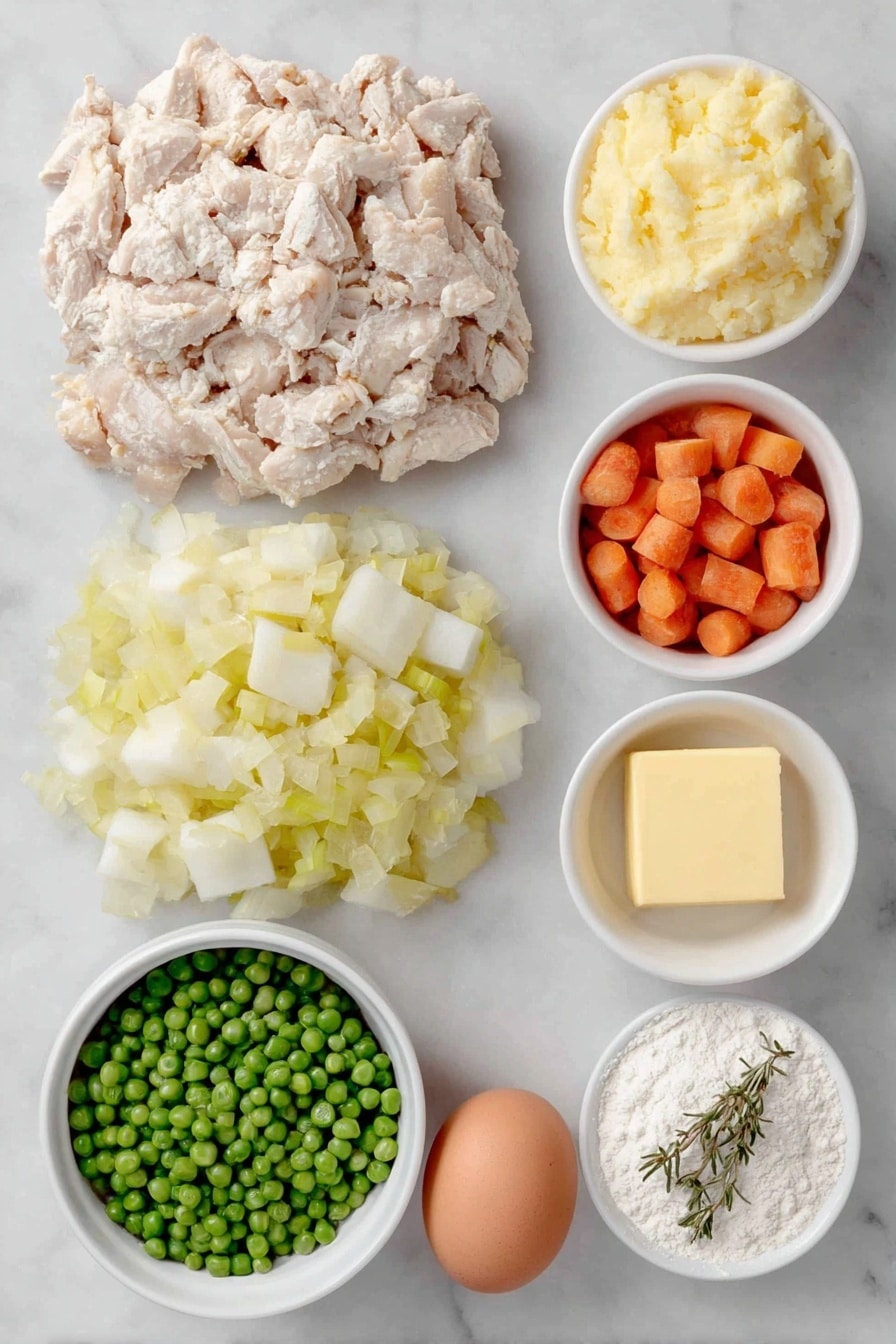
Ingredients You’ll Need
The magic of this handheld chicken pot pie recipe lies in quality ingredients that work beautifully together—the buttery pastry and creamy, herbaceous filling. When shopping, fresh vegetables and good quality cooked chicken will make a world of difference.
- Unsalted Butter: Essential for flaky crust and rich filling flavor—make sure it’s cold for the crust and divided for the filling.
- Celery: Adds subtle crunch and freshness to the filling.
- Carrot: Sweetness and color that brighten the filling.
- Potato: Gives the filling a creamy, hearty texture.
- Yellow Onion: The base flavor that adds depth and sweetness when cooked down.
- Dried Thyme & Rosemary: Classic herbs that bring a savory warmth.
- Salt: Enhances all the flavors, don’t skimp!
- Peas: Frozen peas are convenient and add a pop of color and sweetness.
- Diced Cooked Chicken: This is your star protein – rotisserie chicken works great.
- Flour: For thickening the filling and crafting the dough.
- Chicken Stock: Adds flavor and moisture to the filling.
- All-purpose Flour: The base for your flaky, tender crust.
- Cold Ice Water: Helps bring the dough together without melting the butter.
- Egg (for Egg Wash): Gives your pies a beautiful golden finish.
Variations
I love making this handheld chicken pot pie recipe my own, tweaking fillings and herbs depending on what’s in my fridge or the season. You can definitely swap ingredients to fit your mood or dietary needs.
- Vegetarian Version: Replace chicken with hearty mushrooms or lentils—I once made this for a friend who’s vegetarian, and it was a huge hit!
- Spicy Twist: Add a pinch of cayenne or some chopped jalapeños to the filling for a subtle kick that surprises every time.
- Herb Swap: Fresh herbs like parsley or tarragon can elevate the filling’s flavor, especially if you have some on hand from your garden.
- Gluten-Free Crust: You can swap the flour with a gluten-free blend—I tried this once with great results; just chill the dough well before handling.
How to Make Handheld Chicken Pot Pie Recipe
Step 1: Prepare the Filling
Start by melting 4 tablespoons of butter in a large skillet over medium heat. Sauté your chopped onion, celery, carrot, and potato until they start to soften—usually about 8 to 10 minutes. This slow cooking draws out their natural sweetness, which I think makes the filling irresistible. Then sprinkle in your flour—this creates the classic thick gravy base. Gradually whisk in the chicken stock, stirring constantly to avoid lumps. Add in peas, cooked chicken, salt, thyme, and rosemary. Let this simmer gently until thickened, about 10 minutes. The key here is patience; rushing this step can leave your filling runny or bland. Once done, set it aside to cool while you make the crust.
Step 2: Make the Flaky Crust
For the crust, I like using cold, cubed unsalted butter and chill the ice water in advance. Combine the flour with the butter in a food processor or by hand, cutting the butter just until pea-sized pieces remain. Then gradually add the cold water, just enough to bring the dough together. Resist the urge to overwork it—this keeps the crust tender and flaky. Form the dough into two discs wrapped in plastic wrap and chill for at least 30 minutes; this resting time is what makes the dough manageable and extra flaky.
Step 3: Assemble Your Handheld Pies
Roll out chilled dough into circles about 6 inches wide. Spoon the filling into the center, being careful not to overfill—otherwise, they’ll leak while baking. I’ve found that using an ice cream scoop helps measure even portions which make the pies look neat and bake evenly. Fold over the dough circles and crimp edges with a fork or your fingers to seal. Brush each pie with egg wash to get that beautiful golden crust we all love.
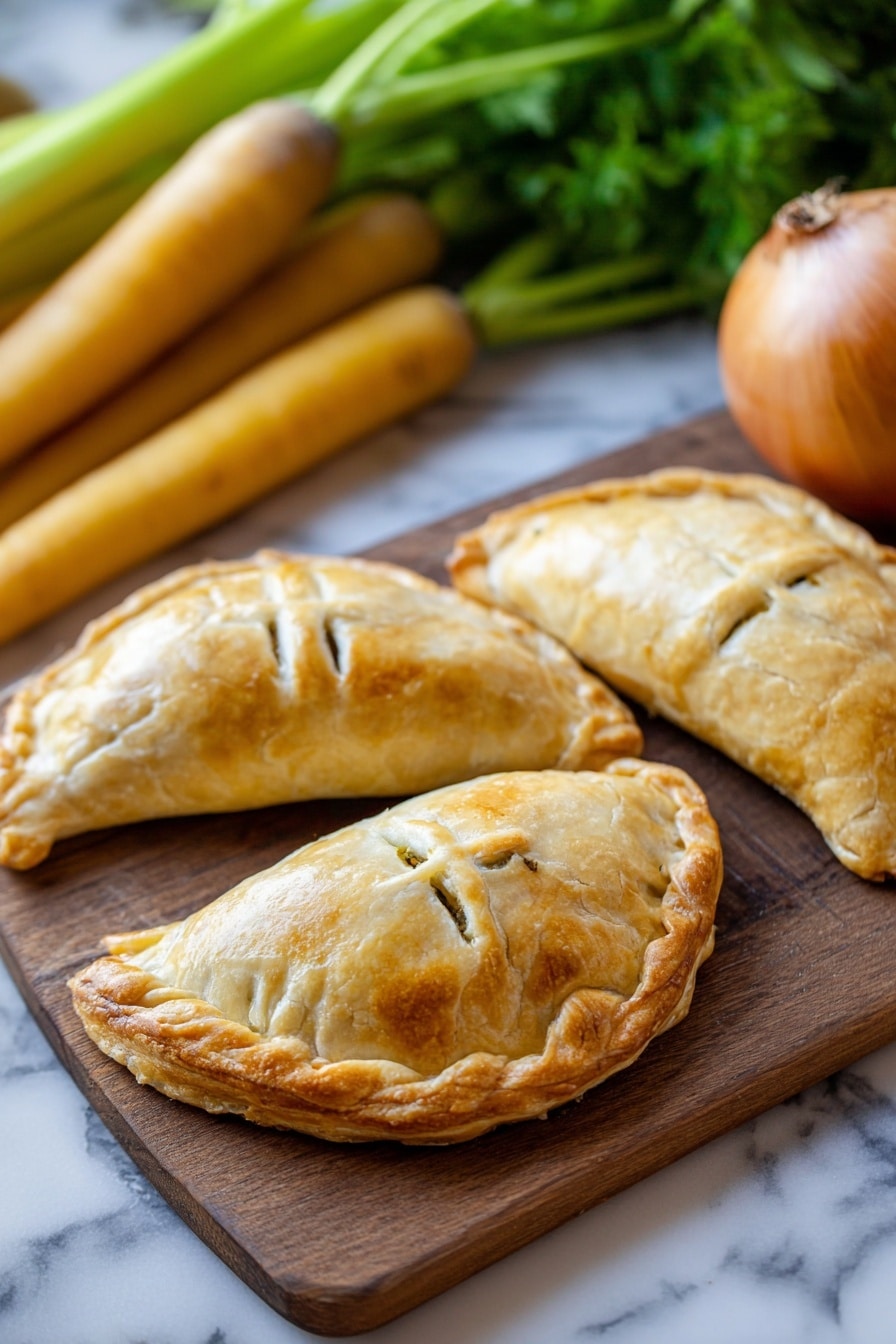
Step 4: Bake Until Golden Perfection
Bake the pies on a parchment-lined baking sheet at 375°F (190°C) for 35–40 minutes, until the crust is puffed and golden brown. Keep an eye on them—the filling should bubble lightly through vents but not overflow. Let them rest for 5 minutes before digging in; that’s how I avoid burns but still enjoy them warm and melty.
Pro Tips for Making Handheld Chicken Pot Pie Recipe
- Keep Butter and Water Ice Cold: This ensures the crust stays flaky and doesn’t get tough.
- Precook the Filling Fully: The filling should be thick and cool before assembling to prevent soggy crusts.
- Use Egg Wash Generously: It gives the pies that gorgeous golden sheen and helps seal the edges.
- Don’t Overfill Your Pies: Leaving some space avoids messy leaks and helps pies keep their shape.
How to Serve Handheld Chicken Pot Pie Recipe
Garnishes
I like to add a little fresh parsley or thyme on top after baking—it adds a fresh herbal note and a pop of color that makes these handheld pot pies feel special. A light sprinkle of flaky sea salt on the crust right out of the oven is another small but delightful touch I swear by.
Side Dishes
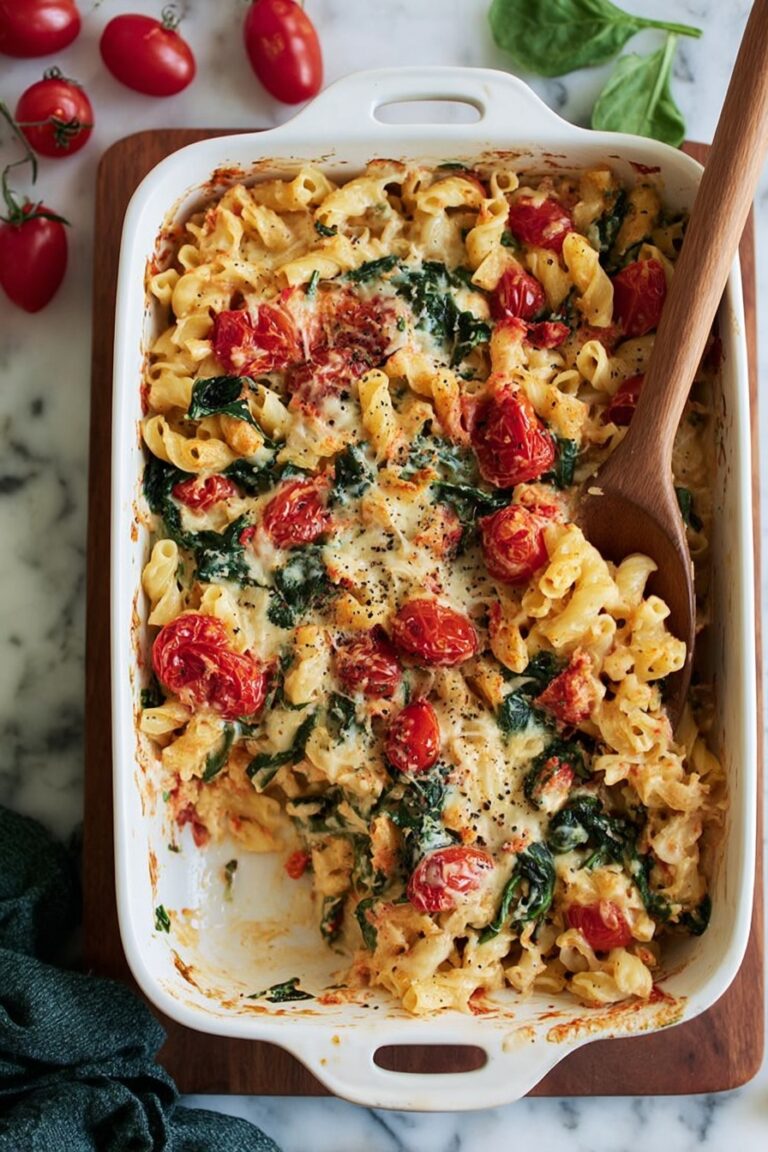
These handheld chicken pot pies are pretty hearty on their own, but I often pair them with a crisp green salad or some roasted veggies to balance richness. In cooler months, a bowl of creamy tomato soup alongside makes a comforting lunch that my family absolutely loves.
Creative Ways to Present
For special occasions, I’ve shaped the pies into mini hand pies with decorative edges or used pastry cutters to create fun shapes like leaves atop the filling. Serving them in a rustic wooden board or wrapped in parchment with a sprig of herbs makes for a charming presentation that impresses guests every time.
Make Ahead and Storage
Storing Leftovers
Leftover handheld chicken pot pies can be stored in an airtight container in the refrigerator for up to 3 days. I recommend reheating them in the oven rather than the microwave to keep that crust flaky and crisp—just wrap loosely in foil and heat at 350°F for about 15 minutes.
Freezing
I often make a double batch and freeze half. After assembling but before baking, freeze them on a baking sheet until firm, then transfer to freezer bags. When you’re ready, bake straight from frozen—add a few extra minutes to the baking time and remove the foil at the end to crisp up the crust.
Reheating
Reheat leftovers in a 350°F oven for 15-20 minutes, or until warmed through. This method keeps the crust crisp and filling deliciously creamy—microwaving tends to make things soggy, which is the last thing you want for these pies!
FAQs
-
Can I use store-bought pie crust for this handheld chicken pot pie recipe?
Absolutely! While making your own crust adds that extra flavor and flakiness, store-bought pie crust is a convenient shortcut that still yields tasty results, especially if you’re short on time.
-
How do I prevent the crust from getting soggy?
Avoid soggy crusts by making sure your filling is fully cooled and thick before filling your pies. Also, baking directly on a hot oven rack or a perforated baking sheet can help steam escape and keep the crust crisp.
-
Can I make these handheld chicken pot pies ahead of time?
Yes! You can assemble the pies and freeze them unbaked. When needed, bake them from frozen adding a few extra minutes — easy meal prep magic.
-
What’s the best chicken to use for the filling?
I like to use shredded cooked chicken breast or rotisserie chicken because it’s flavorful and tender, but any cooked chicken you have on hand works perfectly.
Final Thoughts
Honestly, this handheld chicken pot pie recipe has become one of my go-to comfort foods because it combines everything I love—flaky crust, hearty filling, and easy portability. I remember the first time I made these, my family went crazy for them and asked me to keep them in the rotation. If you’re looking for something cozy but convenient, give this recipe a try. I promise, you’ll fall in love just like I did!
Print
Handheld Chicken Pot Pie Recipe
- Prep Time: 30 minutes
- Cook Time: 1 hour
- Total Time: 1 hour 30 minutes
- Yield: 8 servings
- Category: Main Course
- Method: Baking
- Cuisine: American
Description
These Handheld Chicken Pot Pies are the perfect savory snack or meal, combining a rich, hearty filling of chicken, vegetables, and herbs enveloped in a flaky, buttery homemade crust. Individually sized for easy handling and guaranteed to satisfy crust lovers, these pot pies bring classic comfort food into a convenient, portable form.
Ingredients
Filling
- 6 tbsp. Unsalted Butter, Divided
- 1 cup Chopped Celery
- 1 cup Chopped Carrot
- 1 cup Diced Potato
- 2 cups Chopped Yellow Onion
- 1/4 tsp. Dried Thyme
- 1/4 tsp. Dried Rosemary
- 1/2 tsp. Salt
- 1 cup Peas (Frozen Is Fine)
- 2 cups Diced Cooked Chicken
- 1/2 cup Flour
- 3 cups Chicken Stock
Crust
- 3 3/4 cups All-purpose Flour
- 3 sticks Unsalted Butter, Cubed
- 1/2 to 2/3 cup Cold Ice Water, As Needed
- 1 Egg, Beaten With 1 Tablespoon Water (Egg Wash)
Instructions
- Prepare the filling vegetables: In a large skillet or saucepan, melt 3 tablespoons of unsalted butter over medium heat. Add the chopped celery, carrots, diced potatoes, and yellow onion. Sauté until the vegetables are softened, around 10 minutes. Stir occasionally to ensure even cooking.
- Add herbs and seasoning: Sprinkle in the dried thyme, dried rosemary, and salt. Stir well to combine with the sautéed vegetables to infuse the flavors.
- Make the roux: Push the cooked vegetables to one side of the pan (or remove temporarily). Melt the remaining 3 tablespoons of butter in the pan. Sprinkle in the 1/2 cup flour and cook, stirring constantly, for 2 to 3 minutes to form a light roux, which will help thicken the filling.
- Add chicken stock and cook filling: Gradually whisk in the 3 cups of chicken stock, combining with the roux and vegetables. Stir continuously until the mixture thickens and becomes creamy, about 5 to 7 minutes. Then add the peas and diced cooked chicken, stirring until heated through. Remove from heat and let the filling cool slightly.
- Make the pastry dough: In a large bowl, combine the all-purpose flour with the cubed unsalted butter. Using a pastry cutter or your fingers, cut the butter into the flour until the mixture resembles coarse breadcrumbs with pea-sized pieces of butter. Gradually add cold ice water, a few tablespoons at a time, mixing gently just until the dough begins to come together. Avoid overworking to keep the crust tender.
- Chill the dough: Form the dough into a disk, wrap tightly in plastic wrap, and refrigerate for at least 30 minutes to firm up, making it easier to roll out.
- Roll and cut dough: On a lightly floured surface, roll out the chilled dough to about 1/8-inch thickness. Cut into rectangles or squares large enough to hold a generous spoonful of filling, approximately 4 x 6 inches.
- Assemble pot pies: Place a spoonful of the cooled filling onto one half of each dough piece, leaving edges free for sealing. Brush the edges with egg wash (beaten egg with water), then fold the dough over the filling. Press and crimp edges securely with a fork or your fingers to seal completely.
- Apply egg wash and vent: Brush the tops of each pot pie with the egg wash to promote golden browning during baking. Cut a small slit or vent on top of each to allow steam to escape.
- Bake: Preheat the oven to 375°F (190°C). Place the assembled pot pies on a baking sheet lined with parchment paper. Bake for approximately 30 to 40 minutes or until the crust is golden brown and crisp. Let cool slightly before serving.
Notes
- This post is dedicated to the crust lovers of the world.
- Use cold ingredients when making the dough to achieve a flaky crust.
- Allow the filling to cool before assembling the pies to prevent soggy crusts.
- Egg wash helps give the crust a beautiful golden color and glossy finish.
- These handheld pot pies can be frozen before baking for up to 1 month; bake directly from frozen adding extra bake time.
Nutrition
- Serving Size: 1 pot pie (approx. 1/8 of recipe)
- Calories: 420
- Sugar: 4g
- Sodium: 550mg
- Fat: 22g
- Saturated Fat: 13g
- Unsaturated Fat: 8g
- Trans Fat: 0.5g
- Carbohydrates: 35g
- Fiber: 4g
- Protein: 18g
- Cholesterol: 75mg


