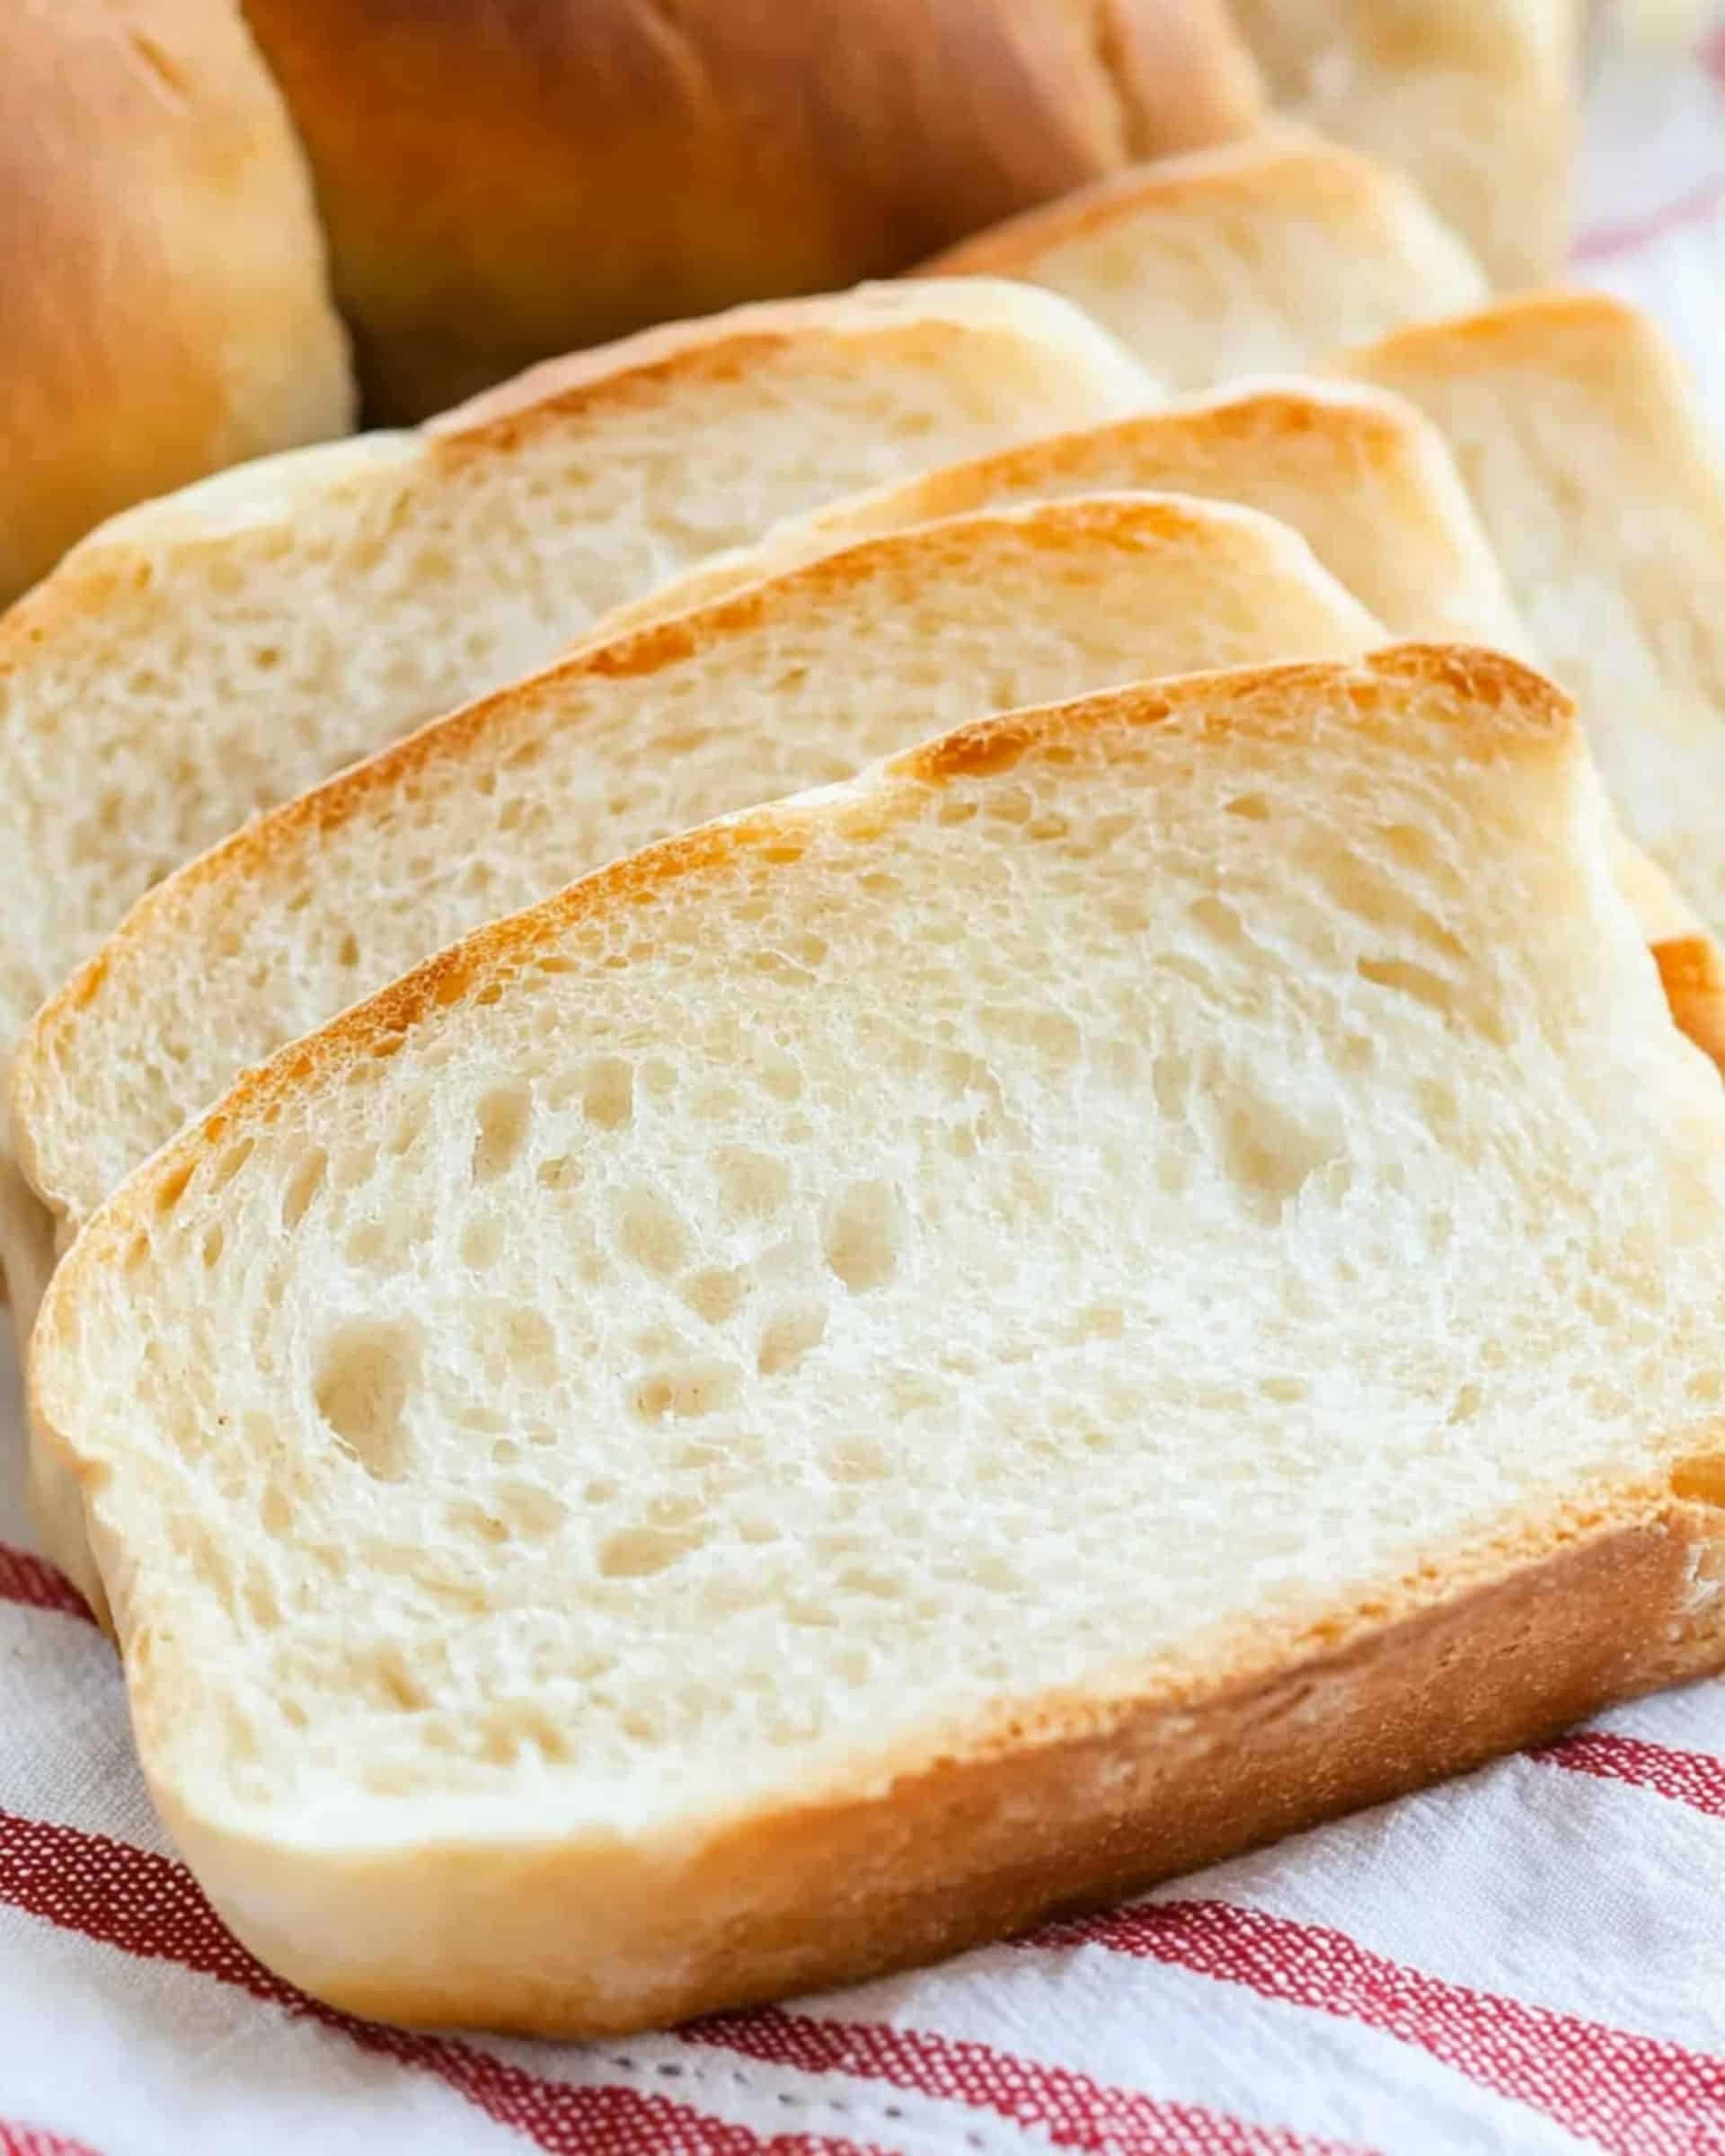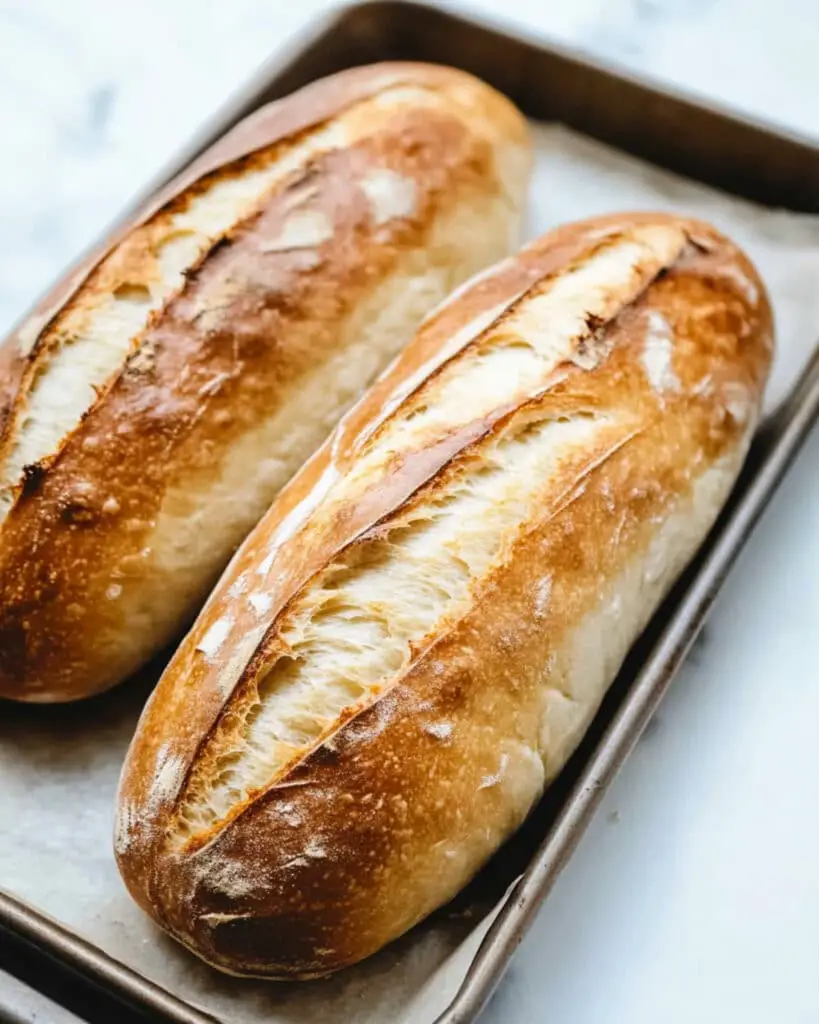
This Homemade French Bread recipe yields two beautiful loaves with a golden crust and a soft, airy crumb! With simple ingredients and easy-to-follow instructions, you can create bakery-quality French bread right in your own kitchen.
Why You’ll Love This Recipe
- Classic Flavor and Texture: This recipe captures the essence of classic French bread with its crisp crust and soft, airy interior. It’s perfect for sandwiches, dipping in olive oil and balsamic vinegar, or simply enjoying with butter or jam.
- Homemade Goodness: There’s nothing quite like the satisfaction of baking your own bread, and this recipe makes it easy to achieve delicious results.
- Versatile: This French bread is incredibly versatile. Use it for sandwiches, toast, croutons, or as a side for soups and salads.
Ingredients
- Warm water: Activates the yeast and helps to form the dough.
- Active dry yeast: The leavening agent that makes the bread rise.
- Granulated sugar: Provides food for the yeast and adds a touch of sweetness to the bread.
- All-purpose flour or bread flour: Use all-purpose flour for a slightly softer crumb, or bread flour for a chewier texture.
- Table salt or fine sea salt: Enhances the flavor of the bread and controls the yeast activity.
- Olive oil: Adds flavor and helps to keep the dough moist.
- Melted salted butter (optional): Brushed on the baked bread for a richer flavor and a beautiful golden sheen.
Note: You’ll find the complete list of ingredients, along with their exact measurements, in the printable recipe card at the bottom of this post.
How to Make Homemade French Bread
Step 1: Activate the Yeast
- In a small bowl, combine the warm water (about 105°F), yeast, and sugar.
- Let the mixture sit for about 5 minutes, or until it becomes foamy. This indicates that the yeast is active and ready to use.
Step 2: Make the Dough
- In a stand mixer fitted with a paddle attachment or in a large mixing bowl, stir together 2 cups of flour and the salt.
- Gradually add the yeast mixture to the flour mixture, mixing on low speed or by hand until combined.
- Gradually knead in the remaining flour, ½ cup at a time, until the dough is smooth and slightly tacky but not overly sticky. The amount of flour needed may vary depending on the humidity and the type of flour used.
- Once the dough is formed, rub it with olive oil, cover the bowl with a towel, and let it rest for 15-30 minutes, or up to 1 hour if you have time. This allows the gluten to relax and the dough to rise slightly.
Step 3: Shape the Loaves
- Turn the dough out onto a well-floured surface and divide it in half.
- Working with one half at a time, roll the dough into a 15-inch rectangle.
- Starting from a long side, tightly roll the dough into a cylinder.
- Tuck the ends of the cylinder under and pinch the seam closed. Round the edges of the loaf and place it seam-side down on a baking sheet lined with a silicone mat or parchment paper.
- Repeat the shaping process with the other half of the dough.
- Make three diagonal cuts across the top of each loaf using a sharp knife or razor blade. These cuts allow the bread to expand during baking.
- Cover the loaves loosely with a towel and let them rise for 30-60 minutes, or longer if you have time. The longer the rise, the more flavorful the bread will be.
Step 4: Bake the Bread
- Preheat your oven to 400°F (200°C).
- Bake the loaves for 17-23 minutes, or until the tops are golden brown and the loaves sound hollow when tapped on the bottom. If the loaves are browning too quickly, you can loosely tent them with aluminum foil and reduce the oven temperature to 375°F (190°C).
Step 5: Cool and Serve
- Remove the baked loaves from the oven and brush the tops with melted butter, if desired.
- Let the bread cool completely on a wire rack before slicing and serving.
Pro Tips for Making the Recipe
- Crispy Crust: For a crispier crust, brush the loaves with an egg white wash (1 egg white whisked with 1 teaspoon of water) before baking. You can also add a few ice cubes to the bottom of the oven to create steam during baking.
- Flour Adjustment: The amount of flour needed may vary depending on the humidity and the type of flour used. Start with the amount listed in the recipe and add more as needed to achieve a smooth, slightly tacky dough.
- Longer Rise = More Flavor: The longer you let the dough rise, the more flavor it will develop. If you have time, let it rise for the full 60 minutes, or even longer.
How to Serve

This Homemade French Bread is delicious served with:
- Butter or jam: A classic way to enjoy fresh bread.
- Soup or stew: The perfect accompaniment for dipping into a warm and comforting soup or stew.
- Sandwiches: Use it to make delicious sandwiches with your favorite fillings.
- Cheese and charcuterie: Serve it alongside a selection of cheeses and cured meats for a delightful appetizer or snack.
Make Ahead and Storage
Storing Leftovers
Store leftover bread in a paper bag at room temperature for up to 3 days.
Freezing
To freeze the bread, allow it to cool completely, then place it in a large zip-top bag, preferably before slicing. Remove as much air from the bag as possible and freeze for up to 3 months.
Reheating
To reheat frozen bread, thaw it overnight on the counter. You can also reheat it in the oven at 300°F for about 5 minutes to refresh its texture.
FAQs
1. Can I use instant yeast instead of active dry yeast?
Yes, you can use instant yeast interchangeably with active dry yeast in this recipe.
2. Can I make this bread in a bread machine?
Yes, you can adapt this recipe for a bread machine. Consult your bread machine’s manual for specific instructions.
3. Can I add herbs or other flavorings to the dough?
Absolutely! Feel free to add your favorite herbs, spices, or even cheese to the dough for extra flavor.
4. Why is my bread dense?
If your bread is dense, it’s likely due to adding too much flour or not allowing enough time for the gluten to develop during the rising time. Make sure the dough is slightly tacky and rests for at least 30 minutes before shaping.
Print
Homemade French Bread Recipe
- Prep Time: 1 hour 10 minutes
- Cook Time: 20minutes
- Total Time: 1 hour 30 minutes
- Yield: 32 servings
- Category: Bread
- Method: Baking
- Cuisine: French
Description
This Homemade French Bread recipe yields a classic loaf with a golden crust and a soft, airy crumb. Perfect for sandwiches, dipping in soup, or simply enjoying with butter.
Ingredients
- 2 cups warm water (about 105°F)
- 1 tablespoon active dry yeast
- 2 1/2 teaspoons granulated sugar
- 5 cups (650 g) all-purpose flour (or bread flour), add more as needed
- 2 1/2 teaspoons table salt or fine sea salt
- 1 teaspoon olive oil
- Melted salted butter (optional)
Instructions
- Activate Yeast: Combine warm water, yeast, and sugar in a bowl. Let sit for 5 minutes until foamy.
- Mix Dough: In a stand mixer or large bowl, combine 2 cups flour and salt. Add the yeast mixture and mix. Gradually add remaining flour until dough is smooth but not sticky.
- First Rise: Rub olive oil over the dough, cover the bowl, and let rest for 15-30 minutes (or up to 1 hour).
- Shape Loaves: Divide dough in half. Roll each half into a rectangle and then a cylinder. Tuck in the ends, round the edges, and place on a baking sheet. Make diagonal cuts on top, cover, and let rise for 30-60 minutes.
- Bake: Preheat oven to 400°F. Bake loaves for 17-23 minutes, or until golden brown and sound hollow when tapped.
- Serve: Brush with melted butter (optional) and serve warm.
Notes
- For a crispier crust, brush with egg white wash before baking or add ice cubes to the oven.
- Store bread in a brown paper bag at room temperature.
- Freeze baked and cooled loaves in a zip-top bag for up to 3 months.
Nutrition
- Serving Size: 1 slice
- Calories: 80
- Sugar: 1g
- Sodium: 180mg
- Fat: 0.5g
- Saturated Fat: 0g
- Unsaturated Fat: 0g
- Trans Fat: 0g
- Carbohydrates: 16g
- Fiber: 1g
- Protein: 2g
- Cholesterol: 0mg


