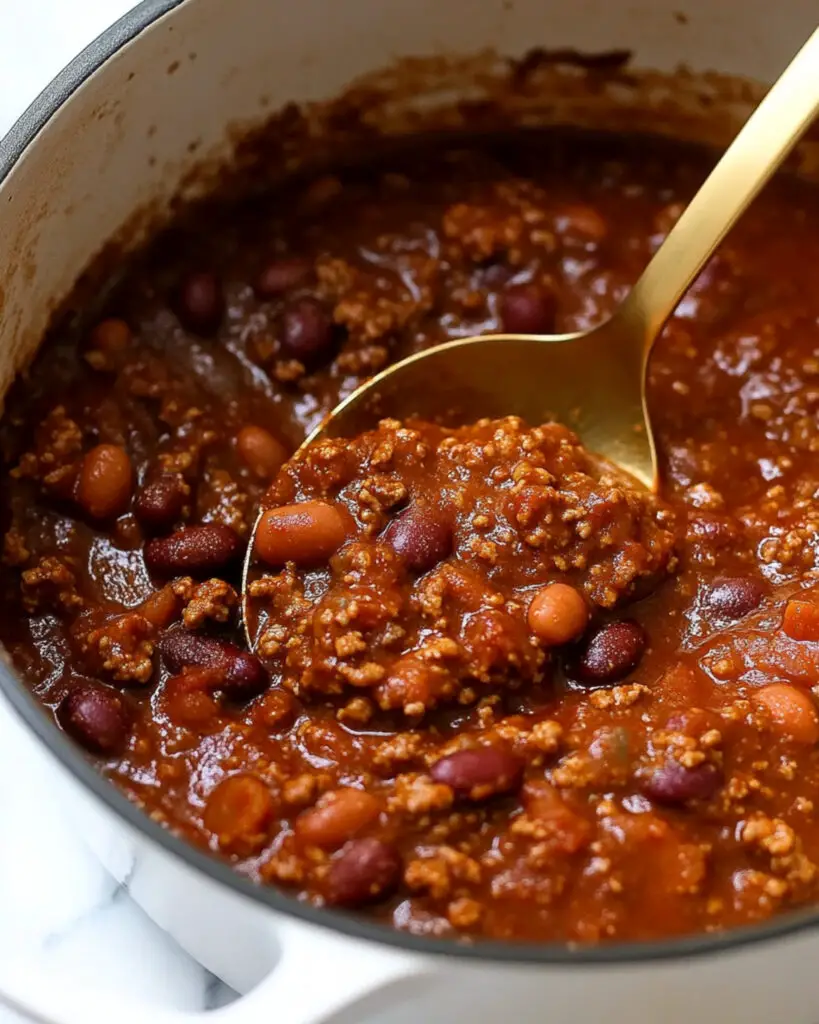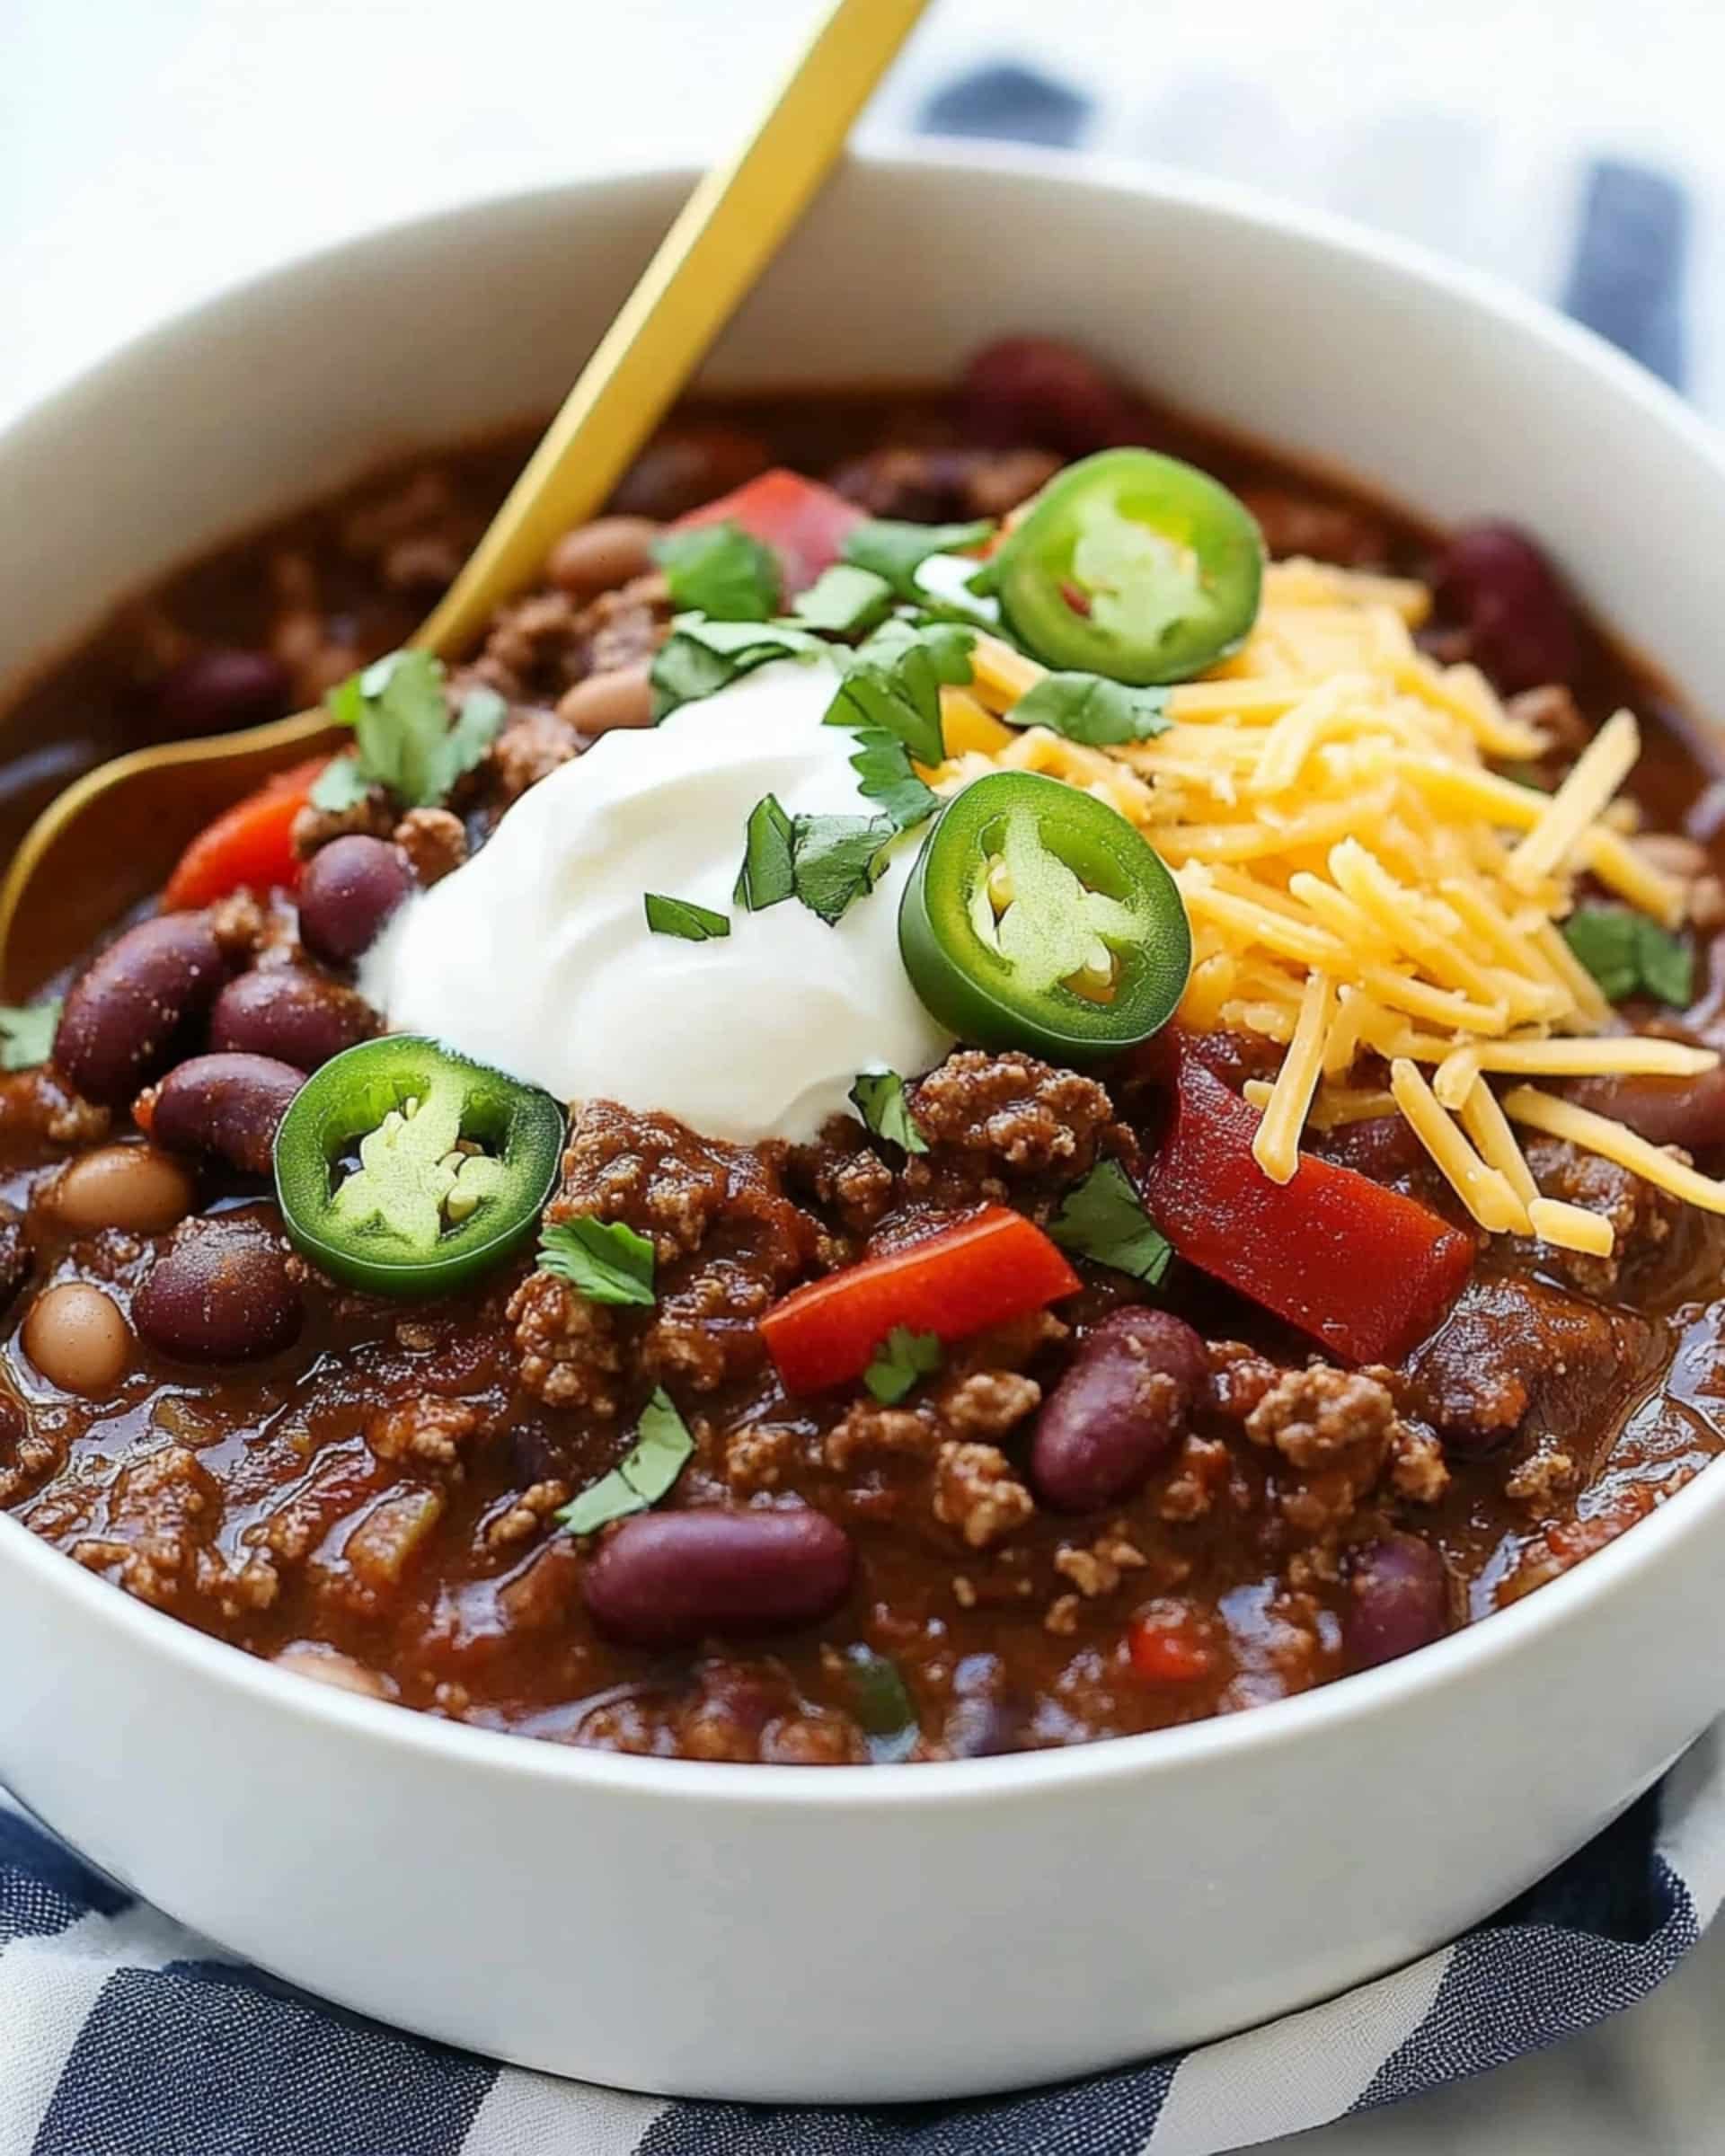
This Instant Pot Chili is a game-changer for busy weeknights when you’re craving something hearty, flavorful, and satisfying. Ready in just about an hour with minimal hands-on time, this chili packs a punch with three types of beans, aromatic spices, and a secret ingredient that takes the flavor to new heights. The pressure cooker does all the heavy lifting, leaving you with a rich, deeply flavored meal that tastes like it’s been simmering all day!
Why You’ll Love This Recipe
- Time-Saving Magic: Your Instant Pot transforms what would normally be a long-simmering dish into a quick weeknight meal without sacrificing flavor.
- Depth of Flavor: The combination of spices, coffee, and Worcestershire sauce creates layers of flavor that will make everyone think you’ve been cooking all day.
- Perfectly Cooked Beans: Skip the canned beans! Using dried beans gives better texture and flavor, and the Instant Pot cooks them perfectly every time.
- Customizable Heat Level: Easily adjust the spice level to suit your family’s preferences while maintaining that classic chili flavor profile.
- One-Pot Wonder: Less cleanup means more time to enjoy your delicious meal and evening.
Ingredients You’ll Need
- Olive oil: Creates the foundation for sautéing your aromatics and prevents sticking.
- Yellow onion: Provides a sweet, aromatic base that’s essential for any good chili.
- Garlic: Adds that pungent kick that deepens the overall flavor profile.
- Ground beef: The main protein that gives heartiness and rich flavor. Choose 80% lean for the perfect balance of flavor and texture.
- Spices (chili powder, cumin, smoked paprika, salt, pepper, chipotle powder): This blend creates that signature chili flavor with smoky notes and customizable heat.
- Tomato paste: Concentrated tomato flavor that thickens the chili and adds umami richness.
- Bell pepper and jalapeño: Fresh vegetables that add color, texture, and varying levels of sweetness and heat.
- Dried beans (kidney, black, pinto): The triple-bean combination provides different textures and flavors, plus loads of fiber and protein.
- Worcestershire sauce: A secret ingredient that adds complexity and depth with its savory, slightly tangy profile.
- Beef broth: Creates the liquid base while adding meaty flavor.
- Coffee: Trust me on this one! Coffee enhances the richness of the beef and deepens the flavor of the spices without making the chili taste like coffee.
Note: You’ll find the complete list of ingredients, along with their exact measurements, in the printable recipe card at the bottom of this post.
Variations
Want to switch things up? Here are some delicious ways to make this chili your own:
- Vegetarian Delight: Replace the beef with an extra cup of beans or try a plant-based ground meat substitute. Use vegetable broth instead of beef broth.
- Chicken Chili Twist: Substitute ground chicken or turkey for the beef and chicken broth for the beef broth for a lighter version.
- Extra Spicy: Double the jalapeños and add a diced serrano pepper or two. Include the seeds if you’re brave!
- Bean-Free Version: Skip the beans and double the meat for a Texas-style chili con carne.
- Hidden Veggies: Add finely diced carrots, celery, or zucchini to sneak in more vegetables.
How to Make Instant Pot Chili
Step 1: Prepare the Base
Heat your Instant Pot on the “Sauté” function until it displays “Hot.” Add olive oil, then sauté the onions and garlic for about a minute until fragrant. Add the ground beef, breaking it into smaller pieces as it cooks, until no pink remains – about 6-7 minutes.
Step 2: Build the Flavor
Stir in the chili powder, cumin, smoked paprika, salt, pepper, and chipotle powder (if using). Let these spices toast for about a minute to release their flavors. Add tomato paste and cook for another minute, stirring constantly. This caramelizes the paste slightly, adding richness to your chili.
Step 3: Add the Remaining Ingredients
Mix in the bell peppers and jalapeños, cooking for just a minute to soften slightly. Add the rinsed beans, Worcestershire sauce, beef broth, and coffee. Stir everything together, making sure to scrape any browned bits from the bottom of the pot – these contain tons of flavor!
Step 4: Pressure Cook
Cancel the “Sauté” function, then secure the Instant Pot lid, ensuring the valve is set to “Sealing.” Select “Manual” high pressure and set the timer for 33 minutes. Remember, it will take about 15 minutes for the pot to build pressure before the cooking countdown begins.
Step 5: Natural Release
Once the cooking time ends, allow the pressure to naturally release for 15 minutes. This patience allows the flavors to settle and the beans to finish cooking perfectly.
Step 6: Final Touches
Carefully release any remaining pressure, then open the lid away from your face. Give the chili a good stir, taste, and adjust seasonings as needed. If you prefer a thinner consistency, add a bit more beef broth.
Pro Tips for Making the Recipe
- Brown the meat well: Don’t rush this step! Those browned bits at the bottom of the pot add incredible flavor.
- Toast your spices: Cooking the spices for a minute before adding liquids wakes up their essential oils for maximum flavor impact.
- Don’t skip the coffee: Even if you’re not a coffee drinker, this ingredient adds depth without tasting like coffee in the final dish.
- Rinse your beans thoroughly: This removes excess starch and helps prevent foaming during pressure cooking.
- Be patient with natural release: The 15-minute natural pressure release is crucial for properly cooking the beans and allowing flavors to meld.
How to Serve

This chili is incredibly versatile when it comes to serving options:
Toppings Bar
Create a toppings station with shredded cheese, sour cream, sliced green onions, diced avocado, fresh cilantro, lime wedges, and tortilla strips. Let everyone customize their bowl.
Side Dishes
Pair with cornbread, corn chips, or warm flour tortillas. A simple green salad with a tangy vinaigrette makes a perfect contrast to the rich chili.
Main Dish Transformations
Spoon over baked potatoes, use as a topping for hot dogs, or layer with corn chips for walking tacos. You can even use leftovers to make chili mac and cheese!
Make Ahead and Storage
Storing Leftovers
The flavor of this chili actually improves overnight as the spices meld together. Store cooled chili in airtight containers in the refrigerator for up to a week.
Freezing
This chili freezes beautifully! Portion into freezer-safe containers or heavy-duty freezer bags, leaving some room for expansion. Freeze for up to 3 months for the best quality. Label with the date so you know when you made it.
Reheating
For refrigerated chili, reheat on the stovetop over medium heat, stirring occasionally and adding a splash of broth if needed to reach your desired consistency. For frozen chili, thaw overnight in the refrigerator before reheating, or use the defrost function on your microwave before heating through.
FAQs
Can I use canned beans instead of dried beans?
Absolutely! If using canned beans, reduce the pressure cooking time to 15 minutes instead of 33, as you’re only cooking the meat and combining flavors. Add about 4½ cups of drained and rinsed canned beans after pressure cooking, then use the “Sauté” function to warm everything through.
My chili seems too thick. What should I do?
The beauty of chili is that you can easily adjust the consistency. For a thinner chili, simply add more beef broth, ¼ cup at a time, until you reach your desired thickness. Remember that chili will continue to thicken as it sits, especially when refrigerated.
Can I make this chili without coffee?
While coffee adds a wonderful depth of flavor, you can certainly make this chili without it. Simply replace the coffee with additional beef broth. You could also add a teaspoon of cocoa powder for a similar depth (don’t worry, it won’t taste like chocolate!).
How can I make sure my beans cook properly?
For the best results with dried beans, make sure they’re relatively fresh (not beans that have been sitting in your pantry for years), rinse them thoroughly, and follow the natural release instructions. If you live at high altitude, you may need to increase cooking time by 5-10 minutes.
This Instant Pot Chili brings together the best of convenience cooking with deep, developed flavors that taste like they took all day. The combination of three beans, perfectly seasoned beef, and that secret hit of coffee creates a chili that’s both comforting and exciting. Whether you’re feeding a hungry family on a weeknight or hosting a casual get-together, this recipe delivers maximum flavor with minimum effort. Give it a try and watch it become your new go-to chili recipe!
Print
Instant Pot Chili Recipe
- Prep Time: 15 minutes
- Cook Time: 45 minutes
- Total Time: 1 hour
- Yield: 8 servings
- Category: Main-course
- Method: Instant Pot
- Cuisine: American
Description
This hearty and flavorful Instant Pot Chili combines ground beef with a trio of beans, aromatic spices, and a secret ingredient—coffee—for incredible depth of flavor. Made effortlessly in your pressure cooker, this chili develops complex flavors in a fraction of the time of traditional methods. Perfect for game days, weeknight dinners, or meal prep, this crowd-pleasing chili can be customized with your favorite toppings for a satisfying meal the whole family will love.
Ingredients
- 2 tablespoons (30 ml) olive oil
- 1 cup (135 g) diced yellow onion, 1/4-inch dice
- 2 tablespoons (20 g) minced garlic
- 1 1/2 pounds (681 g) ground beef, 80% lean
- 1 cup (140 g) diced red bell pepper, 1/4-inch dice
- 2 tablespoons (18 g) minced jalapeno pepper, seeds and membrane removed
- 1/2 cup (85 g) dried kidney beans, rinsed
- 1/2 cup (100 g) dried black beans, rinsed
- 1/2 cup (93 g) dried pinto beans, rinsed
- 1 tablespoon (7 g) chili powder
- 1 tablespoon (6 g) cumin
- 2 teaspoons (4 g) smoked paprika
- 1 1/2 teaspoons (9 g) kosher salt
- 1/2 teaspoon (2 g) black pepper
- 1/4 teaspoon chipotle chili powder, optional
- 6 tablespoons (90 g) tomato paste
- 1 tablespoon (15 ml) Worcestershire sauce
- 2 cups (480 ml) unsalted beef broth, or beef stock
- 1/2 cup (120 ml) coffee
Instructions
- Heat Instant Pot
Select “Saute” on the Instant Pot and wait for the display to indicate “Hot.” This preheating step ensures proper browning of ingredients and helps develop flavors from the start. - Cook Aromatics and Beef
Add olive oil to the heated pot. Once the oil is hot, add the diced onions and minced garlic, and sauté for 1 minute until fragrant. Add the ground beef and cook for 6 to 7 minutes, breaking it into smaller chunks with a wooden spoon until no pink remains. This browning process creates a rich flavor foundation for the chili. - Add Seasonings and Vegetables
Sprinkle in the chili powder, cumin, smoked paprika, salt, and pepper, then stir to evenly distribute the spices and cook for 1 minute to bloom their flavors. Add tomato paste and cook for another minute, allowing it to caramelize slightly. Mix in the diced bell peppers and minced jalapeños, and cook for an additional minute to soften them slightly. This layering of flavors creates depth in the final dish. - Add Beans and Liquids
Add the rinsed kidney beans, black beans, pinto beans, Worcestershire sauce, beef broth, and coffee. Stir thoroughly, making sure to scrape any browned bits from the bottom of the pot to prevent the “burn” notice and incorporate those flavors into the chili. The coffee adds a surprising depth of flavor that complements the richness of the beef. - Cover Instant Pot
Press “Keep Warm/Cancel” to stop the sauté function. Ensure the release valve is in the “Sealing” position, then place the lid on the Instant Pot and turn to lock it securely. - Pressure Cook
Press the “Manual” button and set to high pressure, then adjust the timer to 33 minutes using the “+” or “-” buttons. The pot will take approximately 15 minutes to build pressure before the cooking countdown begins. During this time, you’ll notice some steam releasing from the lid until the pot is fully pressurized. - Release Pressure
Once the cooking cycle completes, allow the pressure to naturally release for 15 minutes. This gradual depressurization helps prevent the chili from splattering and allows the flavors to continue melding together. - Open Lid
After the 15-minute natural release, carefully turn the steam release handle to the “Venting” position using an oven mitt or towel to protect your hand. Open the lid away from your face to avoid the escaping steam. - Serve
Stir the chili thoroughly and taste for seasoning. Adjust with additional salt, pepper, chili powder, or chipotle chili powder if desired. For a thinner consistency, add more beef broth. Serve hot with your favorite toppings such as cheese, sour cream, green onions, or avocado.
Notes
- Serving suggestions: Top with sliced chili peppers, sour cream, shredded cheese, sliced green onions, fresh cilantro, or diced avocado.
- Bean substitution: If using canned beans instead of dried, add a total of 4½ cups of cooked beans after pressure cooking the meat for just 15 minutes instead of 33 minutes. Then select “Sauté” and cook until the beans are warmed through.
- Coffee alternatives: Decaffeinated coffee works perfectly in this recipe. You can also use instant coffee following the manufacturer’s rehydration instructions.
- Protein options: For a lighter version, substitute ground turkey, ground chicken, or crumbled firm tofu for the ground beef.
- Storage: Cool completely and store in an airtight container in the refrigerator for up to 1 week or freeze in resealable bags for up to 3 months.
- Reheating: Microwave covered on high power in 30-second intervals, stirring between each, until hot throughout. Alternatively, reheat on the stovetop over medium heat, stirring occasionally.
- This chili tastes even better the next day after the flavors have had time to meld.
Nutrition
- Serving Size: 1 cup
- Calories: 375
- Sugar: 5g
- Sodium: 480mg
- Fat: 18g
- Saturated Fat: 6g
- Unsaturated Fat: 10g
- Trans Fat: 0g
- Carbohydrates: 30g
- Fiber: 8g
- Protein: 27g
- Cholesterol: 65mg

