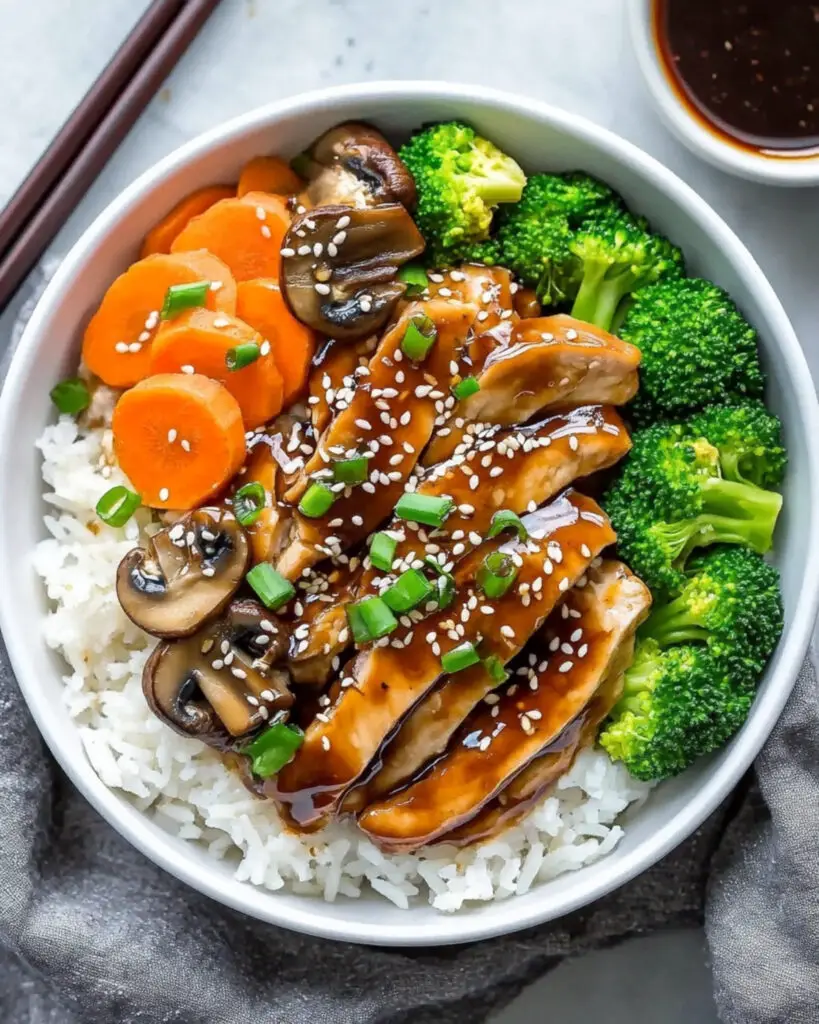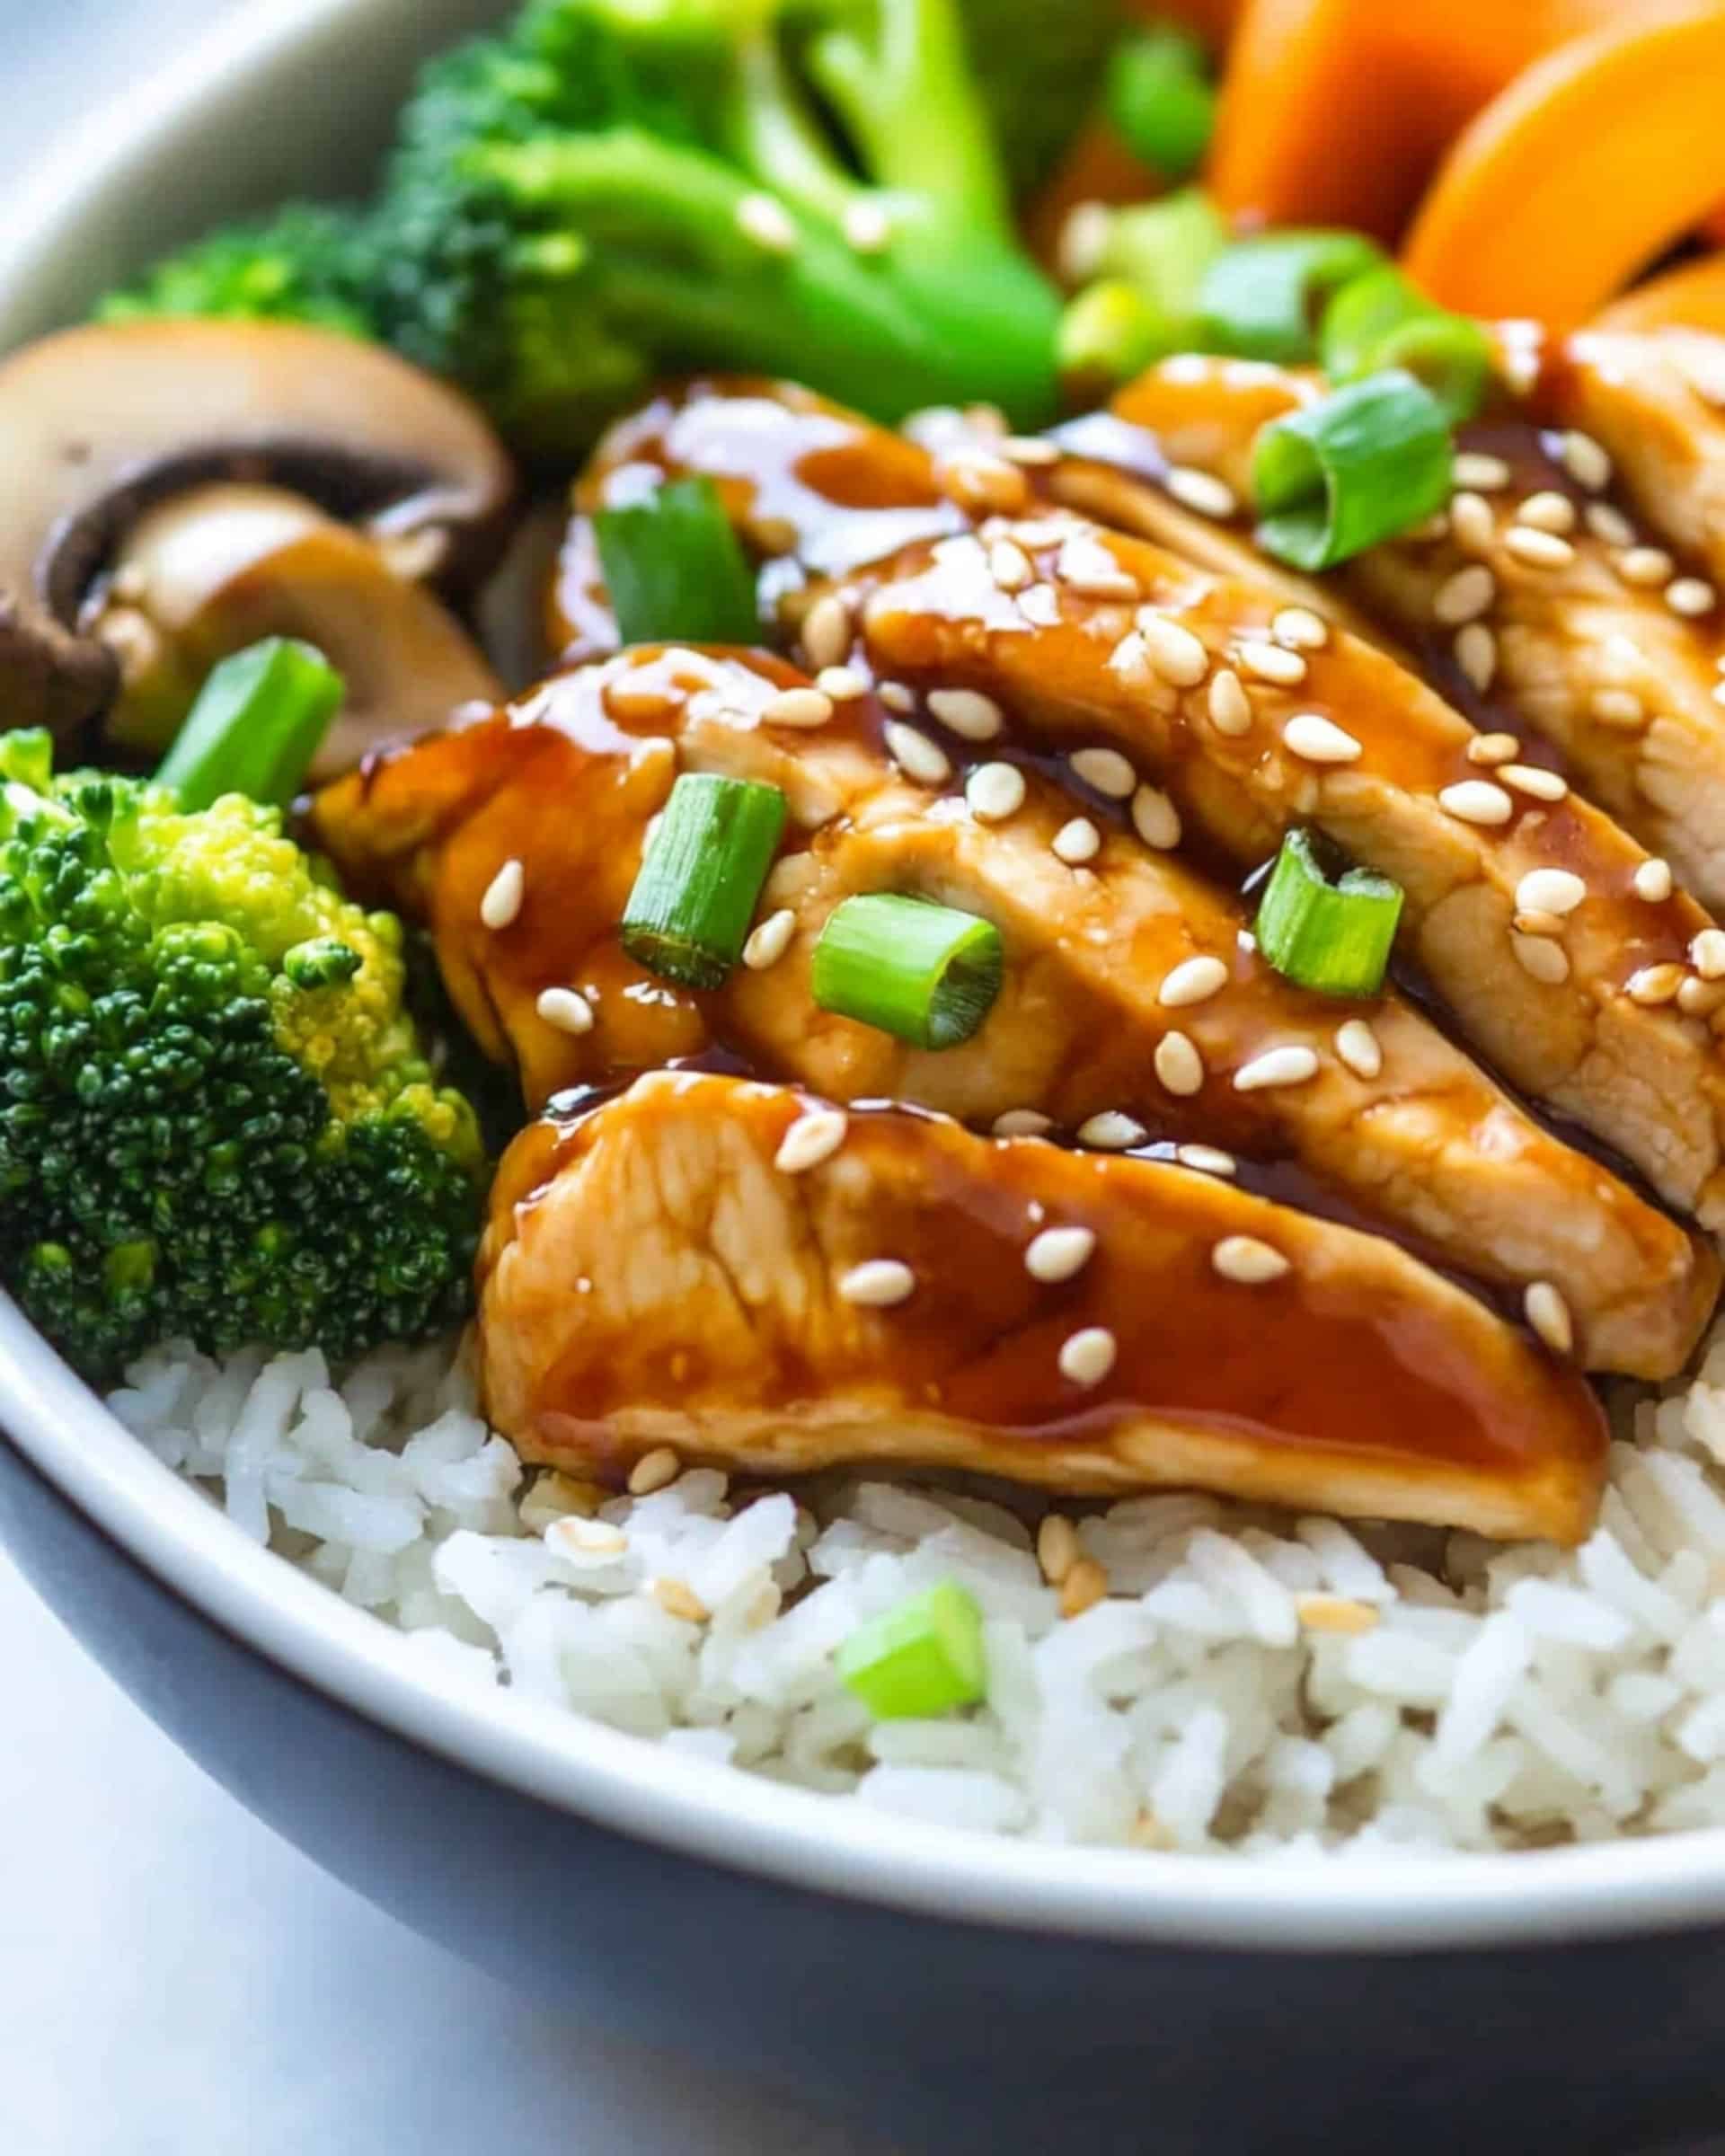
This mouthwatering Instant Pot Teriyaki Chicken is a game-changer for busy weeknights! Tender, juicy chicken breasts bathed in a rich, glossy homemade teriyaki sauce that’s the perfect balance of sweet and savory. The Instant Pot works its magic to deliver restaurant-quality teriyaki chicken in just 30 minutes, making this dish your new go-to for those evenings when you want something delicious without spending hours in the kitchen.
Why You’ll Love This Recipe
- Quick and Effortless: From start to finish in 30 minutes with minimal hands-on time—perfect for those busy weeknights when you need dinner on the table fast!
- Flavor Explosion: The homemade teriyaki sauce is worlds better than store-bought, with that perfect balance of salty, sweet, and umami flavors that coat every bite of chicken.
- Family-Friendly: Even picky eaters love this dish! The familiar sweet teriyaki flavor appeals to kids while still satisfying adult palates.
- Versatile: Serve it over rice, with noodles, or alongside veggies for a complete meal that works for any occasion—from casual family dinners to entertaining guests.
Ingredients You’ll Need
- Chicken Breast: The star of the show! Provides a lean protein base that soaks up all the teriyaki flavor. Boneless skinless thighs work wonderfully too if you prefer darker meat.
- Soy Sauce: Delivers that classic umami foundation for our teriyaki sauce. The saltiness balances perfectly with the sweetness from the honey.
- Honey: Adds natural sweetness and helps create that sticky, glazy texture we all love in teriyaki sauce.
- Rice Vinegar: Brings a subtle tang that cuts through the richness and balances the sweet and salty elements.
- Mirin Rice Wine: Adds complexity and authentic Japanese flavor. It’s worth seeking out, but you can skip it if necessary.
- Garlic and Ginger: These aromatic powerhouses infuse the sauce with incredible depth—always use fresh for the best flavor!
- Cornstarch: The magic ingredient that transforms the sauce from thin to gloriously thick and glossy, perfect for coating the chicken.
- Green Onions: Provide a fresh, mild onion flavor and beautiful color contrast when sprinkled on top.
- Sesame Seeds: Add a subtle nutty flavor and wonderful textural element as a garnish.
- Water: Helps create the perfect sauce consistency and ensures your Instant Pot builds proper pressure.
Note: You’ll find the complete list of ingredients, along with their exact measurements, in the printable recipe card at the bottom of this post.
Variations
Protein Swap
Try using boneless chicken thighs instead of breasts for even juicier results. You could also make this with pork tenderloin or even firm tofu for a vegetarian version.
Veggie-Packed Version
Add vegetables like broccoli, bell peppers, or snap peas after cooking the chicken. Just switch to sauté mode and stir them in until tender-crisp.
Spicy Teriyaki
Love heat? Add 1-2 teaspoons of sriracha or a pinch of red pepper flakes to the sauce before cooking.
Pineapple Teriyaki
Add 1/2 cup of pineapple chunks and 2 tablespoons of pineapple juice to the sauce for a tropical twist.
How to Make Instant Pot Teriyaki Chicken
Step 1: Prepare the Chicken and Sauce
Place chicken breasts in the Instant Pot. In a bowl, whisk together 1½ cups water, soy sauce, honey, rice vinegar, mirin, minced garlic, and ginger until well combined. Pour this flavorful mixture over the chicken.
Step 2: Pressure Cook
Secure the lid, ensuring the valve is set to “Sealing.” Select “Manual” or “Pressure Cook” on high pressure and set for 10 minutes. Remember, it will take about 10 minutes for the pot to come to pressure before the cooking time begins.
Step 3: Quick Release
When cooking completes, carefully quick-release the pressure by covering the valve with a towel and turning it to “Venting.” Once all steam has escaped and the float valve drops, open the lid.
Step 4: Rest the Chicken
Remove the chicken to a plate and let it rest for 5-10 minutes. This crucial step helps the chicken retain its juices for maximum tenderness.
Step 5: Thicken the Sauce
Meanwhile, create a cornstarch slurry by whisking together cornstarch and ¼ cup water until smooth. Switch the Instant Pot to “Sauté” on the “More” setting. Once the sauce is simmering, gradually whisk in the slurry until the sauce thickens to a beautiful, glossy consistency.
Step 6: Slice and Serve
Slice the rested chicken against the grain, drizzle with the thickened teriyaki sauce, and garnish with sliced green onions and sesame seeds.
Pro Tips for Making the Recipe
- Don’t Skip the Natural Release: Let the pressure naturally release for at least 5 minutes before quick-releasing. This helps keep the chicken tender and prevents it from drying out.
- Sauce Consistency: If your sauce is too thick, add a splash of water. If it’s too thin, mix a little more cornstarch with cold water and gradually add while stirring.
- Slice Against the Grain: For the most tender bites, always slice chicken breast against the grain (perpendicular to the muscle fibers).
- Temperature Matters: Make sure your chicken reaches 165°F (74°C) internal temperature for food safety, but try not to overcook it, or it may become dry.
How to Serve
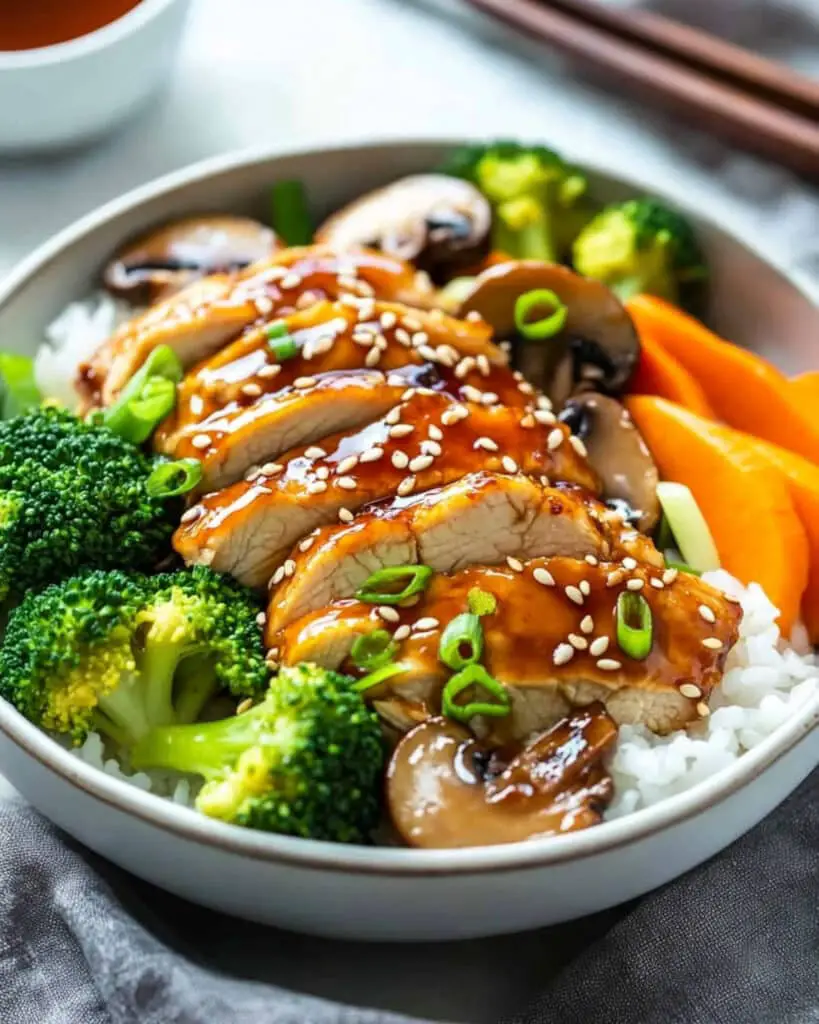
Perfect Pairings
Serve your teriyaki chicken over steamed jasmine rice or brown rice to soak up all that delicious sauce. For a lower-carb option, cauliflower rice works beautifully too.
Veggie Sides
Steamed broccoli, sautéed bok choy, or a simple Asian-inspired slaw make perfect accompaniments. The crisp vegetables provide a wonderful contrast to the tender chicken.
Make It a Bowl
Create a teriyaki chicken bowl with rice, sliced avocado, edamame, and cucumber for a complete meal in one dish.
Make Ahead and Storage
Storing Leftovers
Store the chicken and sauce separately in airtight containers in the refrigerator for up to 4 days. Keeping them separate prevents the chicken from becoming soggy.
Freezing
This dish freezes beautifully! Portion the chicken and sauce into freezer-safe containers and freeze for up to 3 months. The sauce might separate slightly upon thawing but will reconstitute when heated.
Reheating
For best results, reheat the chicken gently in a covered skillet with a splash of water or in the microwave at 70% power. Heat until just warmed through to prevent the chicken from drying out.
FAQs
Can I use frozen chicken breasts for this recipe?
Yes! If using frozen chicken breasts, increase the pressure cooking time to 12-14 minutes instead of 10. No need to thaw first, but make sure the pieces aren’t frozen together in a block for even cooking.
My sauce is too thin. What did I do wrong?
The sauce thickens as it cools, but if it’s still too thin, you might need more cornstarch. Make another small batch of slurry (1 tablespoon cornstarch + 1 tablespoon cold water) and add it gradually while the sauce simmers. Remember to cook it for at least 1-2 minutes after adding to remove any starchy taste.
Is this recipe gluten-free?
Not as written, but it’s easy to adapt! Simply substitute the soy sauce with gluten-free tamari or coconut aminos. Double-check that your other ingredients, particularly the mirin, are certified gluten-free.
Can I make this dish with less sugar?
Absolutely! You can reduce the honey to ½ cup or even ⅓ cup for a less sweet version. Some people also substitute part or all of the honey with a natural sweetener like monk fruit or stevia, though this will change the glazing properties of the sauce.
This Instant Pot Teriyaki Chicken recipe transforms an otherwise time-consuming dish into an achievable weeknight wonder. The perfectly tender chicken coated in that irresistible homemade teriyaki sauce will have everyone at your table asking for seconds. With minimal prep and cleanup, you’ll find yourself turning to this recipe time and again when you need a delicious dinner solution that doesn’t compromise on flavor. Give it a try tonight – your family will thank you!
Print
Instant Pot Teriyaki Chicken Recipe
- Prep Time: 10 minutes
- Cook Time: 20 minutes
- Total Time: 30 minutes
- Yield: 4 servings
- Category: Main-course
- Method: Instant Pot
- Cuisine: Japanese
Description
Experience the perfect blend of sweet and savory flavors with this easy Instant Pot Teriyaki Chicken. This quick weeknight meal delivers authentic Japanese-inspired taste with minimal effort and maximum flavor.
Ingredients
- 2 pounds (908 g) boneless skinless chicken breast, 4 pieces
- 1 3/4 cups (420 ml) water, divided
- 2/3 cup (158 ml) soy sauce
- 3/4 cup (178 ml) honey
- 2 tablespoons (30 ml) rice vinegar
- 2 tablespoons (30 ml) mirin rice wine, optional
- 1 tablespoon (10 g) minced garlic
- 2 teaspoons (8 g) minced ginger
- 3 tablespoons (30 g) cornstarch
- 2 tablespoons (6 g) green onion, thinly sliced
- 1/2 teaspoon sesame seeds
Instructions
- Prepare the chicken: Add chicken breast to the Instant Pot.
- Place the chicken breasts in an even layer at the bottom of the Instant Pot insert. This ensures even cooking and proper absorption of the teriyaki flavors.
- Make the teriyaki sauce: In a medium-sized bowl whisk together 1 ½ cups water, soy sauce, honey, rice vinegar, mirin rice wine, garlic, and ginger. Add this teriyaki sauce to the Instant Pot.
- Thoroughly combine all sauce ingredients until the honey is fully dissolved. Pour the mixture over the chicken, making sure all pieces are coated with the sauce.
- Seal the Instant Pot: Make sure that the release valve is in the “Sealing” position.
- Verify the sealing ring is properly in place before closing to ensure the Instant Pot builds proper pressure.
- Lock the lid: Place the lid on the Instant Pot, turn and lock.
- Ensure the lid is securely locked in place by turning it until you hear it click into position.
- Set cooking time: Press the “Manual” button on the Instant Pot on high pressure, and then set the timer to 10 minutes using the “+” or “-” buttons.
- It will take about 10 minutes for the pot to heat and build up pressure. You will see some steam release from the lid, and then the time will start on the display.
- Wait for cooking cycle: Once the display indicates “On” and begins the countdown at “10”, the Instant Pot will beep when the cycle is complete.
- Allow the Instant Pot to complete its cooking cycle without interruption for optimal tenderness.
- Release pressure: Cover the steam release handle with a towel to avoid splattering. Carefully quick-release the pressure by sliding the steam release handle to the “Venting” position, releasing all of the steam until the float valve drops down.
- The towel will protect your hands and kitchen from hot steam. Keep your face and body away from the valve during this process.
- Open the lid: Carefully open the lid. Press the “Keep Warm/Cancel” button.
- Lift the lid away from you to allow remaining steam to escape safely.
- Rest the chicken: Remove chicken and transfer to a clean plate, rest 5 to 10 minutes before slicing.
- Resting allows the juices to redistribute throughout the meat, ensuring maximum tenderness and flavor.
- Prepare cornstarch slurry: In a small bowl whisk together the cornstarch and ¼ cup of water to make a slurry.
- Mix until completely smooth with no lumps to ensure your sauce thickens properly.
- Thicken the sauce: Press “saute” on the “more” setting.
- The higher heat will help the sauce reduce and thicken more quickly.
- Add the slurry: Once the teriyaki sauce begins to rapidly simmer, gradually add in the cornstarch slurry, constantly whisking.
- Adding the slurry gradually while whisking prevents lumps from forming in your sauce.
- Cook until thickened: Cook and whisk the sauce until it thickens enough to coat the back of a spoon, 60 to 90 seconds.
- The sauce should reach a glossy, smooth consistency that will perfectly coat the chicken.
- Serve: Slice chicken, drizzle teriyaki sauce on top and garnish with green onions and sesame seeds.
- Arrange the sliced chicken on plates or a serving platter before adding the sauce and garnishes for an appealing presentation.
Notes
- Serve teriyaki chicken with jasmine rice, brown rice, cauliflower rice, or broccoli rice.
- Chicken thighs can be substituted for chicken breasts for a more tender, juicy result.
- If substituting cornstarch for arrowroot powder, use 3 1/2 tablespoons of arrowroot powder mixed with 1/4 cup water.
- For meal prep, store in airtight containers in the refrigerator for up to 4 days.
- The sauce can be made thicker or thinner by adjusting the amount of cornstarch.
- For a spicy version, add 1-2 teaspoons of red pepper flakes to the sauce.
- MAKE IT PALEO: Use coconut aminos instead of soy sauce. Omit the rice wine. Use arrowroot powder instead of cornstarch. Substitute pure maple syrup instead of honey.
- MAKE IT GLUTEN-FREE: Use coconut aminos or gluten-free tamari instead of soy sauce.
Nutrition
- Serving Size: 1 serving
- Calories: 425g
- Sugar: 37g
- Sodium: 2300mg
- Fat: 5g
- Saturated Fat: 1g
- Unsaturated Fat: 3g
- Trans Fat: 0g
- Carbohydrates: 44g
- Fiber: 1g
- Protein: 51g
- Cholesterol: 145mg

