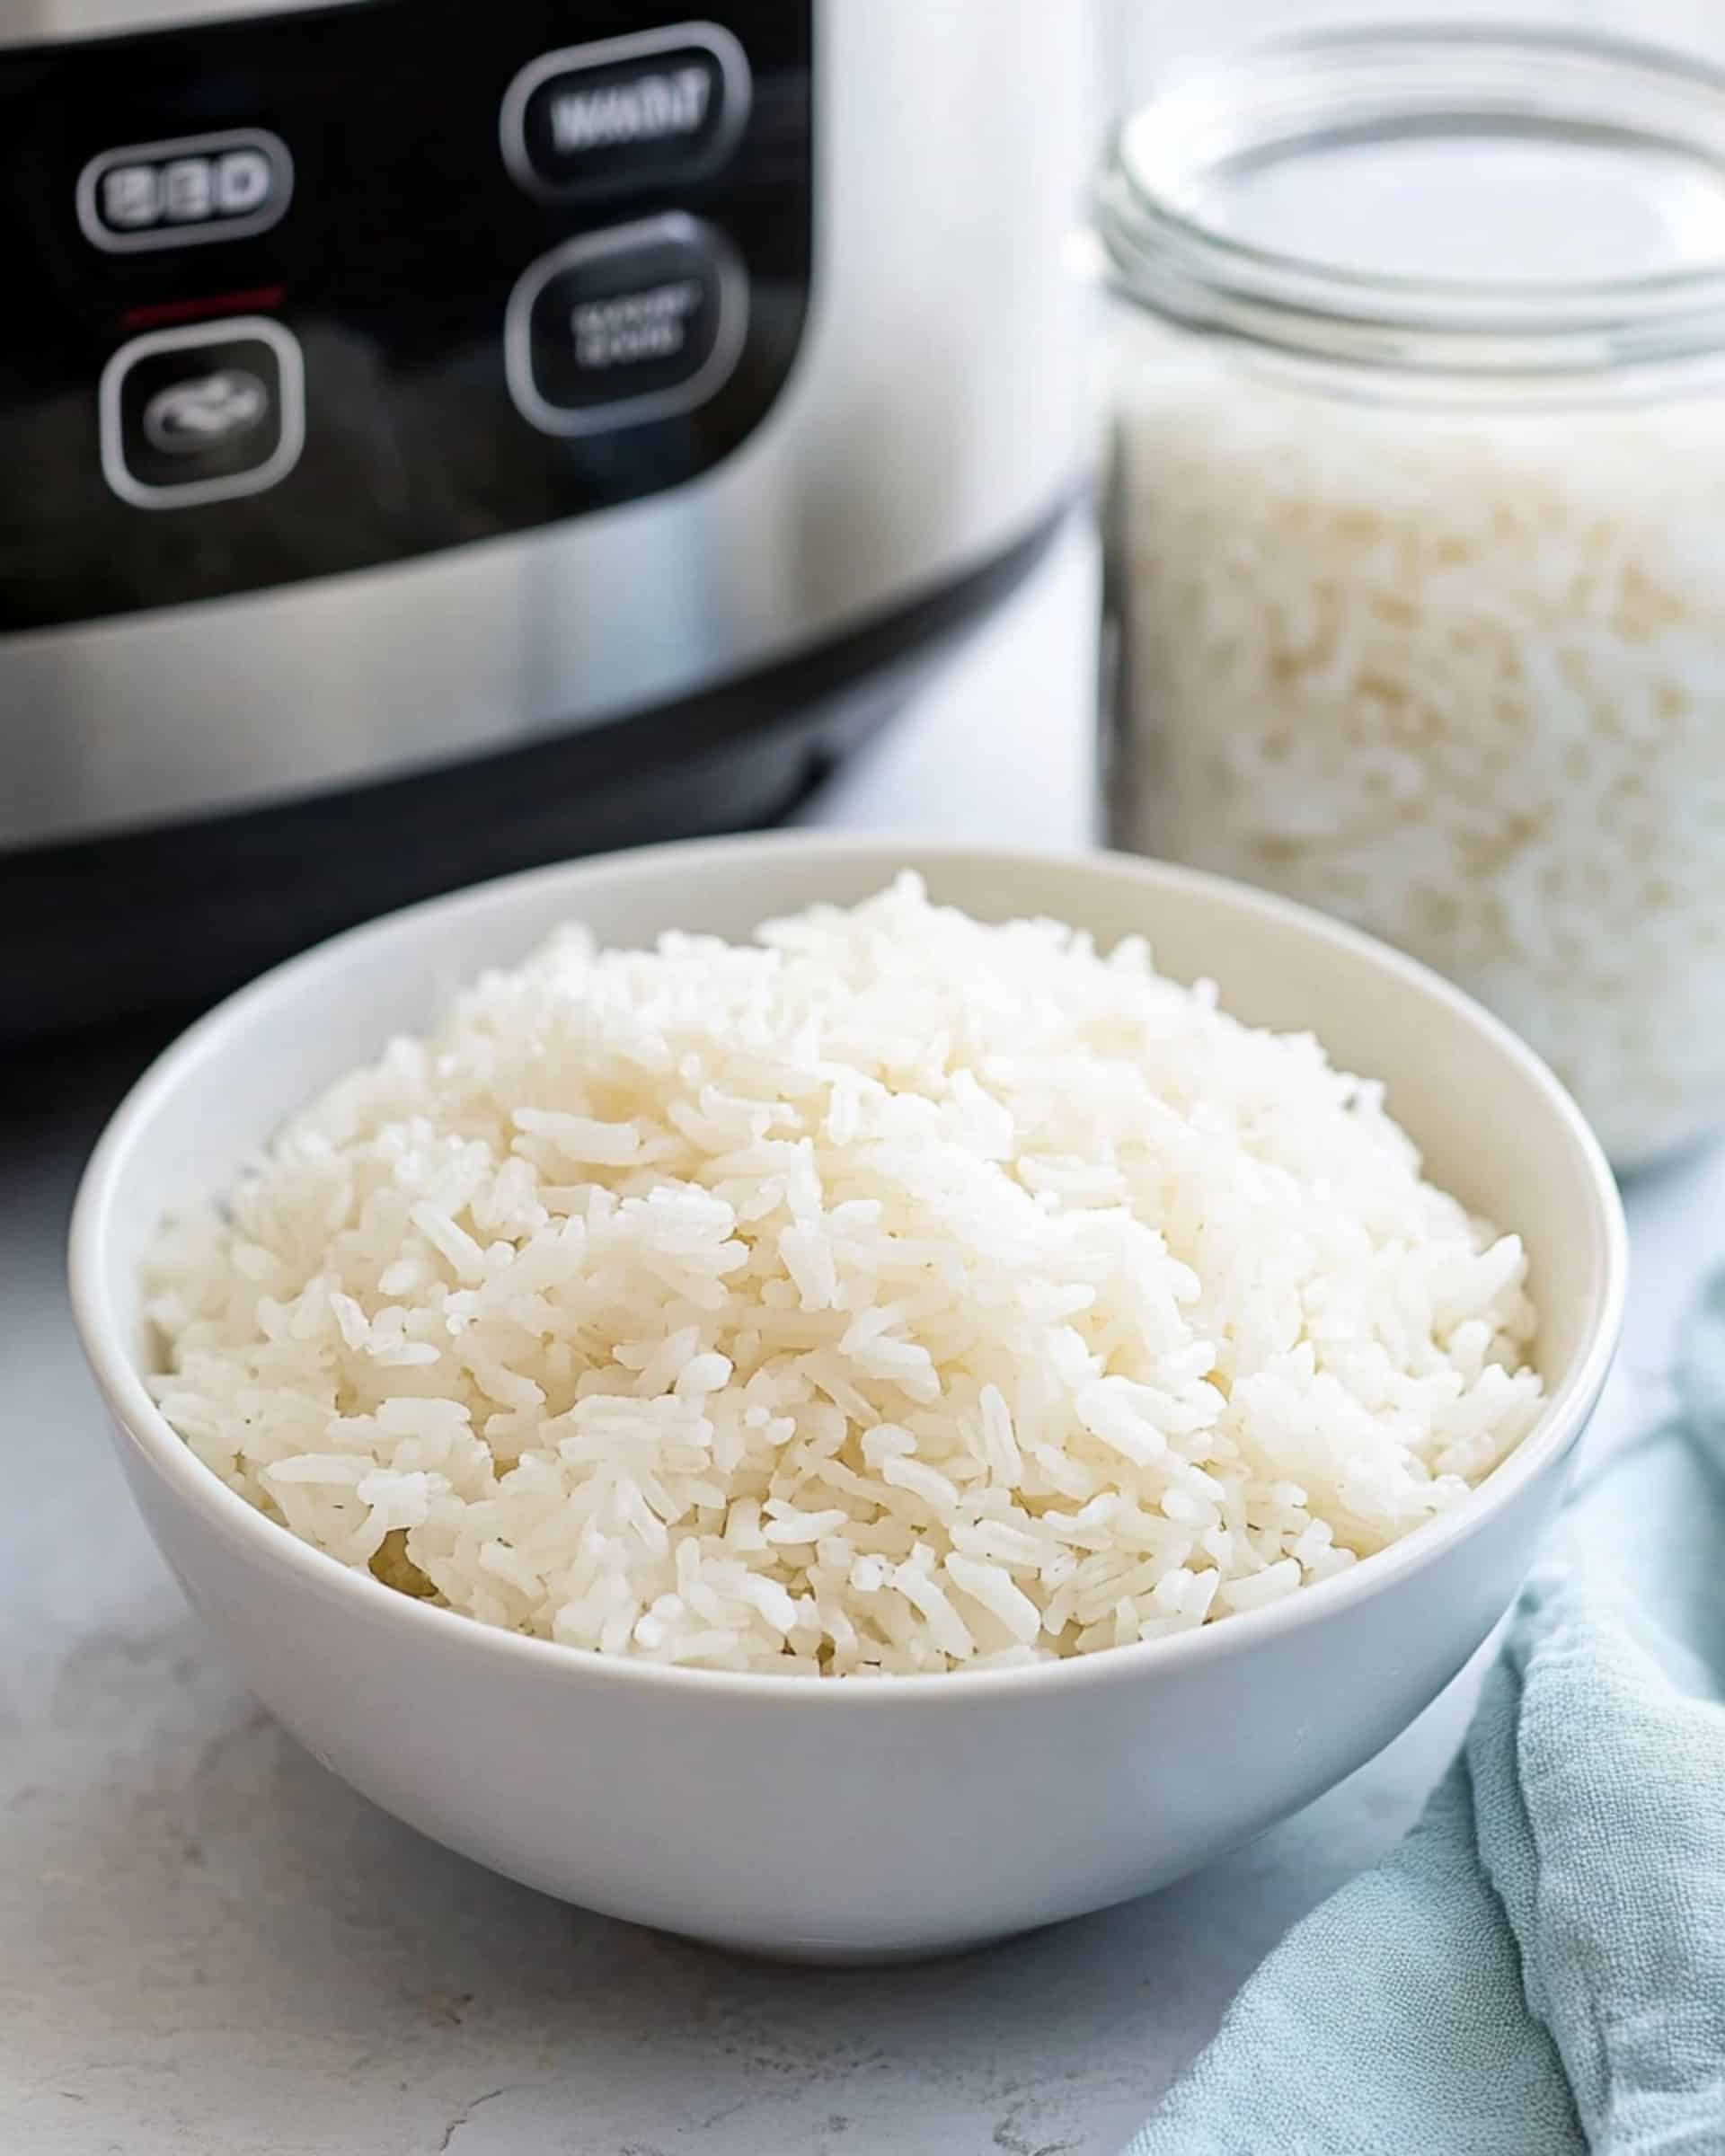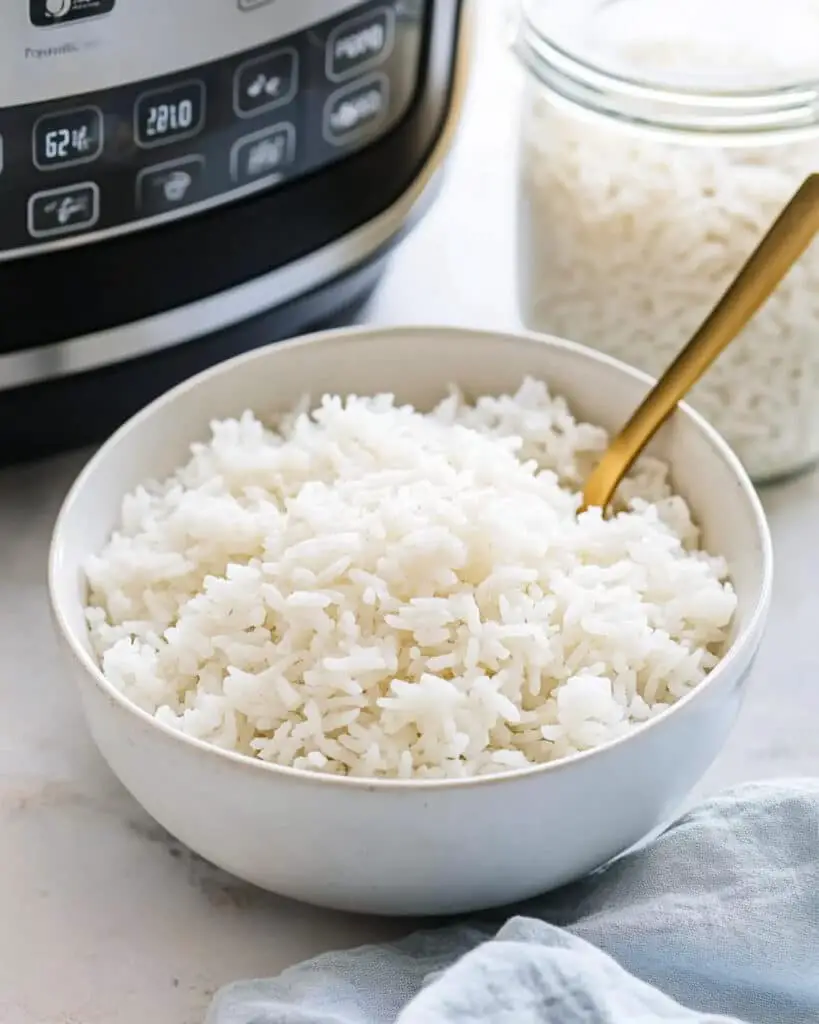
This foolproof Instant Pot White Rice recipe delivers fluffy, perfectly cooked rice every single time with minimal effort. Set it and forget it while you prepare the rest of your meal—no more watching pots or dealing with rice that’s too mushy or too firm. This kitchen staple becomes truly effortless with your pressure cooker!
Why You’ll Love This Recipe
- Utterly Foolproof: Even if you’ve struggled with stovetop rice in the past, this method guarantees perfect results every time.
- Hands-Off Cooking: Once you set your Instant Pot, you’re free to prepare the rest of your meal while the rice cooks perfectly on its own.
- Consistently Perfect Texture: Achieve that ideal fluffy consistency with distinct grains that aren’t sticky or mushy.
- Versatile Base: This simple white rice pairs beautifully with virtually any cuisine, from Asian stir-fries to Mexican beans to Indian curries.
Ingredients You’ll Need
- Long grain white rice: The star of the show—long grain varieties like basmati or jasmine work wonderfully with this method, producing distinct, fluffy grains that don’t clump together.
- Water: The ratio matters! Using exactly 1:1 rice to water creates the perfect texture—not too wet, not too dry.
- Kosher salt: Just a touch enhances the natural flavor of the rice without making it actually taste salty. Feel free to adjust to your preference.
The beauty of this recipe is its simplicity—just three ingredients transform into something genuinely delicious when prepared correctly.
Note: You’ll find the complete list of ingredients, along with their exact measurements, in the printable recipe card at the bottom of this post.
Variations
Want to take your rice from simple to spectacular? Try these easy variations:
- Coconut Rice: Replace half the water with coconut milk for a subtly sweet, tropical flavor that pairs wonderfully with Thai or Caribbean dishes.
- Herbed Rice: Stir in fresh herbs like cilantro, parsley, or chives after cooking for a bright, aromatic finish.
- Garlic Rice: Add 1-2 cloves of minced garlic before cooking for an aromatic base that enhances almost any meal.
- Lemon Rice: Stir in some lemon zest and a squeeze of fresh juice after cooking for a bright, zesty side dish.
How to Make Perfect Instant Pot White Rice
Step 1: Rinse the Rice
Place your cup of rice in a fine-mesh strainer and rinse under cool running water, using your fingers to gently scrub the grains. Continue until the water runs clear, about a minute. This removes excess starch and prevents gumminess.
Step 2: Add Ingredients to Instant Pot
Transfer the rinsed rice to your 6-quart Instant Pot, then add exactly 1 cup of water and ¼ teaspoon of kosher salt. Give it a quick stir to distribute the salt.
Step 3: Seal and Set
Double-check that your release valve is in the “Sealing” position, then secure the lid on your Instant Pot. Press “Manual” (or “Pressure Cook” on newer models), ensure it’s set to high pressure, and adjust the time to exactly 3 minutes.
Step 4: Let It Work Its Magic
The Instant Pot will take about 7 minutes to come to pressure before the cooking countdown begins. You’ll notice some steam releasing as it builds pressure—this is completely normal.
Step 5: Natural Release
Once the cooking cycle completes, press “Cancel” and let the pressure naturally release for exactly 10 minutes. This resting period is crucial for perfect texture.
Step 6: Quick Release Remaining Pressure
After the 10-minute natural release, carefully turn the valve to “Venting” to release any remaining pressure. Always point the vent away from you to avoid steam burns.
Step 7: Fluff and Serve
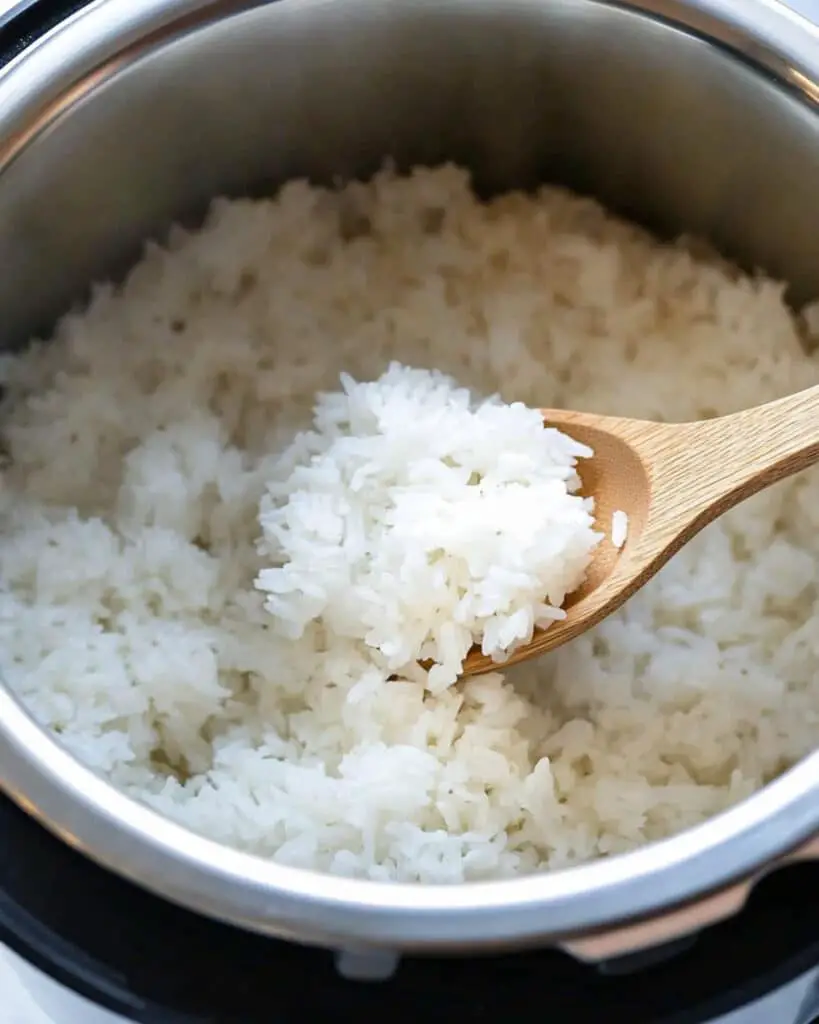
Remove the lid (opening away from your face), then gently fluff the rice with a fork to separate the grains. Serve while hot and enjoy your perfectly cooked rice!
Pro Tips for Making the Recipe
- Don’t Skip the Rinse: This crucial step removes excess starch that would otherwise make your rice gummy or sticky.
- Measure Precisely: Rice cooking is all about exact ratios, so use proper measuring cups rather than eyeballing it.
- Let It Rest: The 10-minute natural pressure release is not optional—it allows the rice to finish absorbing moisture perfectly.
- Handle with Care: When fluffing, use a fork (not a spoon) and be gentle to avoid crushing the grains.
- Check Your Seal: Make sure your Instant Pot’s silicone ring is properly seated before cooking to prevent steam leaks.
How to Serve

White rice is incredibly versatile and serves as the perfect canvas for countless dishes:
As a Side Dish
Pair with stir-fries, curries, grilled meats, or roasted vegetables for a complete meal.
As a Base
Use as the foundation for rice bowls topped with protein, vegetables, and sauce—perfect for meal prep!
In Stuffed Dishes
Fill bell peppers, grape leaves, or cabbage rolls with this perfectly cooked rice mixed with your favorite proteins and spices.
Make Ahead and Storage
Storing Leftovers
Cool completely, then store in an airtight container in the refrigerator for up to 4 days. The texture stays remarkably good, unlike stovetop rice which often dries out.
Freezing
Portion cooled rice into freezer bags or containers and freeze for up to 3 months. The key is sealing well to prevent freezer burn and preserve moisture.
Reheating
For refrigerated rice: Add a tablespoon of water, cover, and microwave for 1-2 minutes, stirring halfway through.
For frozen rice: No need to thaw first! Add 1-2 tablespoons of water, cover loosely, and microwave for 2-3 minutes, stirring halfway through heating.
FAQs
Can I double this recipe?
Absolutely! The beauty of the Instant Pot is that you can double or even triple the recipe without changing the cooking time. Just maintain the 1:1 ratio of rice to water, and you’ll have perfect results every time.
Why is my rice sometimes mushy?
Mushy rice typically means too much water was used. With the Instant Pot, stick strictly to the 1:1 ratio for long grain white rice. Also, make sure you’re allowing the full 10-minute natural release, as quick-releasing immediately can result in undercooked centers and mushy exteriors.
Can I use this same method for brown rice?
Brown rice needs different settings. For brown rice, use a 1:1.25 ratio of rice to water, set the pressure cook time to 20 minutes, and allow a 10-minute natural release. The principles are similar, but the timing changes due to brown rice’s tougher outer hull.
My rice has a slight smell after being in the refrigerator. Is it still good?
Rice can develop a slightly different aroma after refrigeration, but it should never smell sour or unpleasant. If properly stored in an airtight container and refrigerated within two hours of cooking, it should remain good for up to 4 days. When in doubt, however, it’s better to be safe and discard it.
Say goodbye to mushy rice and burnt pots forever! This Instant Pot White Rice recipe transforms something seemingly simple into consistently perfect results every time. Whether you’re making a quick weeknight dinner or meal prepping for the week ahead, mastering this basic technique will elevate countless meals. Give it a try tonight—you’ll wonder why you ever cooked rice any other way!
Print
Perfect Instant Pot White Rice Recipe
- Prep Time: 10 minuets
- Cook Time: 20 minuets
- Total Time: 30 minuets
- Yield: 3 cups
- Category: Side-dishes
- Method: Instant Pot
- Cuisine: Global
Description
Perfectly fluffy, tender white rice made effortlessly in the Instant Pot. This foolproof method delivers consistent results every time with minimal effort – a kitchen essential for quick weeknight meals or as a versatile side dish.
Ingredients
- 1 cup (187 g) long grain white rice
- 1 cup (240 ml) water
- 1/4 teaspoon kosher salt
Instructions
- Rinse the Rice: Add rice to a fine meshed strainer. Rinse and wash under cool running water until it runs clear, scrubbing the rice in between your fingers several times, about 1 minute. Shake to drain excess liquid.
- Prepare the Instant Pot: In a 6-quart Instant Pot add rice, water, and salt. Make sure that the release valve is in the “Sealing” position.
- Secure the Lid: Place the lid on the Instant Pot, turn and lock. Press the “Manual” button on the Instant Pot on high pressure, and then set the timer to 3 minutes using the “+” or “-” buttons. It will take about 7 minutes for the pot to heat and build up pressure. You will see some steam release from the lid, and then the time will start on the display.
- Cancel After Cooking: Once cooking time is complete, press the “Keep Warm/Cancel” button.
- Natural Release: Allow the pressure to naturally-release for 10 minutes.
- Release Remaining Pressure: Carefully twist the steam-release handle on the lid to “Venting” position.
- Open and Serve: Carefully remove the lid, opening the top away from you as steam will be released from the pot. Gently fluff the rice with a fork. Serve the rice hot.
Notes
- For even softer grains of white rice add 1 ¼ cups of water.
- This recipe was designed for long grain white rice, extra long grain, basmati or jasmine.
- For short grain and medium grain white rice like sushi or calrose rice, use 1 1/4 cups of water. Cook for 5 minutes on high pressure and natural release for 10 minutes.
- Leftover rice can be refrigerated for up to 5 days or frozen for up to 3 months.
- Rice will yield approximately 3 cups of cooked rice from 1 cup of uncooked rice.
- To add flavor, you can substitute water with chicken or vegetable broth.
Nutrition
- Serving Size: 1/2 cup
- Calories: 105
- Sugar: 0g
- Sodium: 98mg
- Fat: 0g
- Saturated Fat: 0g
- Unsaturated Fat: 0g
- Trans Fat: 0g
- Carbohydrates: 23g
- Fiber: 0g
- Protein: 2g
- Cholesterol: 0mg


