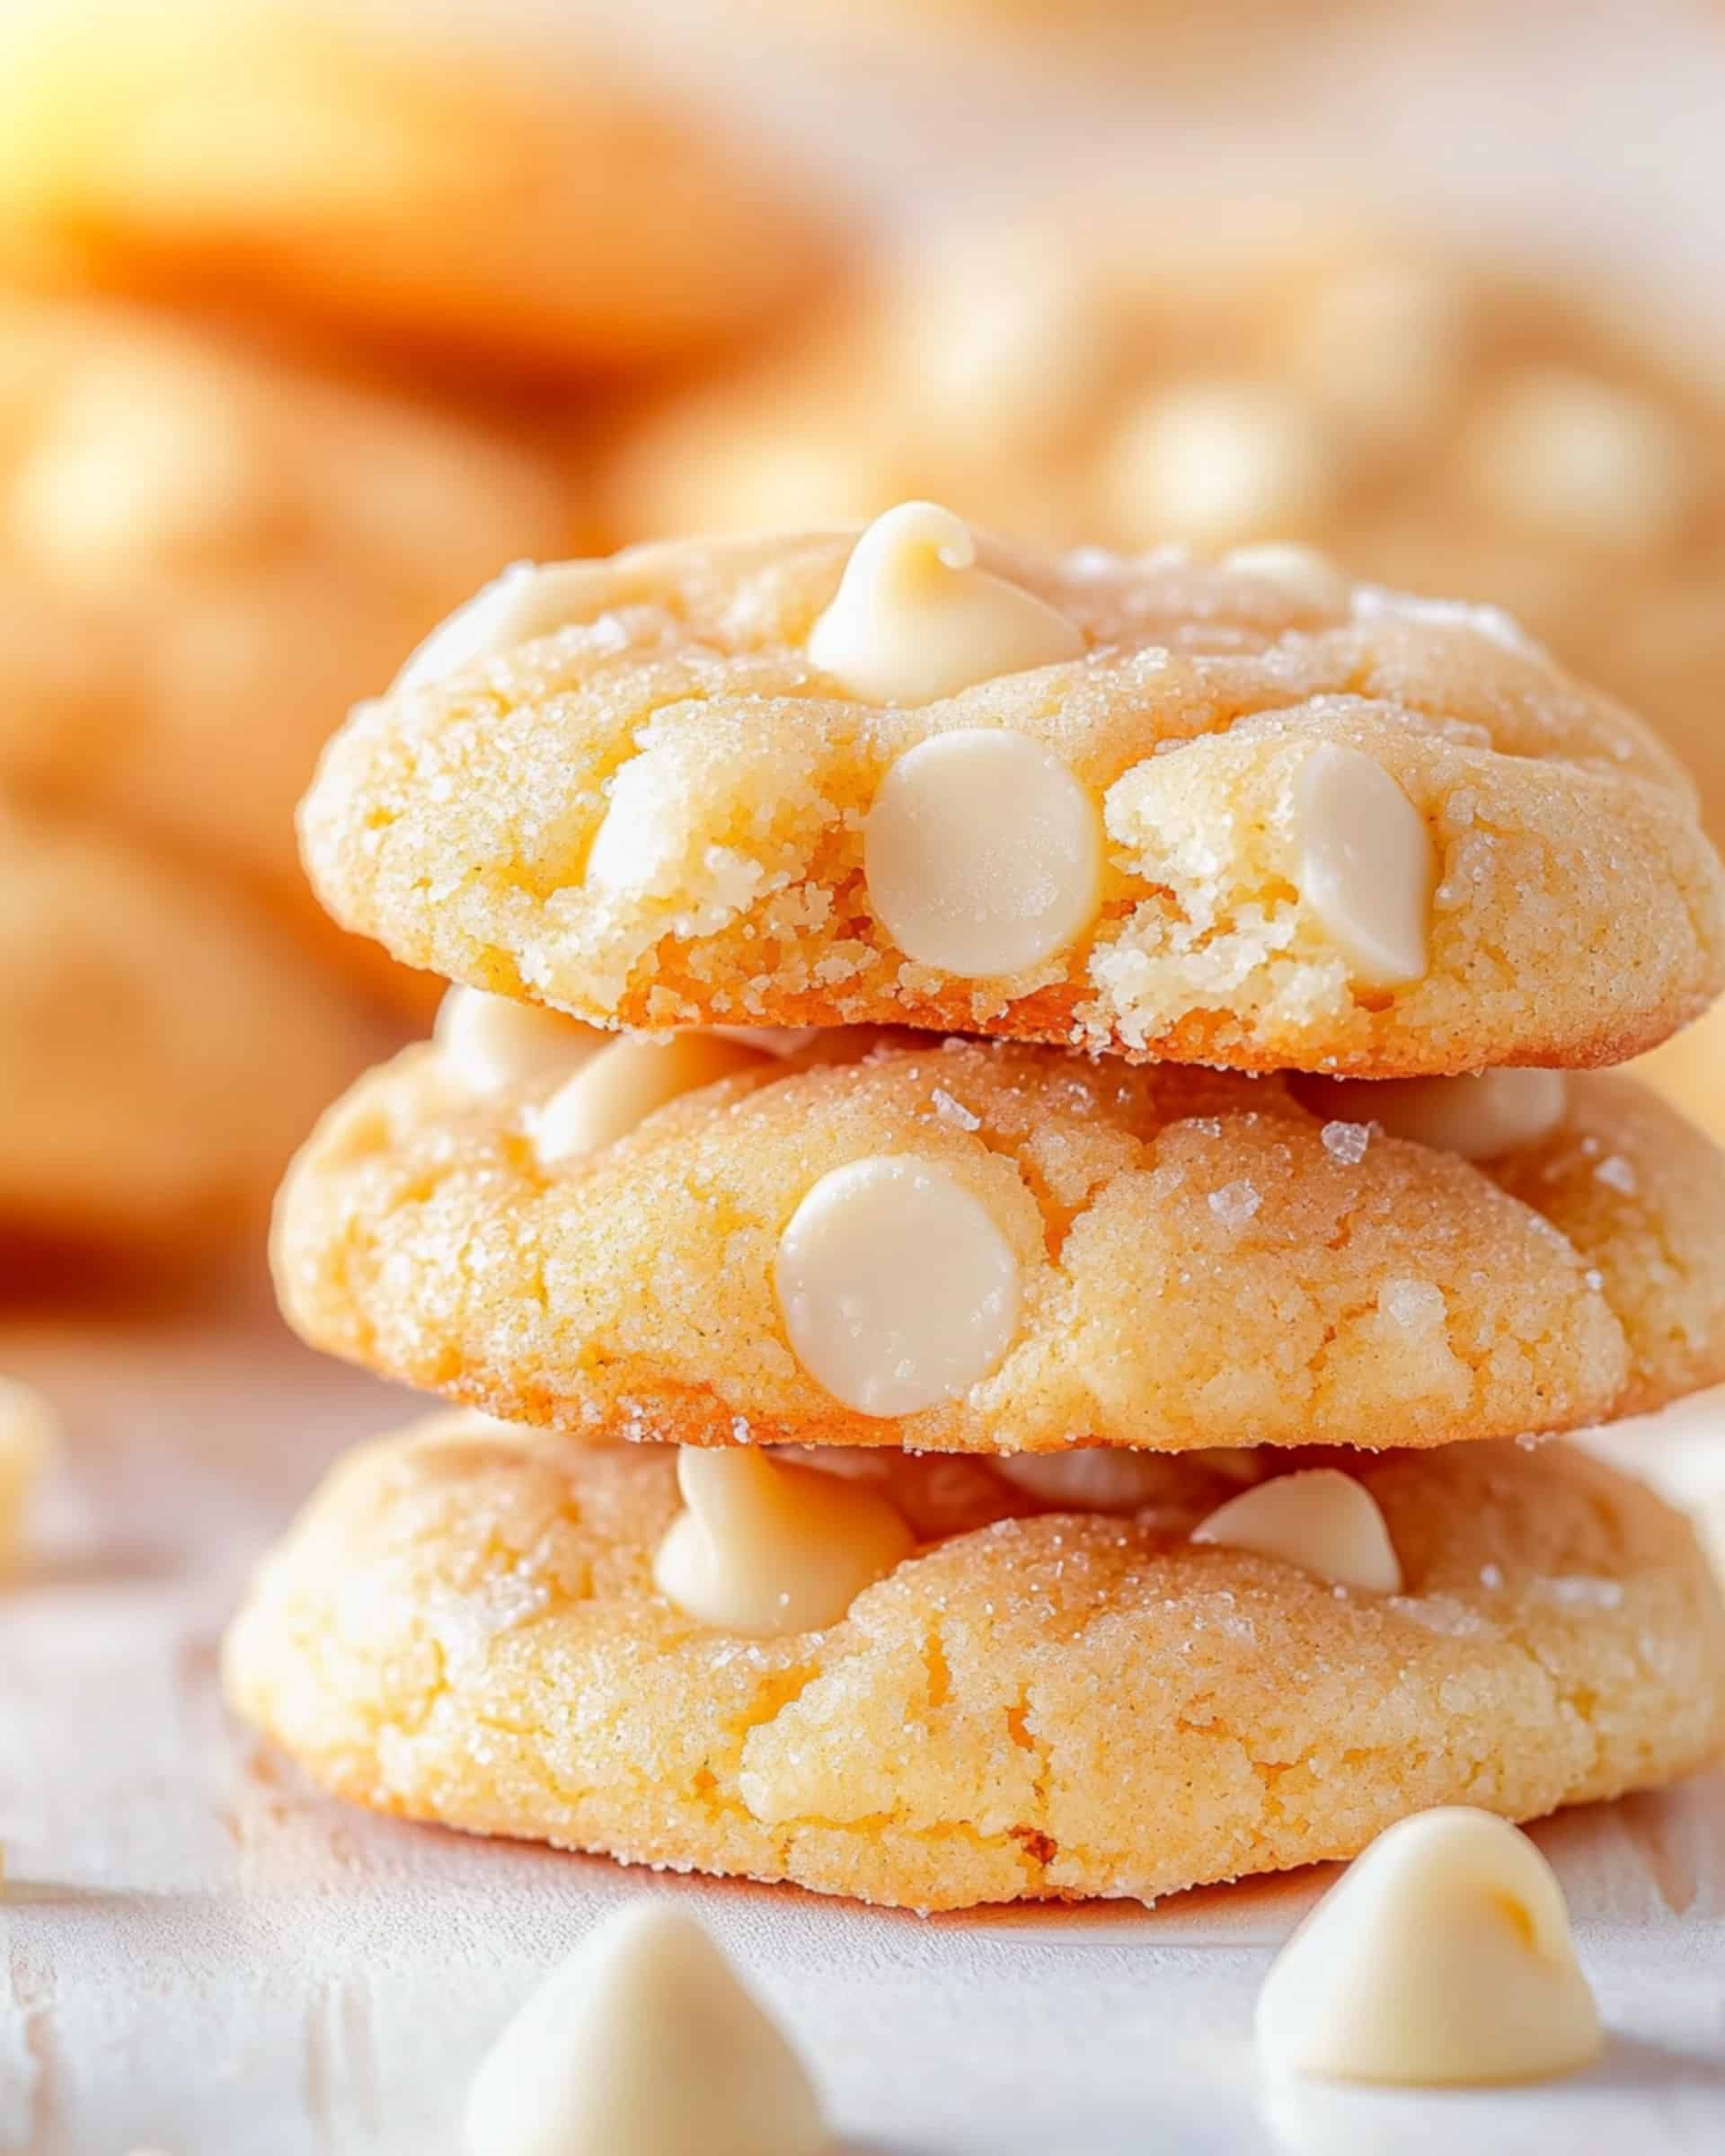
This Peach Bars recipe transforms juicy summer peaches into an irresistible dessert with a buttery base, sweet fruit filling, and golden crumble topping. Quick to prepare and incredibly versatile, these bars strike the perfect balance between a cookie and a fruit crumble. They’re ideal for picnics, potlucks, or simply enjoying with afternoon tea. The combination of textures – from the tender shortbread-like base to the jammy peach middle and crisp topping – makes these treats absolutely unforgettable.
Why You’ll Love This Recipe
- Three wonderful layers: Each component brings something special – a buttery base that’s tender yet sturdy, juicy sweet peaches in the middle, and a crumbly topping that adds the perfect texture contrast.
- Perfect for peach season: When those summer peaches are at their peak, this recipe showcases their natural sweetness and vibrant flavor perfectly.
- Make-ahead friendly: These bars actually taste even better the day after baking, making them perfect for planning ahead for gatherings or dessert cravings.
- Crowd-pleaser: The familiar, comforting flavors appeal to almost everyone, from kids to grandparents. It’s one of those recipes people will definitely ask for.
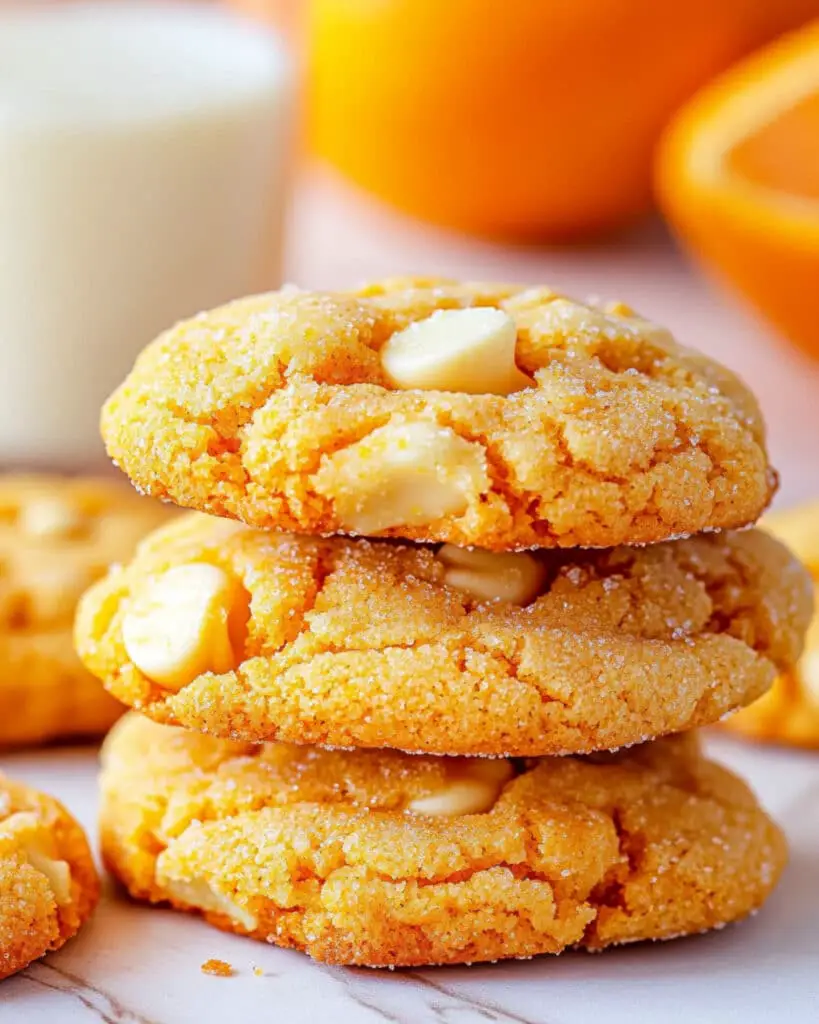
Ingredients You’ll Need
For the Base:
- Butter: Creates that rich, tender texture in the crust. Make sure it’s properly softened for easy creaming.
- Granulated sugar: Adds sweetness while helping to create a slightly crisp edge on the base.
- Egg: Acts as a binder and adds richness to the base layer.
- All-purpose flour: Provides structure. Measure carefully – too much can make your base tough.
- Cinnamon: Just a touch adds warmth and complements the peach flavor beautifully.
- Salt: Enhances all the other flavors and balances the sweetness.
For the Filling:
- Peaches: The star of the show! Look for ripe, fragrant peaches for the best flavor.
- Sugar: Draws out the peach juice and enhances their natural sweetness.
- Lemon zest: Adds a bright, aromatic note that makes the peach flavor pop.
For the Crumble:
- Flour: Creates the structure for those perfect little crumbs.
- Brown sugar: Brings a deeper, caramel-like sweetness and helps create that perfect crumbly texture.
- Butter: Binds the crumble together and adds rich flavor.
- Salt: Balances the sweetness and enhances all the flavors.
Note: You’ll find the complete list of ingredients, along with their exact measurements, in the printable recipe card at the bottom of this post.
Variations
Want to customize these peach bars? Here are some delicious ideas:
- Mixed fruit: Try half peaches and half berries (strawberries, blueberries, or blackberries would be amazing).
- Spice it up: Add a pinch of cardamom or nutmeg to the crumble for a more complex flavor profile.
- Nutty twist: Mix chopped almonds, pecans, or walnuts into the crumble topping for extra crunch and flavor.
- Decadent drizzle: Once cooled, drizzle with a simple powdered sugar glaze or white chocolate for extra sweetness.
- Vanilla bean: Add the seeds from half a vanilla bean to the peach filling for an aromatic boost.
How to Make Peach Bars
Step 1: Prepare Your Pan and Ingredients
Grease a 9″ x 13″ baking dish and line it with parchment paper, leaving overhang on the sides for easy removal later. Preheat your oven to 350°F. Having everything ready makes the process smooth and enjoyable.
Step 2: Make the Base
In a large bowl, beat the softened butter, granulated sugar, and egg with a mixer for about 3 minutes until light and creamy. This aeration creates a tender base, so don’t rush this step! Gently mix in the flour, cinnamon, and salt just until combined – overmixing will make the base tough.
Step 3: Form the Base Layer
Press the dough into your prepared pan in an even layer. I find it easiest to drop dollops of dough throughout the pan and then connect them with my fingertips. Chill the base in the refrigerator while preparing the other components.
Step 4: Prepare the Filling
Gently toss your sliced peaches with sugar and lemon zest in a bowl. The sugar will start drawing out the peach juices, creating that wonderful jammy texture during baking.
Step 5: Make the Crumble Topping
Mix the flour, brown sugar, softened butter, and salt until it forms small crumbles. I like to start with a mixer on low, then use my fingers to create those perfect pea-sized crumbs. The texture should be sandy with some larger pieces.
Step 6: Assemble and Bake
Layer the peach mixture evenly over your chilled base, then sprinkle the crumble topping over the fruit. Don’t press the crumble down – those loose bits will create the perfect texture. Bake for 45-50 minutes until golden brown and the edges are slightly bubbling.
Step 7: Cool Completely
Allow the bars to cool in the pan on a wire rack for at least 20 minutes before removing, then cool completely before cutting. Patience here results in cleaner slices!
Pro Tips for Making the Recipe
- Room temperature ingredients: Make sure your butter is properly softened but not melted for both the base and crumble.
- Let the bars set: For the cleanest cuts, allow the bars to cool completely before slicing – even chilling them in the refrigerator helps.
- Parchment paper overhang: Leave enough parchment hanging over the sides to create “handles” for easy removal of the entire dessert from the pan.
- Peach ripeness matters: Choose peaches that yield slightly to gentle pressure – too firm and they won’t soften enough, too soft and they’ll become mushy.
- Even layers: Take the time to spread each layer evenly for consistent baking and the best texture throughout.
How to Serve
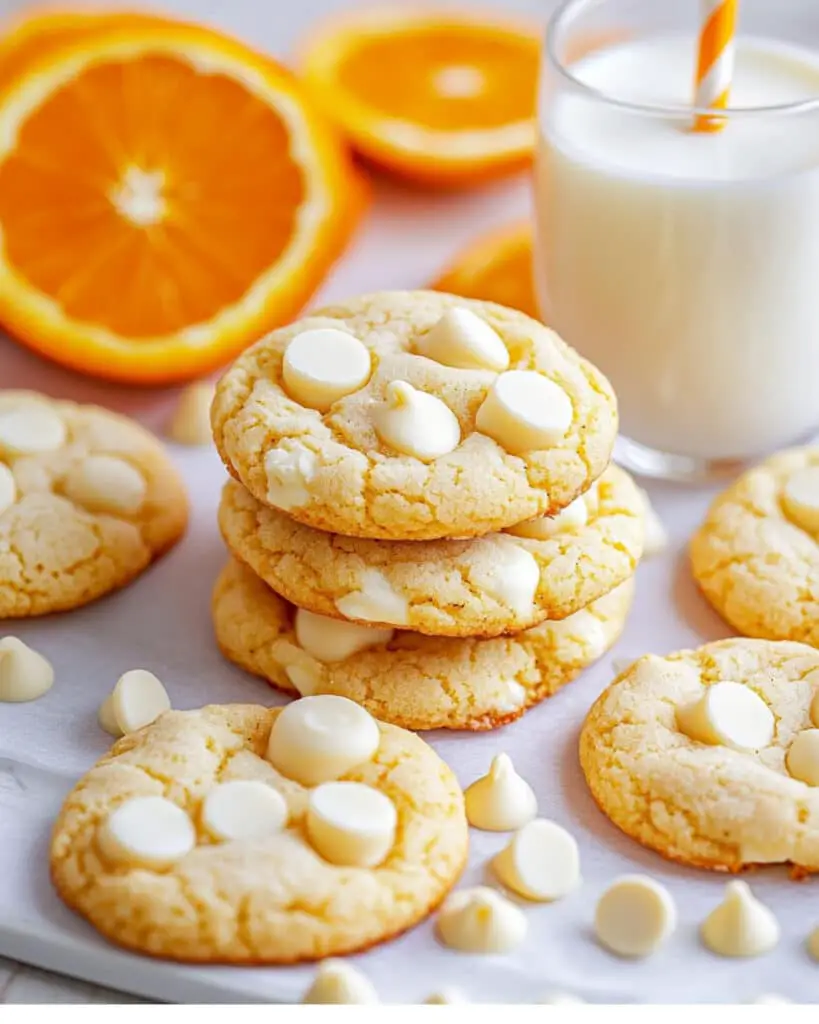
These versatile peach bars can be enjoyed in multiple ways:
As a Standalone Dessert:
Serve slightly warm with a scoop of vanilla ice cream or a dollop of lightly sweetened whipped cream.
With Beverages:
These bars pair beautifully with afternoon tea, coffee, or even a dessert wine like Moscato.
Dressing It Up:
For a fancier presentation, dust with powdered sugar just before serving, or add a small mint leaf to each serving plate.
Make Ahead and Storage
Storing Leftovers
Store cooled peach bars in an airtight container at room temperature for up to 2 days or in the refrigerator for up to 5 days. The flavors actually develop nicely after a day!
Freezing
These bars freeze beautifully! Cut them into portions, wrap individually in plastic wrap, then place in a freezer-safe container or bag. They’ll keep for up to 3 months.
Reheating
Thaw frozen bars overnight in the refrigerator. For a fresh-baked taste, warm individual bars in a 300°F oven for about 10 minutes, or microwave for 15-20 seconds.
FAQs
-
Do I need to peel the peaches for this recipe?
Peeling is completely optional! The peach skin softens nicely during baking and adds beautiful color. If you prefer no skins, you can easily peel them by blanching in boiling water for 30 seconds, then transferring to ice water – the skins will slip right off.
-
Can I use canned or frozen peaches instead of fresh?
Yes, you can! For canned peaches, drain them very well and reduce the added sugar in the filling. For frozen peaches, thaw completely and drain any excess liquid before using. Fresh peaches will give you the best flavor, but these alternatives work when peaches aren’t in season.
-
Why did my peach filling turn out too runny?
This usually happens if your peaches were extremely juicy or if the bars didn’t bake long enough. Make sure to bake until you see those bubbling edges, and cool completely before cutting. If your peaches are very ripe and juicy, you can add 1 tablespoon of cornstarch to the filling.
-
Can I make these bars gluten-free?
Absolutely! Simply substitute the all-purpose flour with a 1:1 gluten-free baking flour blend in both the base and crumble. Look for a blend that contains xanthan gum for the best texture results.
Final Thoughts
These Peach Bars capture everything wonderful about summer fruit in a convenient, portable dessert. They’re the perfect balance of sweet, buttery, and fruity – rustic enough for casual gatherings but pretty enough for special occasions. What I love most is how versatile they are, working beautifully with whatever fruit is in season. Don’t wait for a special occasion to make these – they’re simple enough for a weekend treat that will make your kitchen smell incredible and have everyone asking for seconds!
Print
Perfect Peach Bars Recipe
- Prep Time: 15 minutes
- Cook Time: 12 minutes
- Total Time: 27 minutes
- Yield: 30 cookies 1x
- Category: Desserts
- Method: Baking
- Cuisine: American
Description
These Easy Orange Creamsicle Cookies are soft, chewy, and bursting with bright orange citrus flavor paired with creamy white chocolate. They’re a fun and colorful treat perfect for any occasion, guaranteed to bring a burst of sunshine to your day. With a creamy orange flavor enhanced by a hint of vanilla, these cookies are sure to be a family favorite!
Ingredients
Wet Ingredients
- 1/2 cup unsalted butter, softened
- 4 ounces cream cheese, softened
- 1 large egg
- 1 tablespoon navel orange zest
- 1 1/2 teaspoons orange extract
- 1 teaspoon vanilla extract
Dry Ingredients
- 1 1/2 cups powdered sugar
- 1/2 teaspoon baking powder
- 1/4 teaspoon fine sea salt
- 1 3/4 cups all-purpose flour
Optionals & Add-ins
- 1/8 teaspoon red gel food coloring, optional
- 1/8 teaspoon yellow gel food coloring, optional
- 1 cup white chocolate chips
- 1/4 cup granulated sugar (for rolling)
Instructions
- Cream Butter & Cream Cheese
In the body of a stand mixer with the paddle attachment, or in a large bowl using an electric hand mixer, cream together the softened butter and cream cheese until smooth and well combined. - Mix Wet Ingredients
Gradually add the powdered sugar to the creamed mixture, mixing carefully to avoid lumps. Then, add the egg, orange zest, orange extract, vanilla extract, baking powder, and salt. Stir until the mixture is smooth. - Combine Dry Ingredients
Slowly mix in the all-purpose flour until everything is incorporated and there are no visible dry patches. Scrape down the sides of the mixing bowl as needed. - Tint & Add Chocolate
Add red and yellow gel food coloring in equal parts (if using) to achieve your desired orange hue. Lastly, gently fold in the white chocolate chips until evenly distributed. - Chill the Dough
Line a baking sheet with parchment paper. Scoop 1 ½ tablespoons of dough for each cookie and place closely spaced on the prepared tray. Refrigerate the dough balls for at least 1 hour to chill. - Prep for Baking
Preheat your oven to 350°F and line additional baking sheets with parchment paper. Place the granulated sugar in a small bowl. Remove the dough balls from the fridge, roll them into smooth spheres in your hands, and coat them thoroughly in the granulated sugar. - Bake Cookies
Arrange the sugar-coated dough balls about 3 inches apart on the prepared baking sheets. Bake for 11-12 minutes, or until the cookies are puffed, lightly golden around the edges, and dry on top. Do not overbake. - Cool & Serve
Allow the cookies to cool on the baking sheet for 10 minutes before transferring to a wire rack to cool completely. Enjoy these chewy, citrusy treats!
Notes
- Chill the Dough: Chilling the dough for at least an hour helps to prevent spreading and enhances the flavor.
- Don’t Overbake: The cookies should look slightly soft in the center when removed from the oven. They will set as they cool.
- Test First: If unsure about sweetness or color, bake a single cookie as a test batch before continuing.
- Gel Food Coloring: A little gel food coloring goes a long way for a bright and vibrant orange hue.
- For Chewy Cookies: Remove the cookies at the 11-minute mark for a softer texture. For crisper cookies, leave them in for a minute longer.
- Flavor Variation: Consider substituting vanilla extract with vanilla bean paste for a richer, more aromatic vanilla taste.
Nutrition
- Serving Size: 1 cookie
- Calories: 105
- Sugar: 9g
- Sodium: 40mg
- Fat: 5g
- Saturated Fat: 3g
- Unsaturated Fat: 2g
- Trans Fat: 0g
- Carbohydrates: 14g
- Fiber: 0.5g
- Protein: 1g
- Cholesterol: 15mg

