
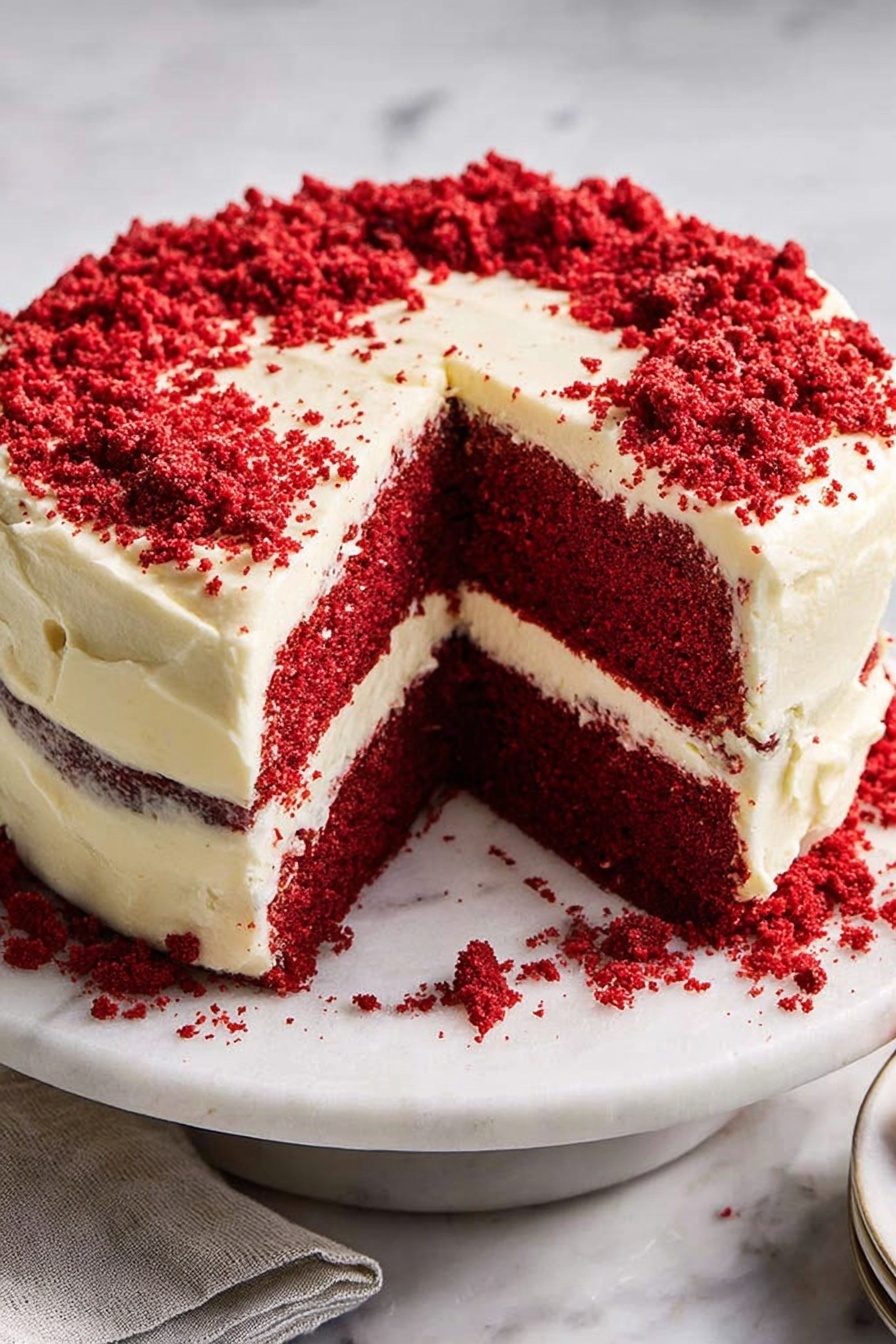
If you’re craving that iconic, luscious dessert that’s both classic and a little bit special, you’re going to fall head over heels for this Red Velvet Cake Recipe. I absolutely love how this turns out every single time — it’s moist, tender, and just the right balance of cocoa and tangy buttermilk, all wrapped up in the most gorgeous red hue. When I first tried baking red velvet at home, I was amazed by how approachable this recipe is, and I’m excited to share all my tips so you can nail it too.
Why You’ll Love This Recipe
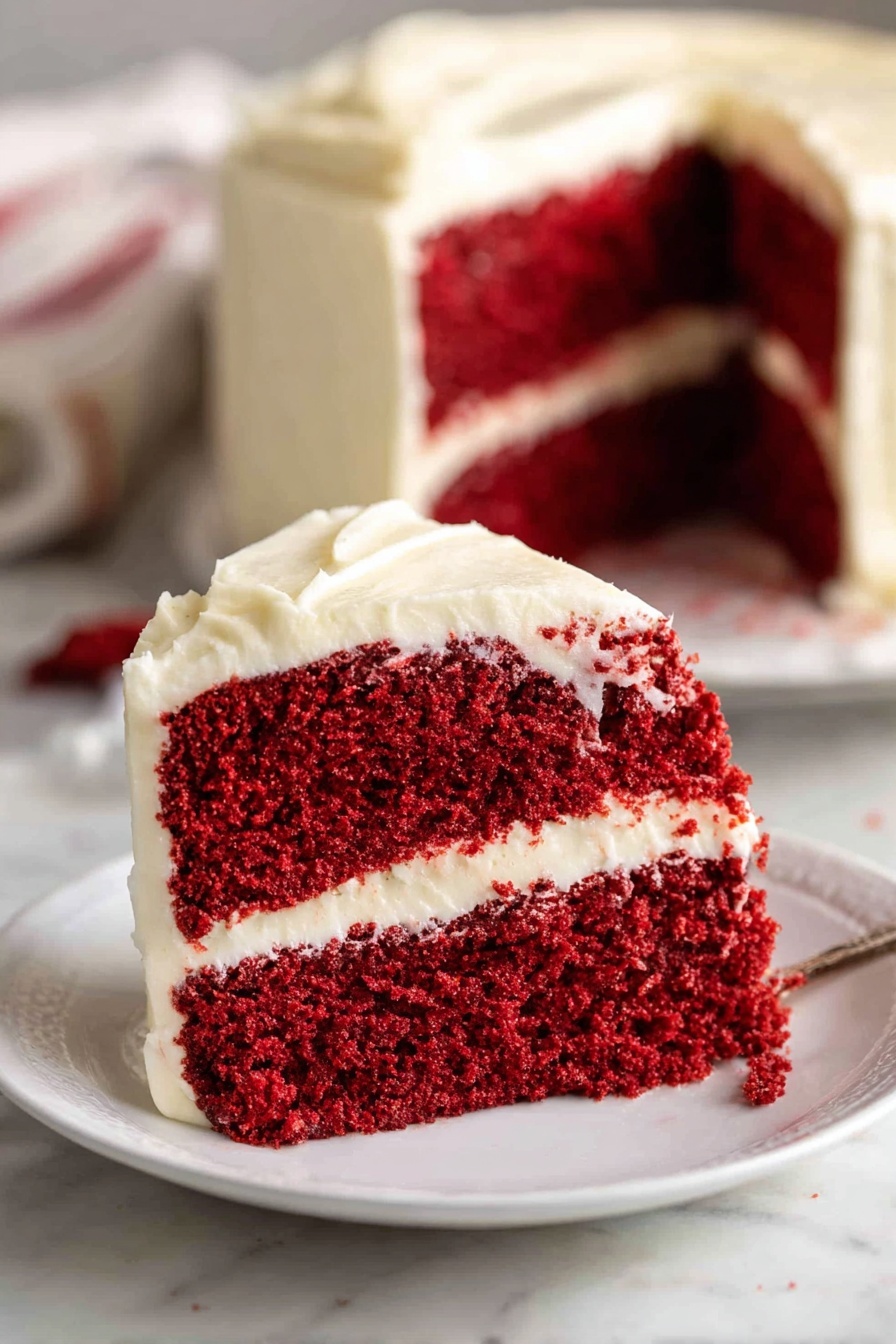
- Perfectly Moist and Velvety: The combination of buttermilk and oil makes the cake incredibly tender and soft.
- Rich Red Color: Using the right kind of red food coloring, this recipe delivers that vibrant hue you expect from a classic red velvet.
- Easy to Follow Steps: Even if you’re new to baking, I break down each step so you won’t feel overwhelmed.
- Delicious Cream Cheese Frosting: Smooth, tangy, and just sweet enough, it complements the cake perfectly.

Ingredients You’ll Need
Each ingredient in this Red Velvet Cake Recipe plays an important role to achieve the right texture and flavor. I like to use the best quality ingredients I can find, especially for the cream cheese and butter, because they really make a difference.
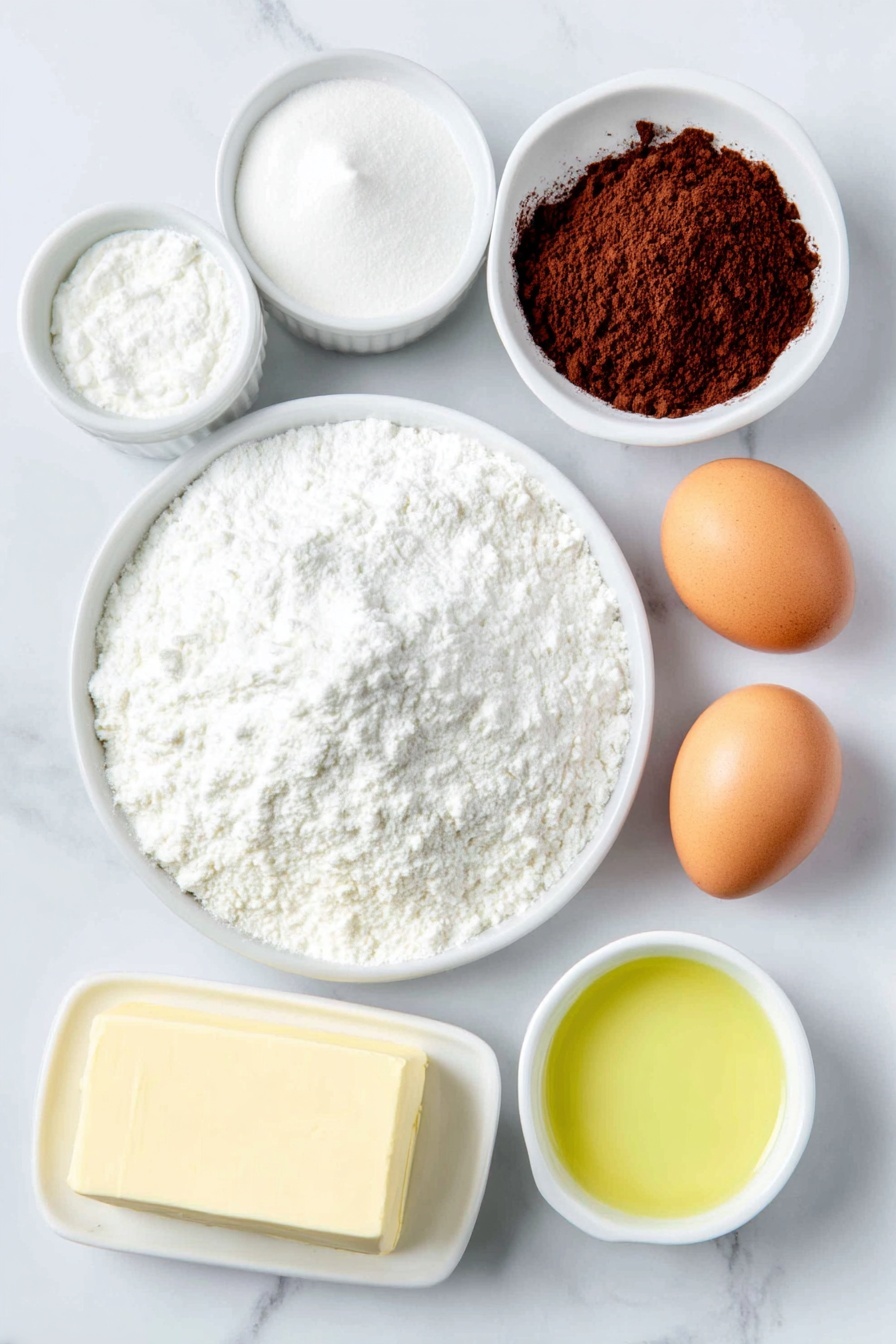
- Plain cake flour: I prefer cake flour for its lower protein content, which keeps the crumb tender and soft.
- Cocoa powder: Use unsweetened for just a subtle chocolate note that complements without overpowering.
- Baking soda: Essential for proper rise here – don’t substitute with baking powder or your cake texture will be off.
- Salt: Just a pinch to enhance all the flavors.
- Unsalted butter: Softened to room temperature, not melted, for better mixing and fluffy texture.
- Caster/superfine white sugar: Dissolves quickly making the batter smooth and light.
- Eggs: Bring them to room temperature for better volume and mixability.
- Vegetable oil: Adds moisture and keeps the cake soft for days.
- White vinegar: Works with the baking soda to help the rise and adds that signature slight tang.
- Vanilla extract: For a warm fragrant note.
- Buttermilk: Key to the cake’s tender crumb and subtle tang, I always use room temperature.
- Red food coloring liquid or gel: The magic that gives the cake its iconic red color – I recommend gel for a deeper, richer color.
- Philadelphia Cream Cheese: I always use block cream cheese, softened but still firm, for a smooth cream cheese frosting.
- Powdered icing sugar: Sifted for a light, fluffy frosting texture.
Variations
I love playing around with this Red Velvet Cake Recipe depending on the season or what we’re celebrating. It’s super versatile, so don’t hesitate to make it your own!
- Gluten-free version: I swapped in a gluten-free flour blend once and adjusted the liquids slightly—it still came out wonderfully soft and flavorful.
- Chocolate version: Adding a bit more cocoa powder really amps up the chocolate notes, making it more of a chocolate velvet cake.
- Vegan twist: I experimented with flax eggs and vegan cream cheese; it requires some texture tweaks, but still delicious!
- Mini cupcakes: Perfect for parties, I use this recipe in a mini muffin tin and reduce baking time by about 10 minutes.
How to Make Red Velvet Cake Recipe
Step 1: Prep Your Pans and Dry Ingredients
Start by preheating your oven to 180°C (350°F). Butter your two 8-inch round cake pans, making sure to cover the sides and base thoroughly, then dust them lightly with cocoa powder instead of flour—this helps to keep the vibrant red color from fading. Next, sift your cake flour, cocoa powder, baking soda, and salt into a bowl, then whisk them together so everything is evenly combined. This ensures your dry ingredients are light and lump-free.
Step 2: Cream Butter and Sugar
In a separate large bowl, beat the softened butter and sugar together with an electric mixer or stand mixer using the paddle attachment until smooth and well combined. You’ll want the texture to become light and fluffy—it usually takes about 3 to 5 minutes at medium speed. This step builds your cake’s structure and sweetness, so don’t rush it!
Step 3: Add Eggs One at a Time
Beat in the eggs, one at a time, making sure to fully incorporate each egg before adding the next. Don’t worry if the batter looks a bit curdled—that’s totally normal. Keep beating vigorously until it turns silky and smooth again.
Step 4: Mix in Liquids and Red Food Coloring
Lower your mixer speed and slowly add the vegetable oil, white vinegar, vanilla extract, buttermilk, and red food coloring all at once. Beat until just combined and you have a smooth, vibrant red batter. I discovered this trick of adding everything in one go helps keep the batter from overmixing — you want it smooth but don’t want to develop gluten that can make the cake tough.
Step 5: Combine Dry and Wet Ingredients
Gradually add the dry ingredients to the wet mixture, beating on low speed or folding gently with a spatula until just combined. A few tiny lumps are fine here — overmixing will make the cake dense, and that’s the last thing you want in a delicate red velvet.
Step 6: Bake the Cake
Divide the batter evenly between your prepared pans and smooth the tops. Pop them into the preheated oven and bake for 25 to 30 minutes, or until a toothpick inserted into the center comes out clean. I like to rotate my pans halfway through baking for even browning, especially with older ovens. Once baked, let the cakes rest in the pans for 10 minutes before turning them out onto a cooling rack.
Step 7: Make the Cream Cheese Frosting
While your cake cools completely, whip up the frosting by beating the softened cream cheese and butter together until creamy and smooth. Add the vanilla extract and gradually mix in sifted powdered sugar until the frosting is light, fluffy, and spreadable. I always taste and adjust sweetness at this stage — if you like it tangier, add a bit more cream cheese.
Step 8: Assemble and Frost
Once the cakes are completely cool, level the tops if needed, then place one layer on your serving plate. Spread a generous layer of frosting over it, then top with the second cake layer and cover the entire cake with the remaining frosting. For a clean look, I use a bench scraper to smooth the sides, but feel free to get creative!
Pro Tips for Making Red Velvet Cake Recipe
- Use Room Temperature Ingredients: It makes mixing easier and the batter smoother, helping your cake rise evenly.
- Don’t Overmix: Small lumps in the batter are totally okay—over mixing can make your cake tough.
- Choose Gel Food Coloring: Gel tends to give a deeper, more vibrant red without watering down the batter.
- Let Cake Cool Completely: Putting frosting on warm cake causes it to melt and slide off, so patience here really pays off.
How to Serve Red Velvet Cake Recipe
Garnishes
I usually keep it classic with just some extra frosting swirls piped around the edges, but sometimes I sprinkle crushed pecans or finely chopped white chocolate shavings on top for a nice contrast in texture. Fresh berries like raspberries or strawberries also add a lovely hint of tartness that pairs beautifully.
Side Dishes
This cake shines on its own, but if I’m serving it at a gathering, I love pairing it with a simple mixed green salad with a light vinaigrette to balance out the sweetness or a scoop of vanilla bean ice cream for extra indulgence.
Creative Ways to Present
For birthdays, I’ve layered this cake with fresh edible flowers or arranged it as mini cupcakes with little cream cheese dollops on top. For Valentine’s Day, I added heart-shaped chocolate decorations and dusted with edible glitter — everyone was wowed! Presentation can be as simple or elaborate as you want.
Make Ahead and Storage
Storing Leftovers
I store leftover Red Velvet Cake covered in an airtight container in the fridge. It keeps the cream cheese frosting fresh and the cake moist for up to 4 days. Before serving leftovers, I bring slices to room temperature—that makes the frosting soft and melts any chill.
Freezing
I’ve frozen whole cakes and individual slices wrapped tightly in plastic wrap and then foil for up to 3 months. When ready to eat, I thaw the cake in the fridge overnight, then let it sit out for about 30 minutes before slicing to regain that fresh-baked softness.
Reheating
If you want to enjoy your cake warm, I recommend microwaving a slice in 10-second intervals just until soft but not melted. This way, you keep the cream cheese frosting’s texture pleasant without it turning runny.
FAQs
-
Can I use baking powder instead of baking soda in this Red Velvet Cake Recipe?
It’s best not to substitute baking soda with baking powder in this recipe because baking soda reacts with the acidic ingredients like buttermilk and vinegar to create the proper rise and tender crumb texture that red velvet cake is known for.
-
Why is the cake batter curdling when I add eggs?
Curdling happens when you mix eggs with cold butter or sugar. Make sure all your ingredients, especially eggs and butter, are at room temperature and keep beating—the batter will smooth out as you continue.
-
Do I have to use red food coloring for red velvet cake?
Traditional red velvet relies on red food coloring for that iconic color. While some recipes use natural alternatives, they may not give the vibrant red you expect.
-
How do I keep my cream cheese frosting from being too runny?
Be sure your cream cheese and butter are softened but not melted. Also, avoid overbeating the frosting, which can incorporate too much air and make it looser in consistency.
-
Can I make this cake in a different pan shape?
Absolutely! I’ve made this recipe in square pans, loaf tins, and even cupcakes. Adjust baking time accordingly—cupcakes will need less, while thicker cakes may take longer.
Final Thoughts
This Red Velvet Cake Recipe has become my go-to for celebrations big and small because it’s reliably delicious and surprisingly easy. I love sharing it with friends and family—and I know you’ll enjoy it just as much as we do. Give it a try, and you might just find your new favorite classic dessert!
Print
Red Velvet Cake Recipe
- Prep Time: 30 minutes
- Cook Time: 25 minutes
- Total Time: 55 minutes
- Yield: 10 to 12 servings
- Category: Dessert
- Method: Baking
- Cuisine: American
Description
This classic Red Velvet Cake recipe results in a soft, velvety sponge with a subtle chocolate flavor, buttery richness, and a hint of tang from buttermilk. Perfectly moist and colorful, it’s layered with a smooth cream cheese frosting for an iconic dessert that serves 10 to 12 people.
Ingredients
Cake
- 2 2/3 cups (400 g) plain cake flour
- 2 tbsp (10 g) unsweetened cocoa powder
- 1 tsp (5 g) baking soda (NOT baking powder)
- Pinch of salt
- 1/2 cup (115 g) unsalted butter, softened (1 US stick)
- 1 1/2 cups (330 g) caster/superfine white sugar
- 2 eggs, at room temperature (about 60 g each)
- 1 cup (250 ml) vegetable oil
- 1 tsp white vinegar
- 2 tsp vanilla extract or essence
- 1 cup (250 ml) buttermilk, at room temperature
- 2 1/2 tbsp red food colouring liquid (or gel in UK)
Frosting
- 14 oz (400 g) Philadelphia Cream Cheese, block, softened but not too soft
- 1/2 cup (115 g) unsalted butter, softened but not too soft
- 1 1/2 tsp vanilla extract
- 4 cups (450 g) soft icing sugar/powdered sugar, sifted
Instructions
- Preheat and Prepare Pans: Preheat your oven to 180°C (350°F) on any oven type. Butter two 21 cm (8 inch) round cake pans on the sides and base, then dust them lightly with cocoa powder to prevent sticking.
- Mix Dry Ingredients: Sift together the cake flour, cocoa powder, baking soda, and salt in a bowl. Whisk to combine evenly and set aside.
- Cream Butter and Sugar: Place the softened butter and caster sugar in a mixing bowl. Beat with an electric mixer or stand mixer using the paddle attachment until the mixture is smooth and well combined.
- Add Eggs: Add the eggs one at a time, beating well after each addition. Though the batter may look curdled initially, continue beating until smooth and fully blended.
- Add Wet Ingredients and Colour: Beat in the vegetable oil, white vinegar, vanilla extract, buttermilk, and red food coloring until the mixture is uniform and smooth.
- Combine with Dry Ingredients: Add the sifted dry ingredients to the wet mixture. Beat gently until just combined; small lumps remaining is preferable to over-mixing, which can toughen the cake.
- Divide Batter and Bake: Evenly distribute the batter into the prepared pans. Bake for 25 to 30 minutes on the same oven shelf or until a toothpick inserted in the center comes out clean.
- Cool the Cakes: Allow the cakes to rest in their pans for 10 minutes. Then, turn them out onto a wire rack and let them cool completely before frosting.
- Make the Frosting: Beat the softened cream cheese and butter together until smooth. Add the vanilla extract and sifted icing sugar gradually, beating until creamy and spreadable. Frost the cooled cakes as desired.
Notes
- YouTube recipe video is available above for visual guidance.
- This cake is known for its soft, velvety texture with a mild chocolate flavor and a tangy note from buttermilk, typical of traditional Red Velvet Cake.
- Use consistent measurement units throughout the recipe to ensure accuracy (weights or cups but do not mix).
- In the UK, use gel food coloring and refer to notes on ingredient substitutions as needed.
- The batter may look curdled after adding eggs, but this is normal—continue mixing until smooth.
- Avoid over-mixing the batter once dry ingredients are added; some lumps are okay.
- After baking, let cakes cool completely on a rack before assembling and frosting to prevent melting the frosting.
- If you want to make Red Velvet Cupcakes, this recipe works well for that as well.
Nutrition
- Serving Size: 1 slice (approx. 1/12 of cake)
- Calories: 430
- Sugar: 32 g
- Sodium: 270 mg
- Fat: 26 g
- Saturated Fat: 11 g
- Unsaturated Fat: 13 g
- Trans Fat: 0.2 g
- Carbohydrates: 47 g
- Fiber: 1 g
- Protein: 5 g
- Cholesterol: 60 mg


