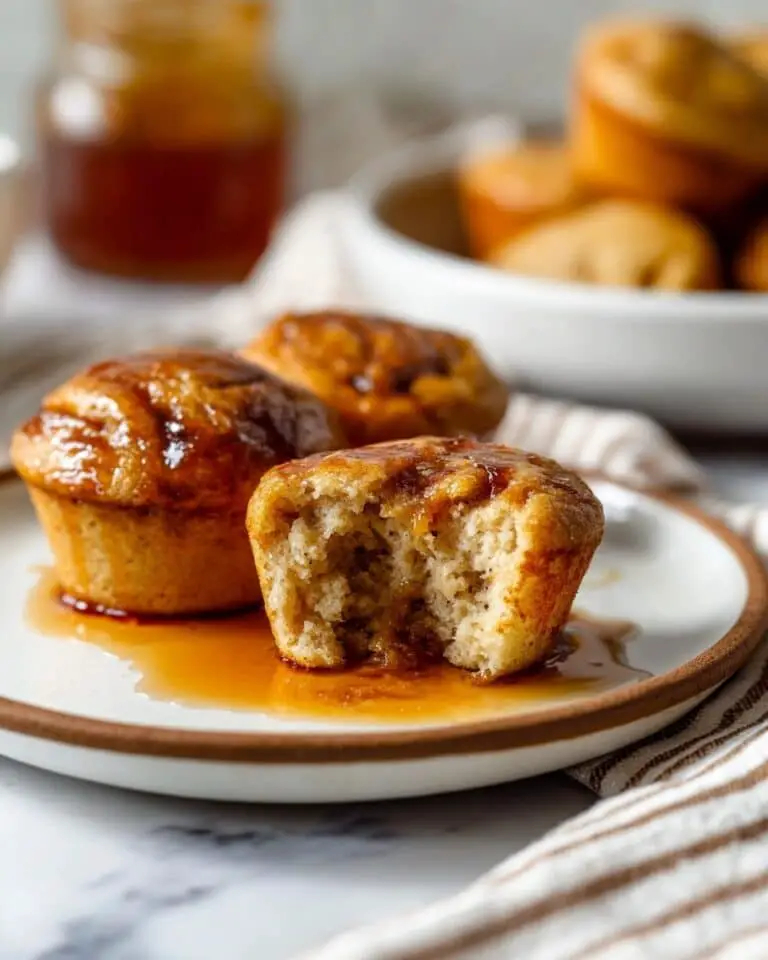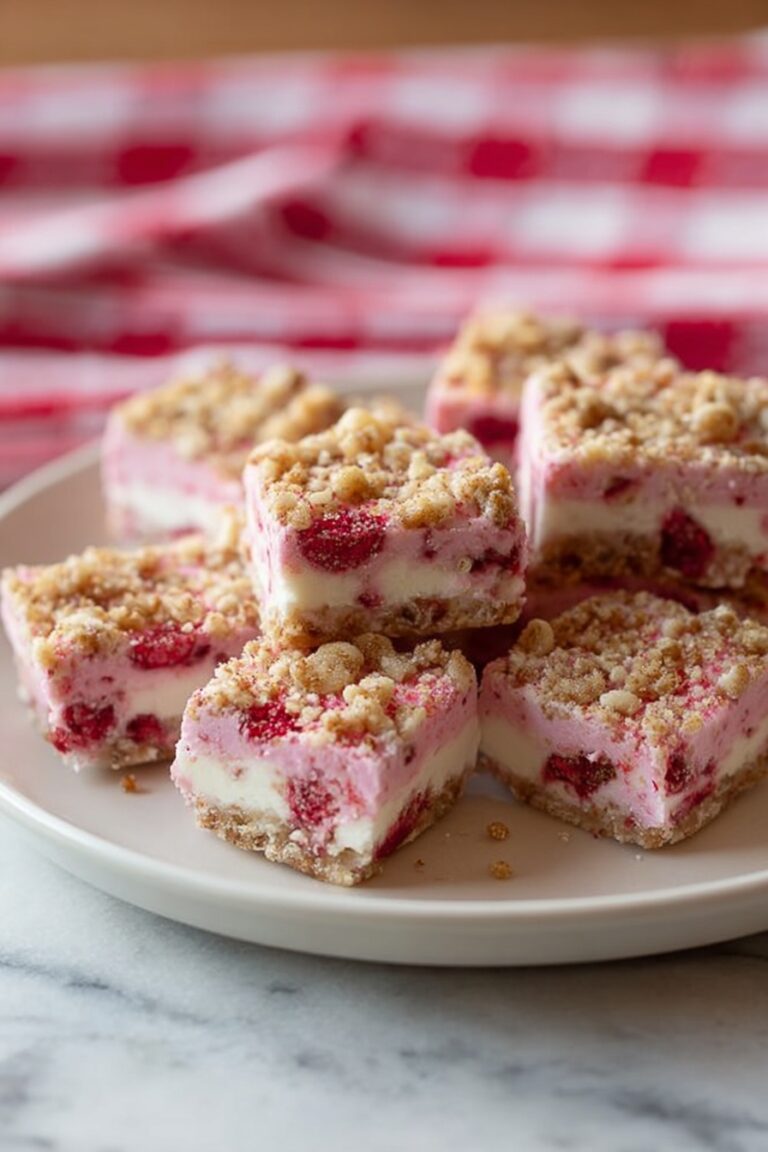
I absolutely love this Royal Icing Recipe because it gives you that perfect, smooth, glossy finish that makes your cookies look like they came from a bakery. When you’re decorating sugar cookies for holidays or special occasions, having a royal icing that holds its shape yet floods beautifully is a total game-changer. It’s a no-fuss recipe that’s been my go-to for years, and I can’t wait for you to try it too.
What makes this Royal Icing Recipe so worth trying is how versatile it is. Whether you’re outlining crisp shapes or flooding entire surfaces with color, this icing behaves exactly as you want it to. Plus, it keeps well, which means you can prep ahead and save yourself some stress on the day of your party or bake sale.
Why You’ll Love This Recipe
- Perfect Texture: The icing is thick enough for outlining, yet smooth enough for flooding your cookies flawlessly.
- Easy to Customize: You can tint it with any color you want for endless decorating possibilities.
- Long-Lasting: This icing stores beautifully so you can make it ahead and keep it fresh.
- Simple Ingredients: Made with basic pantry staples — no complicated steps or hard-to-find items.
Ingredients You’ll Need
The ingredients for this Royal Icing Recipe are simple but crucial for that perfect consistency and shine. Using fresh lemon juice adds a natural tang and helps the icing dry quickly, but water works well too if lemon isn’t handy.
- Powdered sugar: Use superfine powdered sugar for smooth icing without any grit.
- Fresh lemon juice or water: Lemon juice adds flavor and aids drying; water works as a neutral option.
- Meringue powder: This is your secret to stiff peaks without raw egg whites—easy and safe.
Variations
One of the best things about this Royal Icing Recipe is how you can tweak it to suit your style or occasion. I often play with the consistency and use natural food coloring to keep things vibrant yet wholesome.
- Egg Whites Instead of Meringue Powder: When I first started, I used fresh egg whites for that same stiff consistency, but meringue powder is safer and more convenient.
- Flavor Infusions: Try adding a few drops of almond or vanilla extract to the icing for subtle extra flavor without affecting texture.
- Vegan Adaptation: Use aquafaba (chickpea water) whisked to soft peaks as an egg white substitute to make it vegan-friendly.
- Color Variations: Mix in gel food colors for vivid designs that won’t thin your icing like liquid colors often do.
How to Make Royal Icing Recipe
Step 1: Combine Your Ingredients Gently
Start by placing 4 cups of powdered sugar, 3 tablespoons of meringue powder, and 4 to 5 tablespoons of fresh lemon juice or water into a large bowl. I like to use a stand mixer for this, but a handheld mixer works fine too. Begin beating on low speed for about a minute to start blending everything smoothly. Don’t skip this step—it keeps the sugar from flying everywhere and helps incorporate the meringue powder evenly.
Step 2: Beat Until Glossy Peaks Form
Next, increase your mixer speed to medium and beat for 5 to 7 minutes if you’re on a stand mixer (around 10 to 12 minutes for handheld). You want to see glossy, stiff peaks that hold their shape—kind of like a firm meringue. The icing should be thick enough that it won’t run off your spatula but still soft enough to pipe smoothly. If it’s too thick, mix in a drop or two more of lemon juice; if it’s too runny, sprinkle in some extra powdered sugar until you get it just right.
Step 3: Tint and Transfer to Bags
Once your icing is ready, divide it into smaller bowls to add any colors you want. I swear by gel-based food colors because they don’t mess with the consistency. After mixing colors thoroughly, load the icing into piping bags fitted with your chosen tips—#2 tip is ideal for outlining cookies.
Step 4: Outline Your Cookies
Start by piping a firm outline around your cookie. This “dam” helps keep the flood icing from spilling over the edges. The thicker consistency at this point is perfect because it holds its shape well. Take your time here—steady hands really make a difference.
Step 5: Flood the Cookies
To make the flood icing, mix in about 1 teaspoon of water or lemon juice into your thicker icing until it drizzles off the spoon like honey. Fill an icing bottle or bag and gently fill inside the outlined section. Use a toothpick or skewer to gently spread the icing and pop any bubbles. I learned this trick when I noticed tiny craters forming on my last batch—popping those air pockets keeps the finish smooth.
Step 6: Let It Dry Completely
Leave your iced cookies on the counter until the royal icing hardens—this can take a few hours depending on humidity. For a shiny finish, I like to place mine near a gentle heater fan (but not too hot!). This helps speed up drying and gives that beautiful, hard shell that’s perfect for stacking and gifting.
Pro Tips for Making Royal Icing Recipe
- Use Fresh Lemon Juice: It not only flavors your icing but also helps it dry faster and shinier.
- Keep Icing Covered: When not in use, cover your bowl tightly with a damp paper towel to prevent crusting.
- Perfect Consistency Check: Test your flood icing by drizzling some on a plate—it should spread slowly but not run off quickly.
- Avoid Overmixing: Mixing too long at high speed can make icing too stiff; stick to medium speed once sugar is combined.
How to Serve Royal Icing Recipe

Garnishes
I love sprinkling decorated cookies with edible glitter or sanding sugar right after flooding for a subtle sparkle. Tiny silver dragées or nonpareils work great too, especially for festive occasions. It’s a little sparkle that makes a big impression without overpowering the intricate icing work.
Side Dishes
For cookie platters featuring royal iced treats, I often add simple sides like fresh berries, candied nuts, or cups of creamy hot chocolate. These complement the sweetness and make your presentation feel extra cozy for guests.
Creative Ways to Present
One presentation trick I adore is layering decorated cookies in clear jars or tins with parchment paper separators—makes them perfect for gifting. Another fun idea is stringing cookies with holes punched before baking and using royal icing to “glue” on edible decorations, then hanging them as edible ornaments or party favors.
Make Ahead and Storage
Storing Leftovers
Leftover royal icing stores surprisingly well—just cover it tightly with plastic wrap to keep air out and refrigerate for up to a month. Before using it again, bring the icing back to room temperature and give it a good stir. I’ve always found it regains its perfect texture as if freshly made.
Freezing
I’ve frozen royal icing a couple of times by sealing it in an airtight container. When thawed overnight in the fridge, it still pipes beautifully after a quick stir. This is a lifesaver if you want to prep for big decorating events ahead of time.
Reheating
Royal icing doesn’t need reheating per se; just bring it to room temp and stir gently to regain that silky spread. Avoid heating it in the microwave as it can change the texture or make it clumpy.
FAQs
-
Can I substitute egg whites for meringue powder in this Royal Icing Recipe?
Yes! You can use 2 egg whites instead of meringue powder. Just keep in mind that using raw egg whites requires extra caution to avoid any food safety issues. Meringue powder is often preferred because it’s pasteurized and convenient.
-
How do I fix royal icing that’s too runny or too thick?
If your icing is too runny and won’t hold its shape, simply add more powdered sugar a tablespoon at a time. If it’s too thick and difficult to pipe, add a little lemon juice or water, one teaspoon at a time, until it reaches the desired consistency.
-
How long does royal icing take to dry?
The drying time depends on humidity and thickness but usually takes a few hours. To speed this up, place your cookies near a heater fan or in a dry, warm spot. Thin flood layers will dry faster than thick outlines.
-
Can I make royal icing ahead of time?
Absolutely! Royal icing stores well in the fridge for up to a month if sealed tightly. Just bring it to room temperature and give it a gentle stir before using. You can also freeze it to keep it longer.
Final Thoughts
This Royal Icing Recipe has been a staple in my kitchen for years because it’s reliable, easy, and just plain fun to work with. Whether you’re decorating for a birthday, a wedding, or just because, I promise you’ll be thrilled with how your cookies look and taste. Give it a try—I know you’ll come back to this recipe time and again like I do with mine.
Print
Royal Icing Recipe
- Prep Time: 30 minutes
- Cook Time: 0 minutes
- Total Time: 30 minutes
- Yield: Enough icing to decorate approximately 8 standard-sized cookies
- Category: Dessert
- Method: No-Cook
- Cuisine: American
- Diet: Gluten Free
Description
This Royal Icing recipe yields a smooth, glossy, and thick icing perfect for decorating cookies with detailed designs and flood filling. Made with powdered sugar, meringue powder, and fresh lemon juice or water, this icing hardens beautifully and is ideal for outlining and flooding decorated cookies.
Ingredients
Ingredients
- 4 cups powdered sugar (more if needed)
- 4 to 5 Tablespoons fresh lemon juice or water (more if needed)
- 3 Tablespoons meringue powder
Instructions
- Make royal icing: In a large bowl, combine 4 cups powdered sugar, 4 to 5 tablespoons fresh lemon juice or water, and 3 tablespoons meringue powder. Beat on low speed for 1 minute to combine all ingredients, then scrape down the sides of the bowl to ensure even mixing. Continue beating on medium speed until the icing is glossy and forms stiff peaks. This will take about 5 to 7 minutes with a stand mixer at low speed or 10 to 12 minutes at high speed with a handheld mixer. The consistency should be thick enough to hold on the paddle without falling off. If the icing is too thick, add a bit more lemon juice; if it is too runny, add more powdered sugar.
- Tint royal icing: Transfer the prepared icing into separate bowls to add your desired colors. After coloring, transfer the icing into piping bags for easier decorating.
- Outline cookies: Using a stiff consistency icing and a fine piping tip (such as a #2 tip), carefully outline the edges of your cookies. This thick border acts as a dam that prevents the flood icing from spilling over the edges.
- Make flood icing: To prepare the flood icing, add 1 teaspoon of water or fresh lemon juice to a portion of the stiff icing to thin it to a thick liquid consistency similar to honey. This makes it perfect for filling in the outlined areas.
- Spread royal icing: Using an icing bottle or spoon, flood the inside of the outlined cookies with the flood icing. Use a small knife or toothpick to spread the icing evenly and to pop any air bubbles on the surface.
- Dry cookies: Allow the decorated cookies to rest at room temperature on the counter until the royal icing hardens completely. For best results and to maintain a shiny finish, dry cookies in front of a heater fan if possible.
Notes
- You can substitute 3 tablespoons of meringue powder with 2 egg whites if preferred.
- Use thicker icing for outlining before adding extra liquid to thin it.
- Adjust flood icing consistency by adding additional teaspoons of lemon juice or water until it drizzles off a spoon like honey.
- Prevent icing from drying out when not in use by covering the bowl with a damp paper towel.
- To keep the icing shiny and to speed drying, place decorated cookies in front of a heater fan.
- Store leftover royal icing covered with plastic wrap in the refrigerator; it keeps for at least one month. Bring to room temperature and re-whip before use.
Nutrition
- Serving Size: Approx. 1/8th of total recipe
- Calories: 150
- Sugar: 35g
- Sodium: 10mg
- Fat: 0g
- Saturated Fat: 0g
- Unsaturated Fat: 0g
- Trans Fat: 0g
- Carbohydrates: 35g
- Fiber: 0g
- Protein: 1g
- Cholesterol: 0mg


