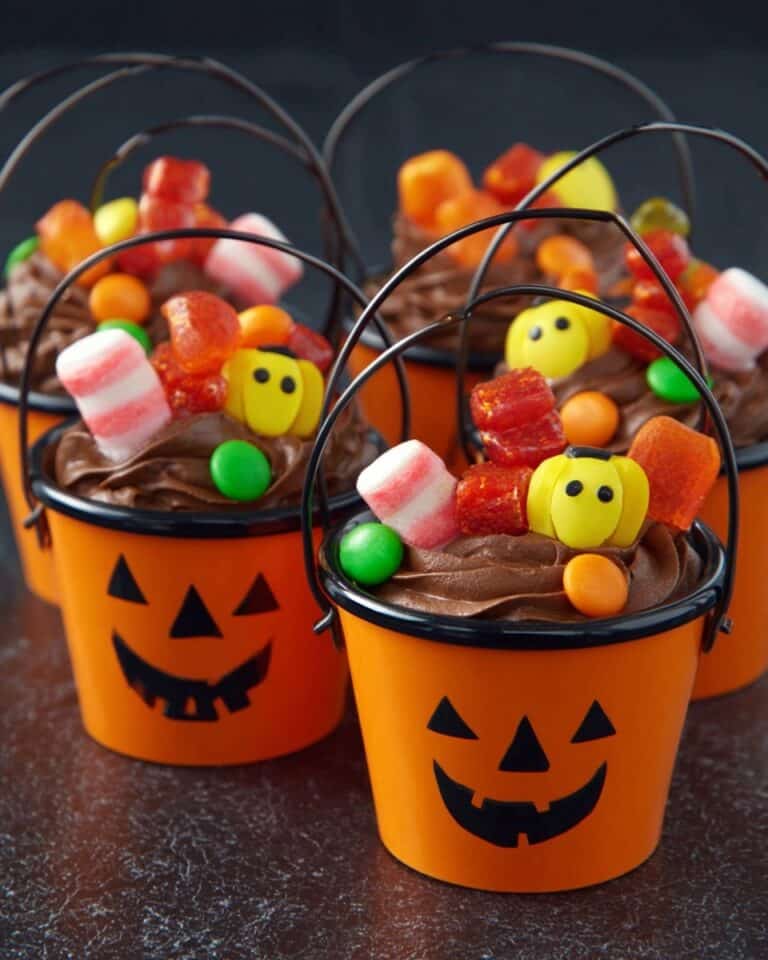
If you’re hunting for a fun, eye-catching treat to wow your guests this Halloween, you absolutely must try my Spider Cupcakes for Halloween Recipe. These creepy-cute cupcakes are a total crowd-pleaser with their rich chocolate flavor and spooky spider decorations—perfect for parties or just an everyday sugar fix that’s a little bit spooky and a lot of fun. I’ve whipped up these spider cupcakes so many times now, and trust me, you’ll find the decorating as enjoyable as the baking!
Why You’ll Love This Recipe
- Fun and Festive: This recipe turns simple cupcakes into Halloween stars with easy spider decorations you can make at home.
- Rich Chocolate Flavor: Each cupcake bursts with moist chocolatey goodness that pairs perfectly with a smooth chocolate frosting.
- Kid-Friendly Decoration: Decorating these cupcakes is a blast and a great way to get the kids involved in Halloween prep.
- Simple Ingredients: Made from common pantry staples that you probably already have—no fancy shopping needed.
Ingredients You’ll Need
To make the perfect spider cupcakes, you want a balance of deep chocolate flavor and smooth, creamy frosting that stands up well to decorating. I always choose a good quality cocoa powder for the cake, and simple ingredients that combine for impressive results without fuss.
- Vegetable oil: Keeps cupcakes moist without overwhelming flavor—sunflower oil works wonderfully too.
- Eggs: Bind everything together and add fluffy texture.
- Caster sugar: Use golden for a slightly richer flavor or white if you prefer classic sweetness.
- Vanilla extract: Boosts chocolate depth and adds warmth to the flavor profile.
- Milk: Semi-skimmed or whole milk provides moisture and tenderness.
- Unsweetened cocoa powder: The star ingredient for that irresistible chocolate kick—choose Dutch-processed for a smoother taste.
- Plain flour: The base of your cupcake batter. If you want, you can swap for self-raising flour, but adjust baking powder accordingly.
- Baking powder: Gives those cupcakes a lovely rise and fluffy crumb.
- Hot coffee or dissolved instant coffee: Enhances the chocolate flavor without making your cupcakes taste like coffee.
- Unsalted butter: For the frosting, softened to make spreading easier.
- Powdered icing sugar: Sweetens the frosting and creates that smooth texture for decorating.
- Milk (for frosting): Adds creaminess so your icing isn’t too thick or dry.
- Salt (optional): Just a pinch to balance sweetness and enhance chocolate notes.
- For decoration – Black licorice laces or thin pretzel sticks: Perfect for spider legs that actually hold in place.
- Chocolate chips or candy eyes: These make eyes that really bring your spiders to life.
Variations
I love experimenting with different decorations and flavors on these spider cupcakes. You can easily personalize them based on your Halloween theme or dietary preferences!
- Chocolate Peanut Butter Swirl: I once added a swirl of peanut butter to the batter for an irresistible twist—my family went crazy for the rich combo!
- Vegan Version: Swap eggs with flax eggs and use a plant-based milk and butter alternative for a cruelty-free treat that everyone can enjoy.
- Savory Spider Cupcakes: For a party snack flip, try savory cupcakes with cream cheese frosting shaped like spiders using olives and chive “legs.”
- Sugar-Free: Use a sugar substitute like erythritol in the batter and frosting to cut down on sugar without losing flavor.
How to Make Spider Cupcakes for Halloween Recipe
Step 1: Whip up the Moist Chocolate Cupcake Batter
Start by preheating your oven and lining a cupcake tin with paper cases. In a big bowl, combine the sugar, eggs, vegetable oil, and vanilla extract—whisk until it’s nice and smooth. Then sift in the flour, cocoa powder, and baking powder, folding everything together gently. Adding hot coffee at the end might feel odd, but trust me—it amps up the chocolate without any coffee flavor. Mix until combined, but try not to over-mix or your cupcakes might turn out dense.
Step 2: Bake and Cool Completely
Spoon your luscious batter evenly into the cupcake cases and pop them into the oven. Bake for about 20–25 minutes until a skewer inserted in the center comes out clean. This is a step I always check carefully—undercooked cupcakes will be too heavy to decorate. Once baked, let them cool fully on a rack; trust me, decorating warm cupcakes is a slippery, messy mistake you’ll want to avoid!
Step 3: Make the Silky Smooth Chocolate Buttercream
While your cupcakes are cooling, beat the softened butter until it’s pale and fluffy—this usually takes a good 3–4 minutes with a hand mixer. Gradually add powdered sugar and cocoa powder, alternating with a splash of milk to keep it creamy. Finish with vanilla extract and a pinch of salt to balance the sweetness. You want a frosting that’s spreadable, not too runny—if it’s too stiff, just add a little more milk.
Step 4: Decorating Your Spooky Spider Cupcakes
Now for the fun part—turning these beauties into spiders! Use a piping bag or a butter knife to spread the frosting generously on each cupcake. Then, carefully press in candy eyes or chocolate chips near the middle for the spider’s eyes. For legs, I use thin licorice laces or break pretzel sticks to an appropriate length, pushing them gently into the frosting around the cupcake to mimic spooky spider legs. You’ll be surprised how easy and effective this simple design is, especially if you let the frosting cool and firm up first.
Pro Tips for Making Spider Cupcakes for Halloween Recipe
- Use room temperature ingredients: This helps your batter mix evenly and your frosting whip up smooth without lumps.
- Don’t skip the coffee: Adding hot coffee really intensifies the chocolate flavor—it’s my secret weapon for deeply rich cupcakes.
- Chill cupcakes before decorating: Letting them cool completely prevents frosting from melting and keeps your spider legs snugly in place.
- Handle licorice and pretzels carefully: Break them gently to avoid sharp edges that might poke little fingers—safety first, especially when kids help!
How to Serve Spider Cupcakes for Halloween Recipe
Garnishes
I usually keep it simple with candy eyes and licorice legs, but if you want to take it up a notch, mini marshmallows dipped in a bit of black food coloring or edible glitter bring that extra creepy vibe. Sometimes, I sprinkle edible spiders or colored sugar around the plate for a festive pop. Just tell your guests to eat quickly before a spider crawls off their cupcake!
Side Dishes
Spider cupcakes are such a sweet treat, I like to balance the party table with some savory bites—think deviled eggs with olive spiders or a pumpkin soup served warm. A refreshing punch or a spiced cider pairs beautifully, helping to cleanse the palate between these rich little cakes.
Creative Ways to Present
One Halloween, I arranged these cupcakes on a round platter lined with edible “web” spun from spun sugar—such an easy trick that wows every time! I’ve also served them on a tiered stand decorated with plastic spiders and fall leaves, turning an ordinary dessert table into a mini haunted scene. If you want to delight kids, try placing each cupcake inside a mini “graveyard” made from crushed cookies and candy bones for a spooky surprise.
Make Ahead and Storage
Storing Leftovers
If you’ve made extra (never a bad thing!), store your spider cupcakes in an airtight container in the fridge. I like to arrange them carefully so the spider legs don’t get bent. They keep perfectly for up to 3 days, and honestly, they taste even better chilled!
Freezing
You can freeze unfrosted cupcakes ahead of time—wrap them tightly in plastic wrap and place in a freezer bag. When you’re ready, thaw them overnight in the fridge before frosting. I don’t recommend freezing decorated cupcakes because the frosting and licorice legs don’t handle freezing well.
Reheating
I usually serve these cupcakes at room temperature, but if you want to warm them up slightly, take them out of the fridge about 30 minutes before serving. Avoid microwaving as it can melt the decoration and change the cupcake texture.
FAQs
-
Can I make Spider Cupcakes for Halloween Recipe dairy-free?
Absolutely! Swap butter for a dairy-free margarine or coconut oil in the frosting, and use your favorite plant-based milk (like almond or oat milk) in both the batter and frosting. Just be mindful the texture might be slightly different but still delicious.
-
What’s the secret to making the chocolate flavor pop in these cupcakes?
Adding hot coffee (or dissolved instant coffee) to the batter really enhances the chocolate notes without imparting a coffee taste. It’s a small trick I discovered that makes a huge difference.
-
How do I keep the spider legs from falling off?
Make sure your frosting has set slightly and isn’t too soft before you insert the licorice or pretzel legs. Also, gently press the legs into the sides of the cupcake, angling them so gravity helps keep them stable.
-
Can I prepare these cupcakes a day ahead?
Yes, you can bake the cupcakes and keep them in an airtight container. Frost and decorate them just before serving for the best appearance and texture.
Final Thoughts
Making these Spider Cupcakes for Halloween Recipe has become a favorite tradition for me—and I know once you try it, you’ll feel the same way. They’re just the right balance of spooky and delicious, plus decorating them is incredibly fun (especially when you get to be creative with spider legs!). Whether it’s for a Halloween party or just a festive weekend treat, I’m confident these cupcakes will earn a prime spot on your must-bake list. So, roll up your sleeves, gather your ingredients, and dive in—you’re going to love how these turn out!
Print
Spider Cupcakes for Halloween Recipe
- Prep Time: 45 min
- Cook Time: 25 min
- Total Time: 85 min
- Yield: 12 servings
- Category: Dessert
- Method: Baking
- Cuisine: Western
Description
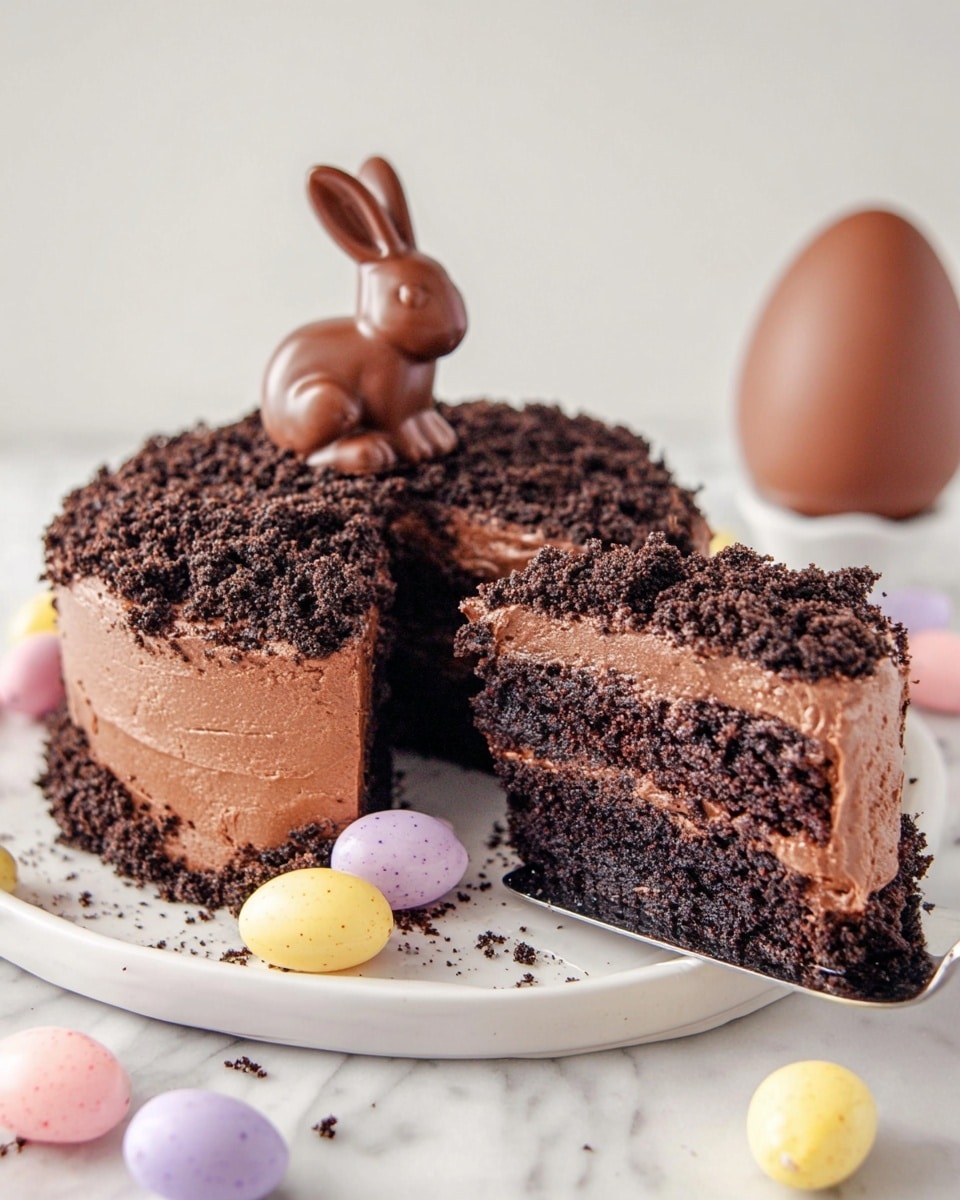
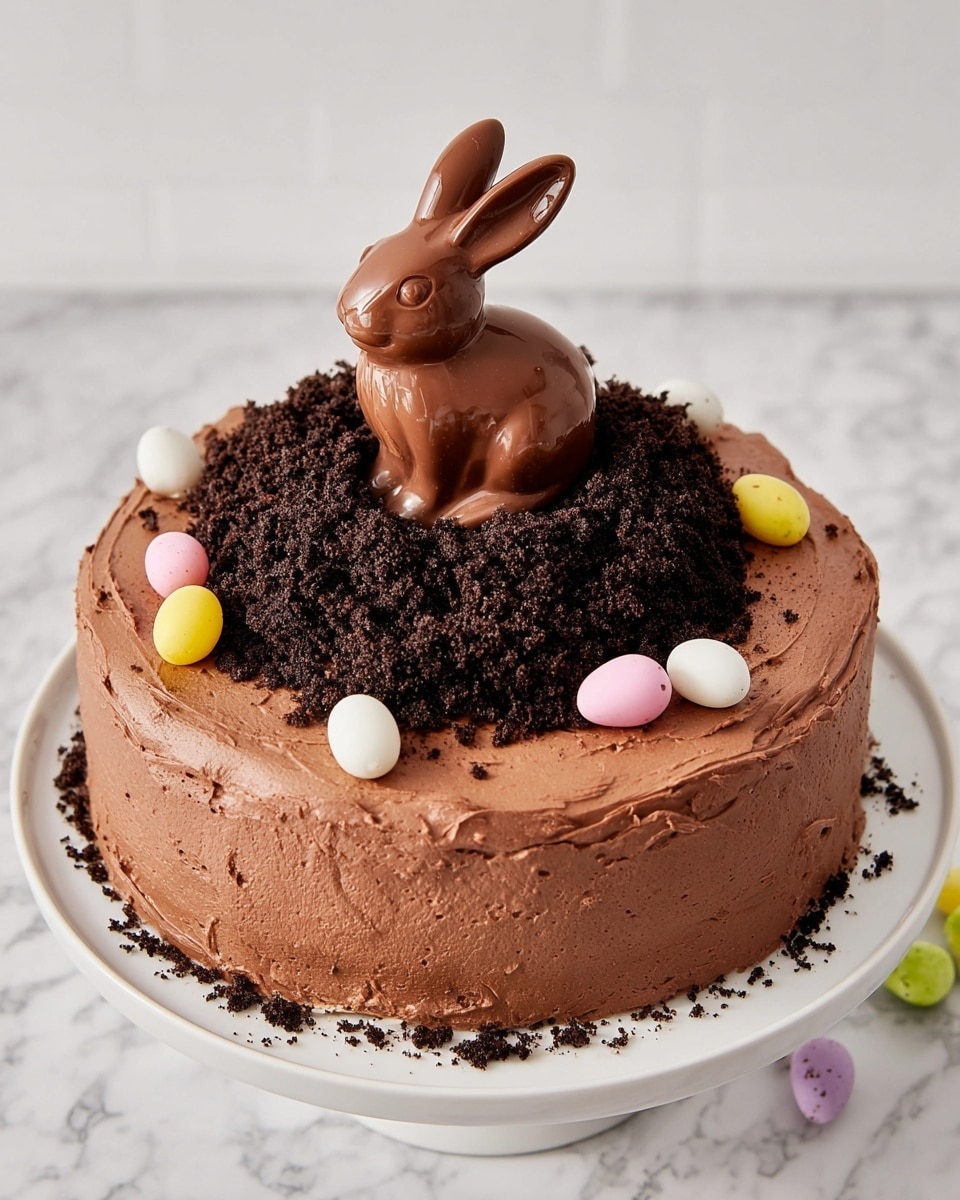
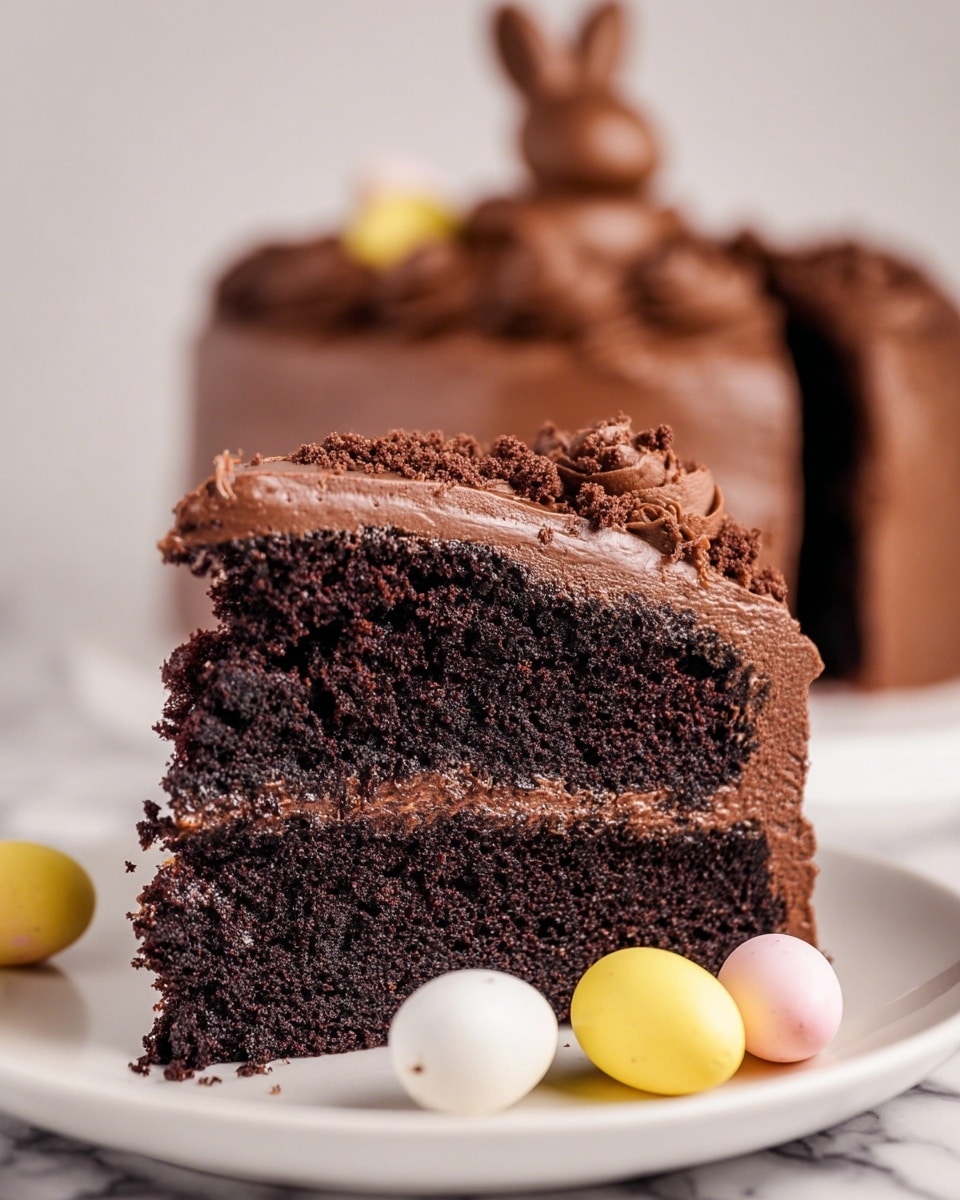
This deliciously soft and moist Chocolate Bunny Cake is a perfect Easter treat featuring a rich chocolate cake layered with smooth chocolate buttercream frosting and topped with an adorable chocolate bunny and mini eggs. The cake combines deep cocoa flavors with a hint of coffee to enhance the chocolate intensity. It is ideal for a festive celebration or any special chocolate craving.
Ingredients
Cake
- 135 ml vegetable oil (or other neutral oil e.g. sunflower)
- 2 eggs
- 325 g caster sugar (golden or white)
- 2 tsp vanilla extract
- 200 ml milk (semi-skimmed or whole)
- 85 g unsweetened cocoa powder
- 200 g plain / all-purpose flour
- 3 ½ tsp baking powder
- 100 ml hot coffee (or 2 tsp instant coffee dissolved into 100ml / ½ cup hot water)
Frosting
- 200 g unsalted butter
- 450 g powdered icing sugar
- 45 g unsweetened cocoa powder
- 3 ½ tbsp milk (semi-skimmed or whole)
- 2 tsp vanilla extract
- ⅛ tsp salt (optional)
Decoration
- Chocolate bunny
- Mini eggs
Instructions
- Prepare Cake Batter: In a large mixing bowl, whisk together the vegetable oil, eggs, caster sugar, and vanilla extract until smooth and well combined. Gradually add the milk while continuing to mix.
- Mix Dry Ingredients: In a separate bowl, sift together the plain flour, unsweetened cocoa powder, and baking powder. Slowly fold these dry ingredients into the wet mixture, alternating with the hot coffee, ensuring a smooth, well-incorporated batter without lumps.
- Bake the Cake: Preheat the oven to 180°C (350°F). Grease and line two 20cm (8-inch) round cake tins. Divide the batter evenly between the tins and bake for 25 minutes or until a skewer inserted into the center comes out clean. Remove from the oven and allow to cool completely in the tins before turning out onto a wire rack.
- Make the Buttercream Frosting: In a large bowl, beat the unsalted butter until creamy. Gradually incorporate the powdered icing sugar and cocoa powder, mixing fully after each addition. Add the milk, vanilla extract, and salt (if using), then beat the mixture until light and fluffy, achieving a smooth spreadable consistency.
- Assemble the Cake: Once the cake layers are completely cool, place one layer on a serving plate and spread a generous layer of chocolate buttercream over it. Top with the second layer and cover the entire cake with the remaining frosting, smoothing the sides and top.
- Decorate: Position the chocolate bunny on top of the frosted cake to appear as if it’s burrowing into a hole. Scatter mini eggs around the bunny and on the cake for a festive Easter touch.
- Serve: Chill the cake slightly to set the frosting before slicing. Serve at room temperature for the best flavor and texture.
Notes
- This cake can be made using self-raising flour instead of plain flour and baking powder; simply use 200 g self-raising flour and omit the baking powder.
- The addition of coffee enhances the chocolate flavor without adding a coffee taste.
- Store leftover cake covered in the refrigerator for up to 3 days.
- Bring chilled cake back to room temperature before serving for optimal taste and texture.
- For a dairy-free version, substitute the butter with a plant-based alternative and use a suitable milk alternative.
Nutrition
- Serving Size: 1 slice (1/12 of cake)
- Calories: 568 kcal
- Sugar: 75 g
- Sodium: 186 mg
- Fat: 22 g
- Saturated Fat: 13 g
- Unsaturated Fat: 5 g
- Trans Fat: 1 g
- Carbohydrates: 95 g
- Fiber: 4 g
- Protein: 7 g
- Cholesterol: 67 mg

