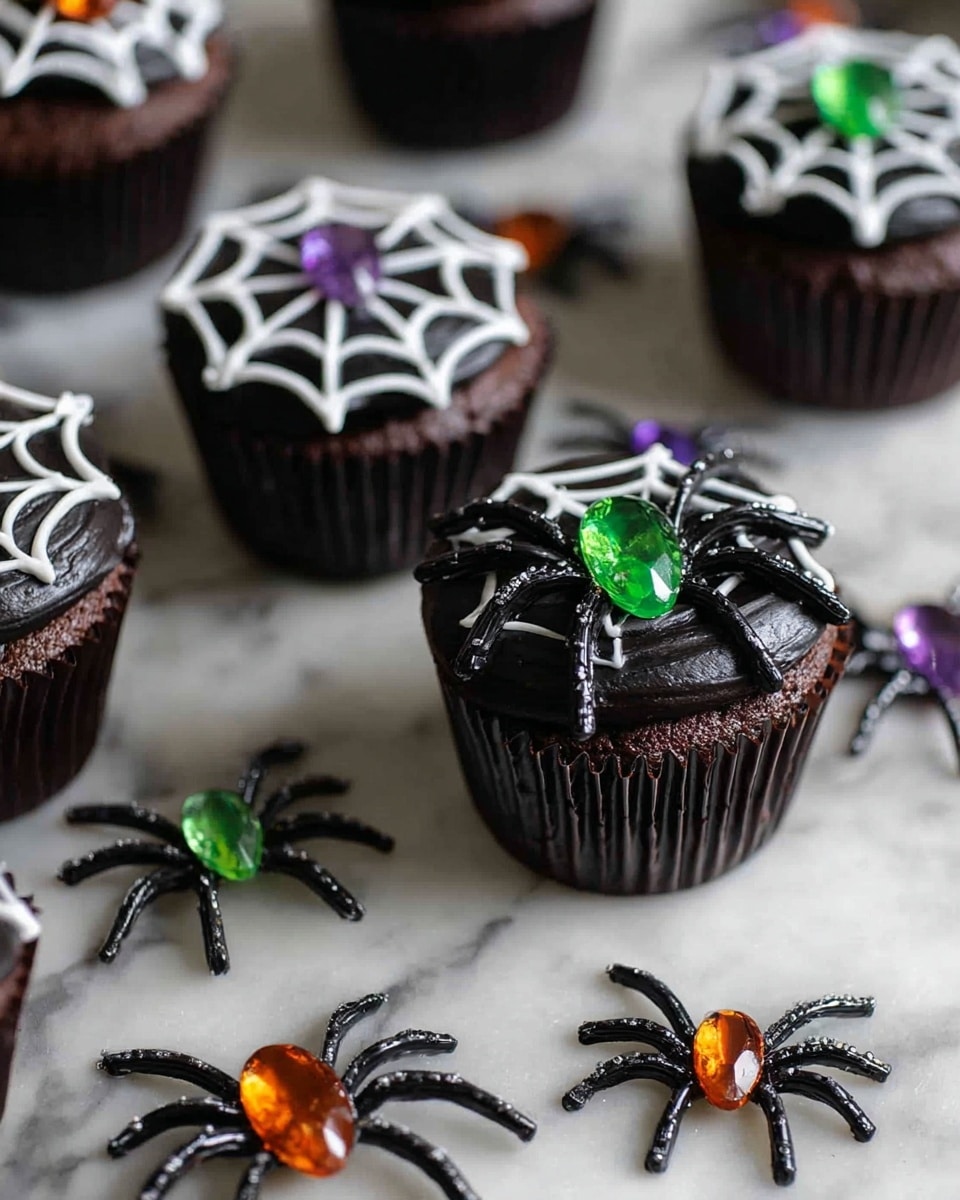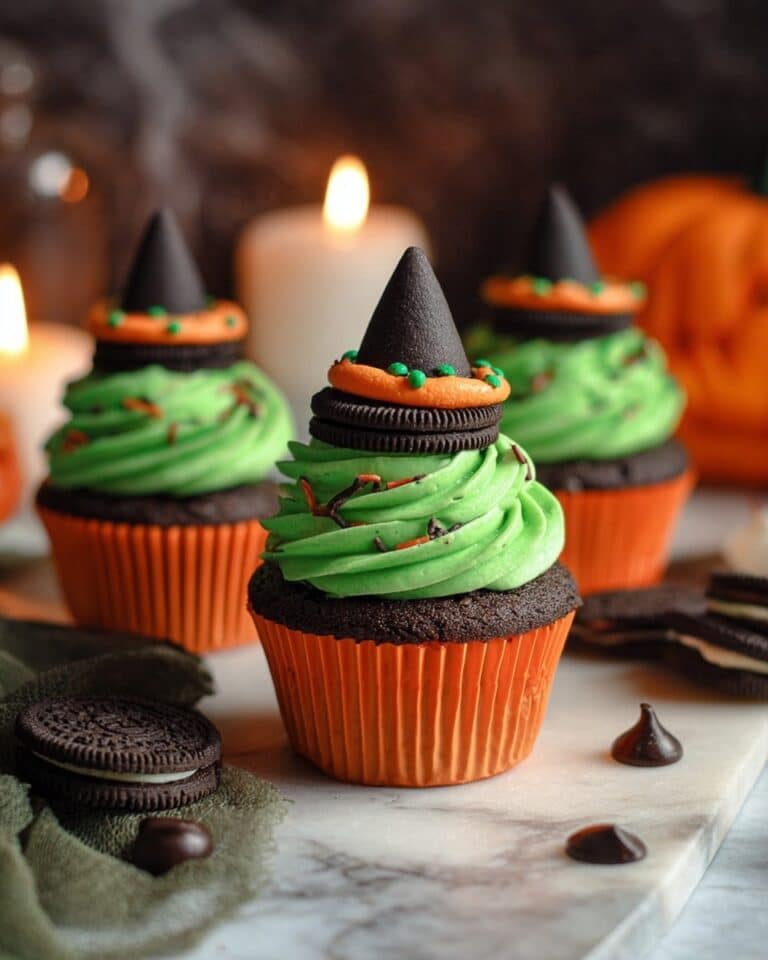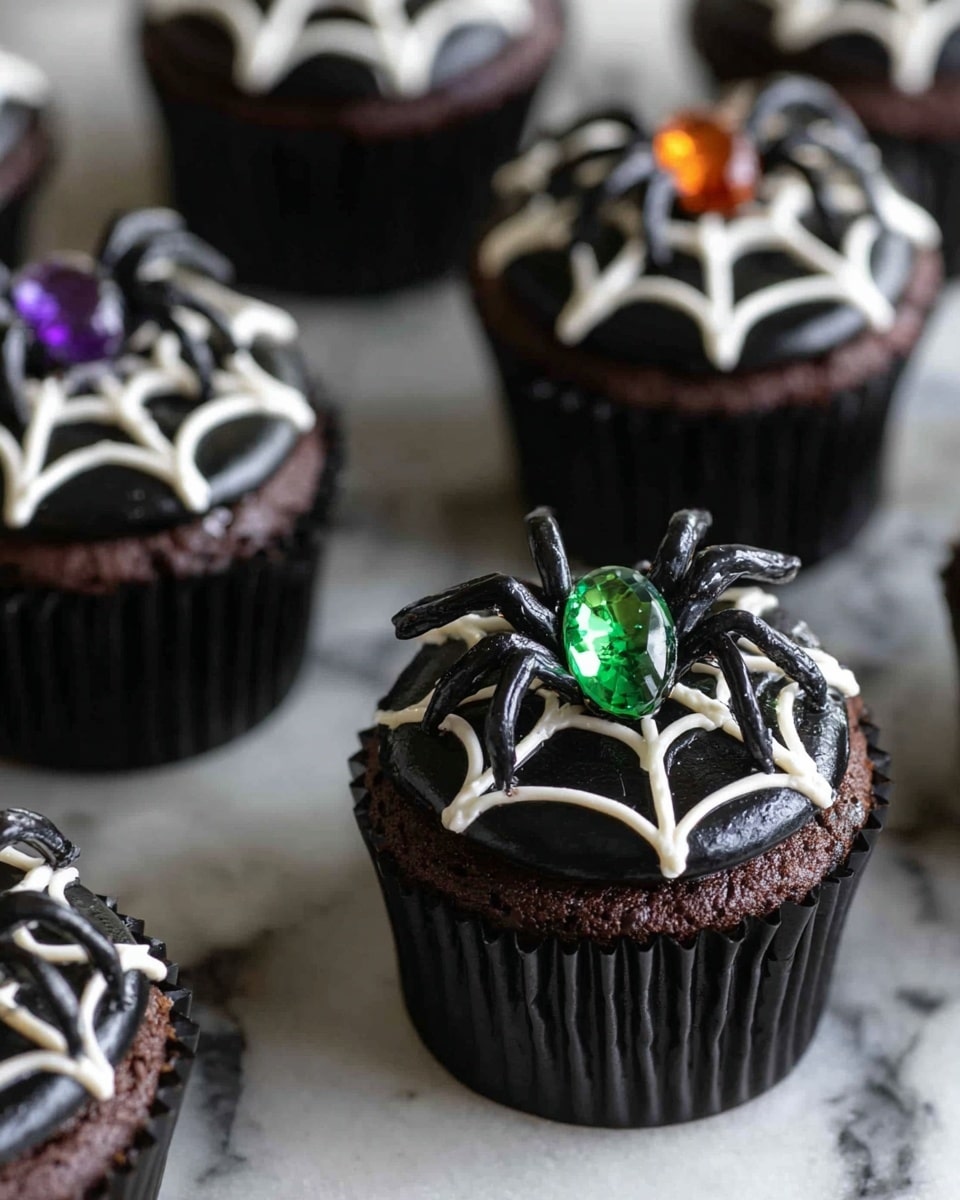
If you’re gearing up for Halloween and want a dessert that’s as fun to make as it is to eat, you’re going to adore this Spooky Halloween Spider Cupcakes Recipe. I absolutely love how this recipe turns ordinary chocolate cupcakes into creepy-crawly creatures that both kids and adults go crazy for. Plus, it’s so simple that even if you’re not a baker, you’ll find it easy and enjoyable. Let me walk you through everything you need to know to nail these festive treats in your own kitchen!
Why You’ll Love This Recipe
- Effortlessly Festive: This recipe turns simple cupcakes into spook-tacular goodies with minimal decorating skills needed.
- Kid-Friendly Fun: My kids love helping me add the candy eyeballs and pipe spider legs—they think it’s Halloween magic.
- Customizable Colors: You can play with frosting colors to match your Halloween theme perfectly.
- Perfect Party Treat: These cupcakes disappear fast at gatherings—they’re always a hit!
Ingredients You’ll Need
To make these spooky spider cupcakes come to life, you’ll be using a mix of ready ingredients and fun decorations that work perfectly together to create a festive masterpiece. Here’s a little tip: using store-bought frosting pouches makes the decorating process way easier and less messy.
- Your favorite chocolate cake mix or recipe: Chocolate sets a perfect spooky base and moist texture that everyone loves.
- White frosting: I use this as the smooth background for the spider design—cream cheese or buttercream works well.
- Orange frosting: Perfect for the spider’s body, adding that classic Halloween pop of color.
- Black frosting: Essential for the creepy legs and detailing—make sure to have a piping bag or squeeze bottle for control.
- Candy eyeballs: These tiny guys are the stars of the show—awkwardly googly eyes make your spiders come alive.
- Mini chocolate sandwich cookies: Use these as the spider’s head for flavor and texture contrast.
- Cornstarch: I discovered that dipping your decorating brush in cornstarch smooths out the frosting dots so nicely.
- Cupcake pan and liners: Standard muffin tins with liners keep everything neat and portable.
- Cooling rack: Essential to cool cupcakes completely before decorating to avoid frosting melt-downs.
- Spatula and decorating brush: For smooth frosting application and those finished fine details.
Variations
I love how versatile this Spooky Halloween Spider Cupcakes Recipe is. Over the years, I’ve tweaked it to suit my family’s tastes, and you can too! Feel free to swap colors, try different cupcake flavors, or even switch up the spider’s “body” treats for something unexpected.
- Flavor swaps: We’ve tried red velvet cupcakes with cream cheese frosting—super festive with a creepy spider on top.
- Gluten-free option: Use your favorite gluten-free cake mix, and these cupcakes come out just as soft and tasty.
- Spooky colors: Go wild and use purple or green frosting for your spiders to match your Halloween theme.
- Leg decoration: Instead of dots, some folks pipe thin lines for legs—I like the dotted legs because they look more like spider joints.
How to Make Spooky Halloween Spider Cupcakes Recipe
Step 1: Bake Your Chocolate Cupcakes
Start by baking your chocolate cupcakes according to your favorite mix or recipe. I always line my cupcake pan with liners for easy cleanup. Once baked, place them on a cooling rack and let them cool completely before decorating—that’s key to prevent frosting from melting or sliding off. Trust me, I learned that the hard way during my first batch!
Step 2: Frost the Cupcakes Smoothly
Use a round piping tip to cover the top of each cupcake with white frosting. Then, smooth it out gently with a spatula for a clean canvas. I like to work with chilled frosting because it holds its shape better when piping the spider details later.
Step 3: Create the Spider’s Body
Next, pipe a small circle of orange frosting—about the size of a half dollar—right onto the white base. This will be your spider’s body, so make it nice and bold. It gives that classic Halloween vibe instantly!
Step 4: Assemble the Spider’s Head
Take a mini chocolate sandwich cookie and pipe a dot of frosting on one side to act as glue, then carefully stick on two candy eyeballs. Place this cookie “head” so it leans onto the orange body you just piped. The candy eyes add so much character—I always watch guests smile when they see them.
Step 5: Pipe the Spider’s Legs
Using both black and orange frosting, pipe small dots alternating colors to form four legs on each side of the spider’s body. This dotted leg design is cute and spooky all at once. I’ve found that dipping your decorating brush in a little cornstarch and lightly smoothing over each dot helps the legs look cleaner and more polished.
Pro Tips for Making Spooky Halloween Spider Cupcakes Recipe
- Cool Completely Before Frosting: If your cupcakes are even a little warm, the frosting will melt—cooling is crucial.
- Use Piping Bags with Narrow Tips: This gives you control over details like the spider legs and frosting dots.
- Cornstarch Brush Smoothing: This little trick prevents frosting dots from sticking to your brush and creates a cleaner look.
- Avoid Overcrowding Cupcakes: Give each spider some breathing room on your display plate, so the legs don’t get squished.
How to Serve Spooky Halloween Spider Cupcakes Recipe
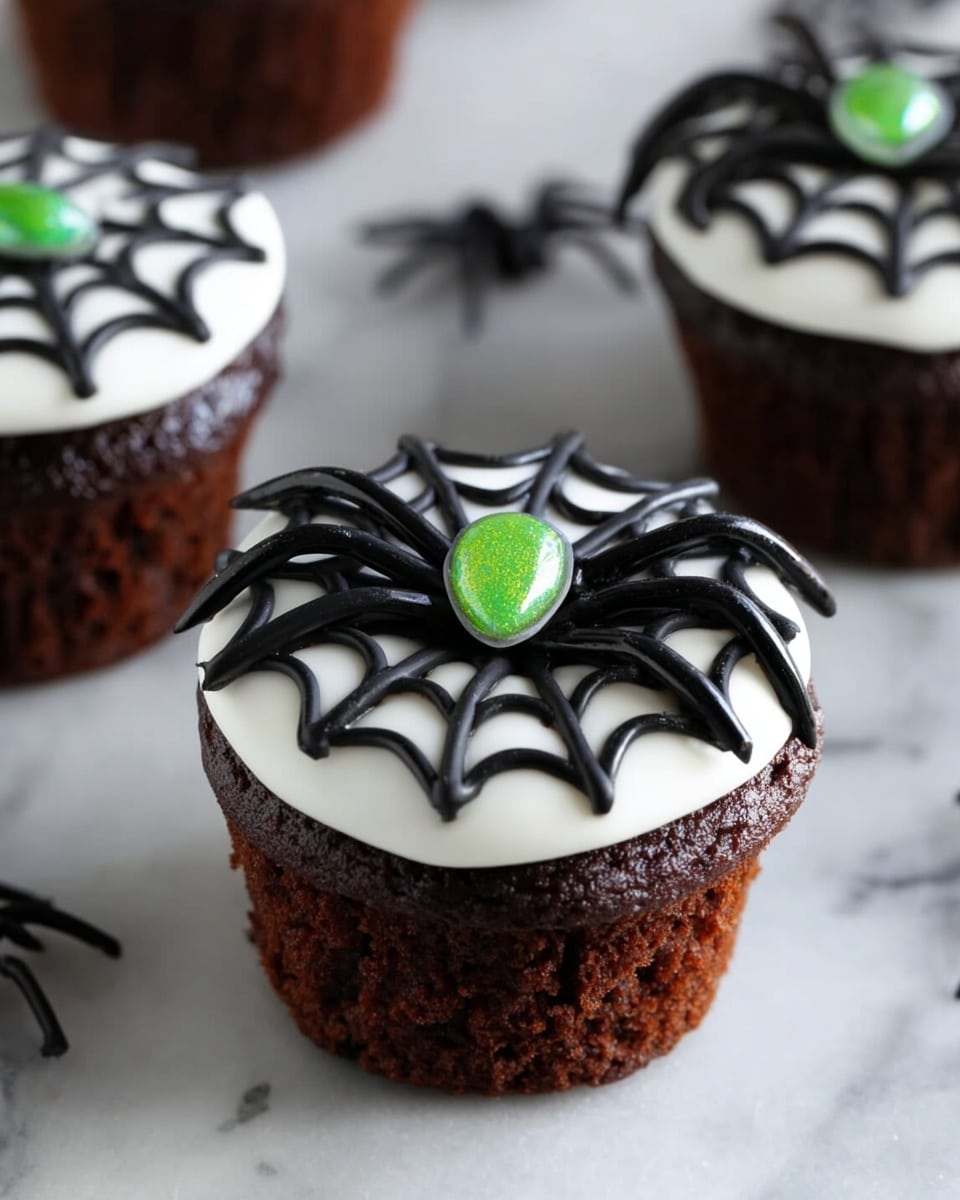
Garnishes
For the garnish, I stick with the candy eyeballs because they bring the spiders to life. Sometimes I sprinkle edible glitter or a pinch of black sanding sugar around the edges for an extra eerie shimmer that kids love. Adding tiny plastic spiders on the presentation platter is fun too—just make sure they’re toy spiders, not edible ones!
Side Dishes
When serving at a Halloween party, I like pairing these cupcakes with a punch of bright orange carrot sticks or ghost-shaped marshmallow treats to keep the theme alive. A bowl of warm apple cider or a spooky-themed hot chocolate pairs perfectly and rounds out the treat table wonderfully.
Creative Ways to Present
One year, I arranged the cupcakes on a platter decorated with fake spider webs and little LED flickering lights—it was a total hit! I also love using tiered cupcake stands decorated with mini pumpkins and autumn leaves for that seasonal touch. Your imagination is the only limit here!
Make Ahead and Storage
Storing Leftovers
I usually store leftover cupcakes in an airtight container at room temperature. The decorated cupcakes are best eaten within a day or two because the frosting and candy can start losing their shape. Still, the flavor holds up well for about a week if you’re careful.
Freezing
If you want to make these ahead, freeze the plain cupcakes before decorating. Wrap each cooled cupcake tightly in plastic wrap, store in a freezer-safe container, and freeze for up to two months. Thaw completely at room temperature before frosting to avoid condensation ruining your decorations.
Reheating
Since these are cupcakes, reheating isn’t usually necessary, but if you want to warm them slightly, microwave for about 10 seconds. Be careful not to melt the frosting! If you froze cupcakes undecorated, you can frost them after reheating for a fresh look.
FAQs
-
Can I use homemade chocolate cupcakes for this recipe?
Absolutely! While the recipe works well with store-bought mix for convenience, baking your own homemade chocolate cupcakes adds a lovely personal touch and often results in a richer flavor. Just make sure your cupcakes are fully cooled before decorating.
-
What if I don’t have candy eyeballs? Can I use something else?
Of course! If candy eyeballs aren’t available, you can use small white and black frosting dots or tiny chocolate chips to mimic eyes. Just pipe a small white dot then add a tiny black dot on top once dry. It’s a fun DIY approach and still very effective.
-
How long can I prepare these cupcakes ahead of time?
You can bake cupcakes a day or two in advance and store them covered at room temp. I recommend decorating the day you plan to serve them to keep the frosting fresh and the candy eyes intact. If needed, freeze the plain cupcakes and decorate after thawing.
-
Can I make these cupcakes vegan or dairy-free?
Yes! Use a vegan or dairy-free chocolate cake recipe and substitute frostings accordingly—there are plenty of dairy-free frosting options out there. Just double-check your candy eyeballs and cookies for any animal-based ingredients.
Final Thoughts
Honestly, this Spooky Halloween Spider Cupcakes Recipe has become a Halloween staple in my family’s celebrations. It’s just so much fun to make and enjoy these creepy little creatures with everyone gathered around. Whether you’re baking with kids or looking for a quick festive treat, these cupcakes won’t disappoint. I can’t wait for you to try this out in your own kitchen and see the smiles they bring!
Print
Spooky Halloween Spider Cupcakes Recipe
- Prep Time: 20 minutes
- Cook Time: 20-25 minutes
- Total Time: 45 minutes
- Yield: 12 cupcakes
- Category: Dessert
- Method: Baking
- Cuisine: American
Description
Create spooky and festive Halloween spider cupcakes using your favorite chocolate cake recipe, decorated with colorful frostings, candy eyeballs, and mini chocolate sandwich cookies for a fun and haunting treat perfect for Halloween parties.
Ingredients
Cake Base
- Your favorite chocolate cake mix or recipe
- Cupcake liners
Frosting & Decoration
- White frosting
- Orange frosting
- Black frosting
- Candy eyeballs
- Mini chocolate sandwich cookies
- Cornstarch (for smoothing)
Tools
- Cupcake pan
- Cooling rack
- Spatula
- Decorating brush
Instructions
- Make chocolate cupcakes. Bake cupcakes according to box or recipe instructions in a preheated oven, then place them on a cooling rack and allow to cool completely before decorating.
- Frost cupcakes. Using a round piping tip, pipe white frosting generously on top of each cooled cupcake and smooth it evenly using a spatula, creating a clean base layer.
- Make spider’s body. Using orange frosting, pipe a small circle roughly the size of a half dollar in the center of each cupcake to represent the spider’s body.
- Make spider’s head. Pipe a small dot of frosting onto a mini chocolate sandwich cookie, then attach candy eyeballs onto the frosting. Place this cookie head leaning against the orange frosting body on each cupcake.
- Make spider’s legs. Use black and orange frosting to pipe alternating colored dots on either side of the spider’s body to create four legs on each side. Dip a decorating brush in cornstarch and gently smooth out each leg dot for a polished finish.
Notes
- To store: Store cupcakes in an airtight container at room temperature for up to one week. For best taste and decoration quality, consume decorated cupcakes within one to two days.
- Use ready-made frosting pouches or homemade frosting for ease and speed in decorating.
- Ensure cupcakes are completely cooled before frosting to prevent melting and sliding of decorations.
- This recipe is great for Halloween parties, designed to be both fun and easy to make with minimal ingredients.
Nutrition
- Serving Size: 1 cupcake
- Calories: 250
- Sugar: 20g
- Sodium: 150mg
- Fat: 12g
- Saturated Fat: 4g
- Unsaturated Fat: 6g
- Trans Fat: 0g
- Carbohydrates: 32g
- Fiber: 2g
- Protein: 3g
- Cholesterol: 25mg

