If you’re on the hunt for a Halloween treat that’s as fun to make as it is to eat, I’ve got just the thing for you. This Witch Finger Cookies Recipe is an absolute showstopper—spooky, delicious, and surprisingly easy to pull off. I love these because they bring a little playful creepiness to your cookie jar, and every bite is like a mini adventure. Trust me, whether you’re baking with kids or prepping for a Halloween party, you’ll find these cookies become an instant favorite.
Why You’ll Love This Recipe
- Perfect for Halloween: These cookies capture that eerie vibe with cute-yet-creepy “finger” shapes and almond claw nails.
- Simple Ingredients: You probably already have everything you need in your pantry—no complicated shopping required.
- Fun to Make: Trust me, pressing on those almond slivers and making knuckle dents is oddly satisfying and a great conversation starter.
- Kid-Friendly Baking: I love doing this with my little ones—they get to help shape the fingers and pick the almond nails.
Ingredients You’ll Need
Let’s talk ingredients first because they’re the backbone to your spooky success. This recipe uses a classic buttery cookie dough that holds its shape beautifully—perfect for those finger details. Plus, the almonds for nails? That crunchy touch makes all the difference.
- Butter: Use unsalted butter at room temperature to get that perfect creamy dough.
- Sugar: Granulated sugar adds sweetness and helps with that slight crunch on the edges.
- Egg: Acts as the glue to keep everything together.
- All-purpose flour: Gives the cookies structure without making them tough.
- Baking powder: Just enough lift for a tender crumb without puffing up too much.
- Almond slivers: These are your “nails” — pick the pointed ones for that perfect witchy look.
- Optional vanilla extract: Adds a lovely warmth and depth to the dough.
Variations
One of my favorite things about this Witch Finger Cookies Recipe is how flexible it is. I’ve tried a bunch of twists over the years, and it’s a blast to tweak the flavors or decorations to match your vibe.
- Chocolate Version: I swapped some flour for cocoa powder once, and wow—the witch fingers got a deliciously dark, chocolatey twist that my family went nuts for.
- Spiced Option: Add a pinch of cinnamon and nutmeg to the dough for a warm autumnal feel—it’s subtle but so cozy.
- Fun with Almonds: Instead of almonds, you could try pecan pieces for a different nail texture, but almonds give that perfect sharp look.
- Vegan Adaptation: Use dairy-free butter and an egg substitute like flax egg if you’re avoiding animal products.
How to Make Witch Finger Cookies Recipe
Step 1: Mix Your Dough Until Silky Smooth
Start by creaming your softened butter and sugar together. I love using an electric mixer here because it gets the mixture fluffy in just a couple of minutes. Then, beat in the egg and vanilla extract. Slowly add in the flour and baking powder until you get a soft dough that’s not sticky but easy to shape. If your dough feels too sticky, pop it in the fridge for 15 minutes—that little chill makes shaping easier.
Step 2: Shape the Creepy Fingers
This is the fun part! Pinch off small balls of dough and roll them into finger-sized cylinders about 3 inches long. Taper the ends slightly to give a natural finger look. Don’t forget to add little knuckle dents by pressing gently with a butter knife or the back of a spoon. Then, press an almond sliver onto the tip for the nail. Sometimes I dunk the almonds in a bit of egg white before pressing to make sure they stick well during baking.
Step 3: Bake Until Just Right
Bake your spooky fingers on a parchment-lined tray at 350°F (175°C) for about 12-15 minutes. Watch carefully—the edges should get just a little golden, but you don’t want them too brown or they’ll lose their tenderness. Let them cool completely on the pan so the fingers hold their shape perfectly.
Pro Tips for Making Witch Finger Cookies Recipe
- Chill Your Dough: It’s easier to shape when cold and reduces spreading in the oven.
- Don’t Skip the Knuckle Dents: They add a realistic touch that really makes your fingers stand out.
- Almond Placement: Press the pointed end down for the classic claw nail effect.
- Preheat Your Oven: Ensures even baking and prevents uneven cookie shapes or textures.
How to Serve Witch Finger Cookies Recipe
Garnishes
I like to dust the finished Witch Finger Cookies with a tiny pinch of cocoa powder or sprinkle some edible red gel around the nails for a “bloody” effect. It’s creepy, but in the best way! If you want extra flair, a few drops of green or black food coloring smudged on the dough before baking can make the fingers look like they just crawled out of a haunted forest.
Side Dishes
These cookies pair beautifully with a warm cup of spiced apple cider or rich hot chocolate. I’ve also served them alongside a Halloween-themed punch bowl for parties, and everyone always goes for the cookies first!
Creative Ways to Present
For Halloween parties, I love arranging the witch fingers standing upright in a jar filled with black licorice strands or fake spider webbing for that eerie effect. Another favorite is placing them on a mirror platter surrounded by “eyeball” candies or gummy worms—you’ll get people talking and snapping photos for sure.
Make Ahead and Storage
Storing Leftovers
I usually keep leftover Witch Finger Cookies in an airtight container at room temperature, and they stay fresh and delicious for about 4-5 days. Just make sure they aren’t stacked too tightly so the nails don’t get crushed.
Freezing
I’ve frozen shaped, unbaked cookie dough wrapped tightly in plastic wrap for up to a month. When I want a quick batch, I just bake them straight from frozen—adding a couple extra minutes to the baking time. It’s a total game changer when you need a last-minute Halloween treat.
Reheating
If you want to reawaken that freshly baked warm feeling, pop the cookies in a 300°F oven for 5 minutes. This little trick revives the crumb softness and almond crunch without drying them out.
FAQs
-
Can I make the Witch Finger Cookies gluten-free?
Absolutely! Swap the all-purpose flour for a gluten-free blend that measures cup-for-cup. Just keep an eye on the texture—gluten-free dough can be a bit more delicate, so chilling before shaping is even more important.
-
What if I don’t like almonds?
No worries. Pumpkin seeds or small pieces of pretzel work well as alternative “nails,” just press them firmly before baking to help them stay put.
-
How do I prevent the cookies from spreading and losing finger shape?
Chilling the dough before shaping and again after shaping but before baking helps a ton. Also, don’t over-cream the butter and sugar to avoid incorporating too much air.
-
Can kids help make these cookies?
Definitely! Kids will adore rolling the fingers, making knuckle dents, and placing the almond nails. Just guide them gently with the almond placement for best results.
Final Thoughts
I absolutely love how this Witch Finger Cookies Recipe combines simple ingredients with a fun, spooky twist that’s perfect for Halloween. When I first made these, my family went crazy over both the look and taste—it’s like Halloween magic you can eat! So if you’re looking to impress your friends, delight your kids, or just enjoy some festive baking, give these a try. I’m betting they’ll become a tradition you look forward to every October.
Print
Witch Finger Cookies Recipe
- Prep Time: 60 min
- Cook Time: 35 min
- Total Time: 150 min
- Yield: 10 pieces
- Category: Dessert
- Method: Baking
- Cuisine: American
Description
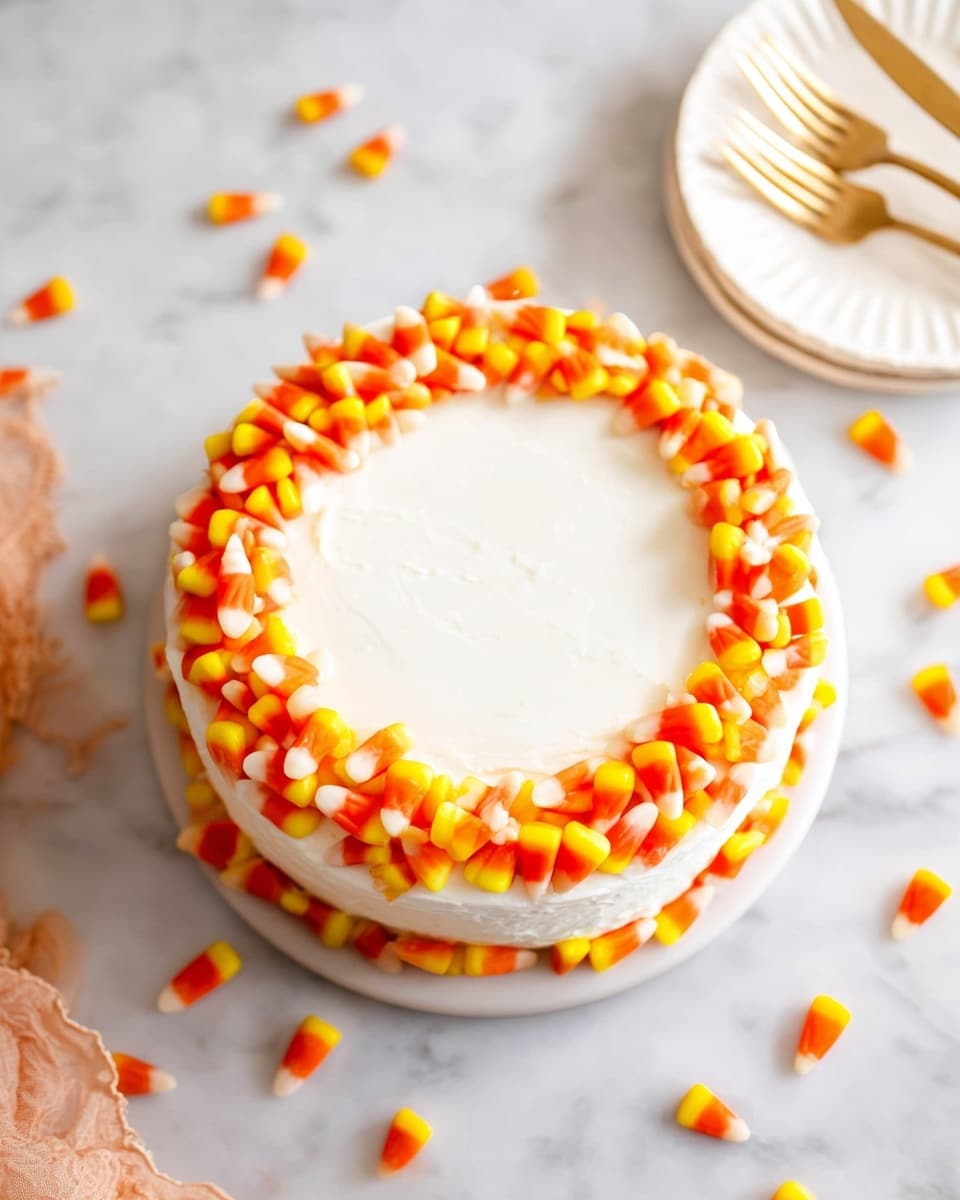
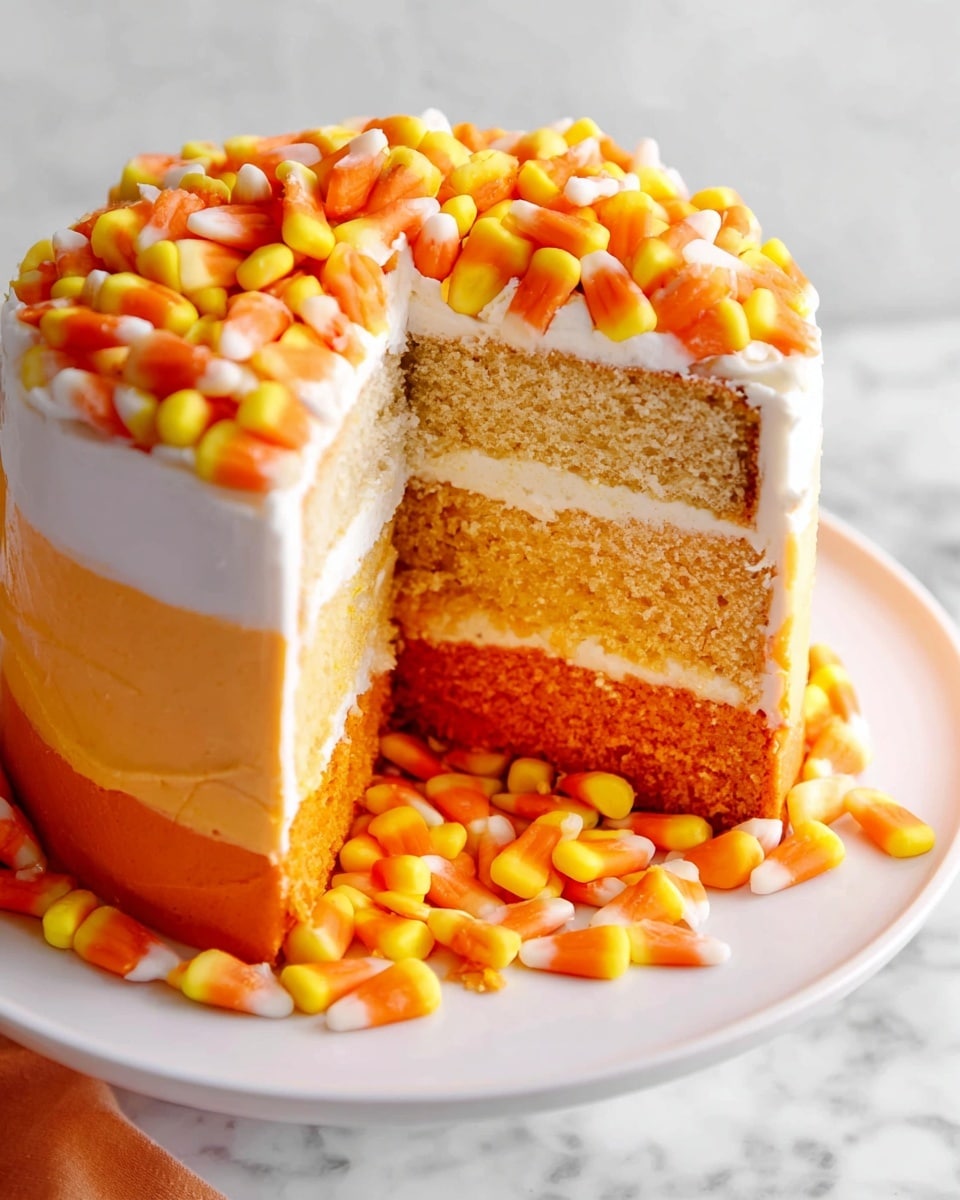
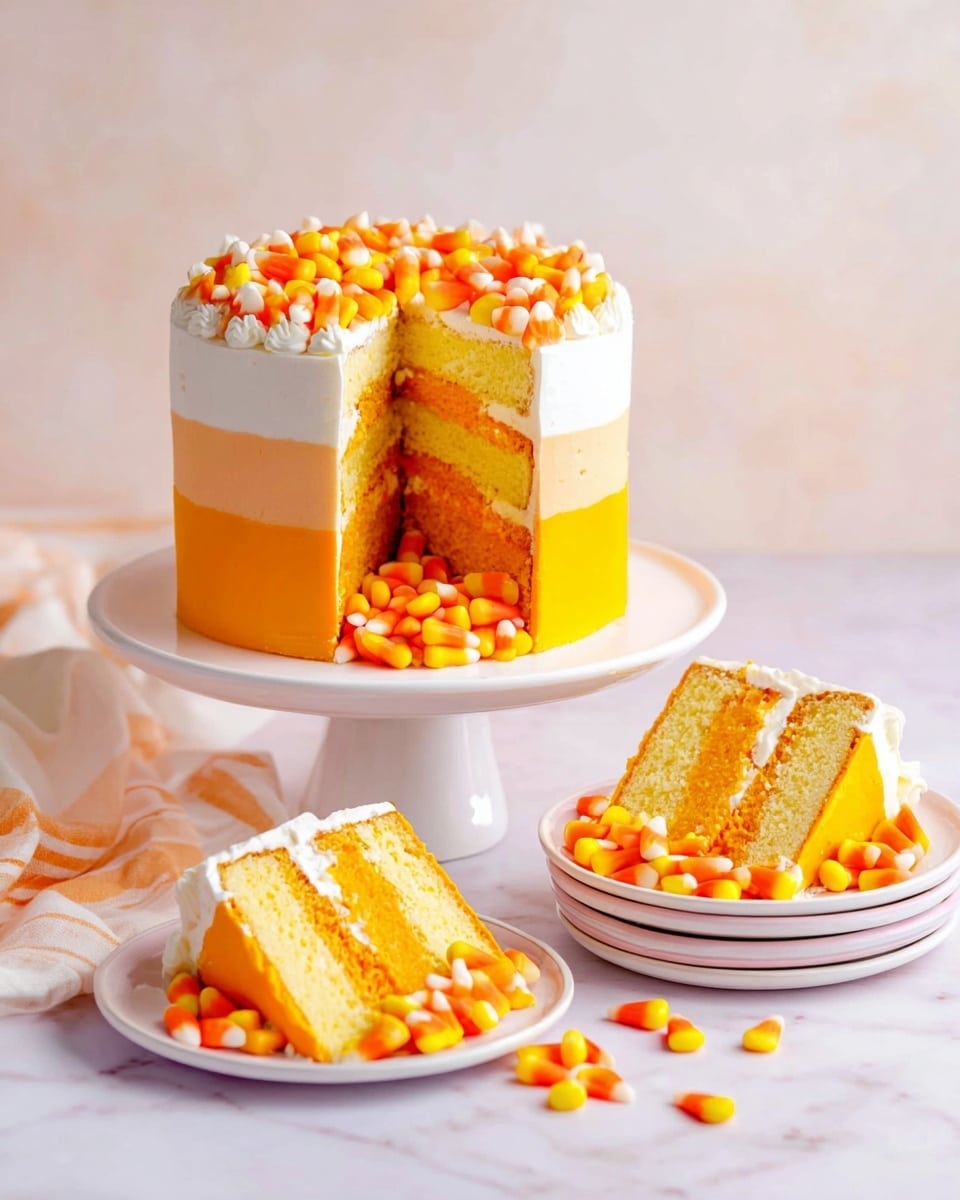
This Halloween Surprise Stuffed Candy Corn Cake is a festive and delightful treat perfect for your Halloween party. It features moist layers of easy vanilla sheet cake filled with a hidden surprise of mini candy corn, all enveloped in luscious, colorful vanilla buttercream frosting tinted with yellow and orange to mimic the iconic candy corn colors. When sliced, the candy corn spills out, creating a fun and spooky effect that’s sure to impress guests and satisfy sweet cravings.
Ingredients
Vanilla Cake
- 1 batch of Easy Vanilla Sheet Cake
Buttercream Frosting
- 1 batch of Easy Vanilla Buttercream Frosting
- Yellow food coloring
- Orange food coloring
Filling
- 1 cup of mini candy corn (180g)
Instructions
- Prepare the Cake: Bake one batch of the Easy Vanilla Sheet Cake according to the recipe instructions, ensuring the cake is fully cooled before proceeding.
- Divide and Color Frosting: Divide the Easy Vanilla Buttercream Frosting into two portions. Tint one portion with yellow food coloring and the other with orange food coloring to replicate candy corn colors.
- Assemble the Cake Layers: Carefully level the cooled vanilla sheet cake and cut it horizontally into layers. Create a hollow or well in the center of one or more layers, large enough to hold the mini candy corn filling.
- Fill the Cake: Place the first cake layer on your serving plate, spread a layer of buttercream around the edges, and pour the cup of mini candy corn into the hollow center. Then, cover the candy corn with the next cake layer to enclose the candy filling completely.
- Frost the Cake: Use the yellow and orange tinted buttercream frosting to frost the outside of the cake, mimicking the bright colors of candy corn in a striped or blended pattern for an eye-catching Halloween look.
- Chill and Set: Refrigerate the cake for at least 30 minutes to allow the frosting to set and the cake to firm up before slicing and serving.
- Serve and Enjoy: Slice the cake to reveal the hidden candy corn surprise inside, delighting guests with the colorful and sweet Halloween treat.
Notes
- Inside that luscious vanilla buttercream and layers of moist vanilla cake, there’s a candy corn surprise just waiting to burst out and bring your Halloween party to life!
- Use mini candy corn to ensure an even distribution inside the cake without causing structural issues.
- Be sure to cool the cake completely before cutting and assembling to prevent the frosting from melting or the candy from migrating.
- Consider piping the frosting decoratively for an extra festive presentation.
- This cake pairs well with a glass of milk or hot cocoa for a cozy Halloween treat.
Nutrition
- Serving Size: 1 piece
- Calories: 814 kcal
- Sugar: 86 g
- Sodium: 367 mg
- Fat: 41 g
- Saturated Fat: 26 g
- Unsaturated Fat: 13 g
- Trans Fat: 2.4 g
- Carbohydrates: 108 g
- Fiber: 1.6 g
- Protein: 5.2 g
- Cholesterol: 169 mg

